

Homemade Butter
This post may contain affiliate links. Please read my disclosure policy for more information.
Homemade butter sounds like a delicious luxury, doesn’t it? Our great grandmothers who had no choice but to sit at the butter churn would probably chuckle. You have it so good now! The luxury is in being able to go to the store and buy it!
Sort of true I suppose. But it’s also true that there’s a somewhat hidden sense of luxury in being witness to this traditional process of making butter. It’s almost magical how the butter comes together with just a little cream and some shaking around. It’s one of those little kitchen adventures that’s hard to resist.
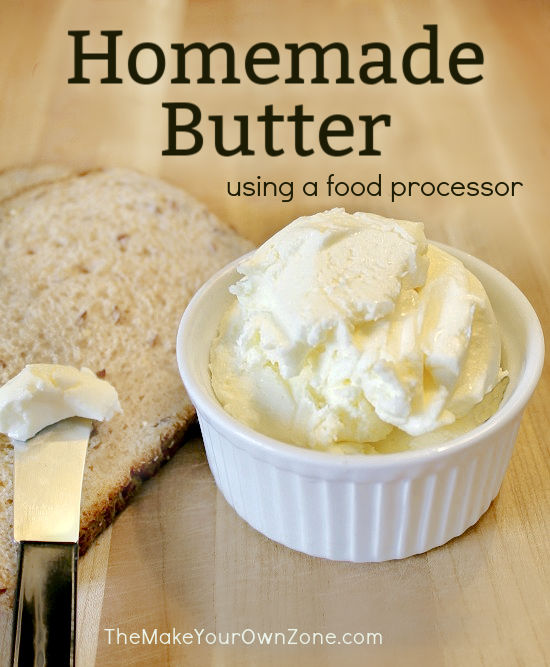
Why aren’t we making our own butter?
If making your own butter is so magical and hard to resist, then why are so many of us not bothering to do it? One reason might be the cost. If you have a cow, well then it might be a different story. But if you’re going to the store and buying heavy whipping cream to get started, you’ll might discover like I did that the ready-made butter will cost less.
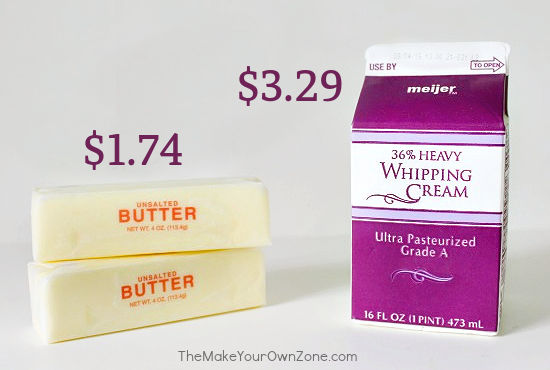
OK, maybe you don’t save money, but do you end up with a superior product? I could not find any taste difference. The ingredients on my package of store bought butter listed “Cream, Natural Flavorings”. So perhaps we save ourselves being exposed to unknown “natural flavorings” but other than that, I couldn’t find much difference in the homemade butter vs. store bought butter.
Let’s try making homemade butter!
Even though you might not save money or find any great taste difference, it can still be fun process and I found it interesting, satisfying, and somewhat magical watching my heavy cream transform into butter.
Modern kitchen appliances make it super simple to make your own butter too. I made my homemade butter in my food processor in 5 minutes. People also make butter with a stand mixer, a hand mixer, a blender, or even just a jar with a tight fitting lid! Amazon sells this specially designed butter making jar for the low tech people of the world who don’t want any fancy gadget for the job {and the reviews say it works!}
I was inspired by the book “One-Hour Cheese ” to make my own butter. Even though it’s a book primarily dedicated to making your own cheese, it includes a few other projects with milk and cream including making your own butter. This is a great book filled with excellent step-by-step photos and instructions. My tutorial below is based on what I learned from the One Hour Cheese book. Here are the steps I followed:
Step 1: Pour the cream into the food processor and put on the lid.
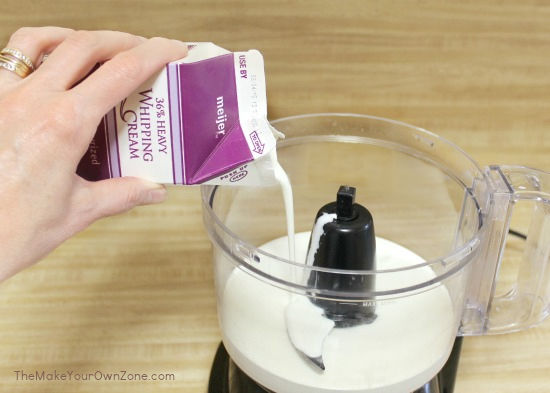
Step 2: Start up the food processor. (My food processor and the lower speed worked fine).
Step 3: Process the cream for about 5 minutes. The heavy whipping cream will go through several stages as it swirls around the food processor. It will first turn into fluffy whipped cream, then it will start to get a little more grainy, then it will start to clump up a bit. Finally it will form into larger chunks (or even a single chunk) with the leftover liquid splashing around which means the process is complete. This should take about 5 minutes. If you’re curious you can turn off the processor a few times and open the lid during the process to check how things are coming along. I know things are done when the liquid starts splashing up on the cover of my food processor and I can’t see what’s going on anymore.
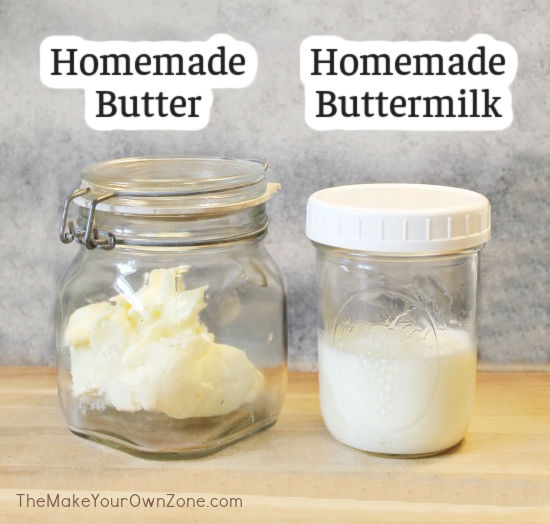
Step 4: Drain off the liquid, which is true buttermilk. You will probably have about 3/4 cup of the liquid buttermilk. You can save it to use later if you want (it works great in homemade pancakes!).
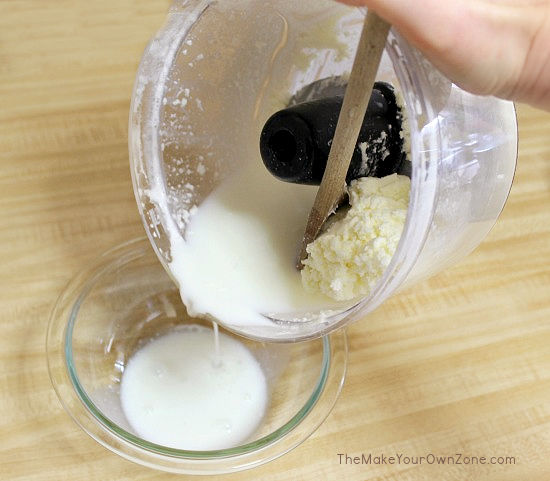
Step 5: Scrape the butter out of the food processor and place in a bowl for rinsing. The “rinsing” or “washing” step helps preserve the butter a little longer.
Step 6: To rinse the butter, pour a cup of very cold water over the butter in the bowl (cold water keeps the butter from getting too warm and squishy during this step.) Use a spatula or large spoon or even just your hands, to press on the butter to wash it. You should see the water turn cloudy. Drain off the water, and then repeat the washing step again as needed until the water looks more clear when drained off.
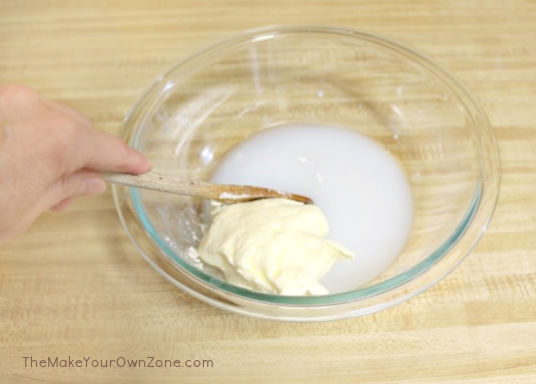
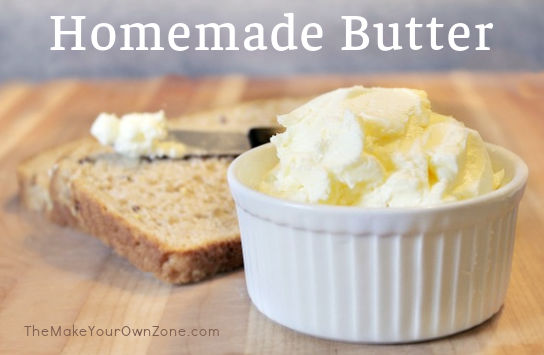
And now you’ve made homemade butter! You can add a little salt to your homemade butter at this point if you wish. Otherwise just transfer your freshly made butter to a covered container and store in the refrigerator. It will probably only keep for about a week. You can keep your buttermilk in a covered container in the refrigerator for about a week too.
This might not be a recipe that you make all the time, but the process certainly goes quickly in a food processor any time you do decide to have some freshly made butter. It’s fun to try at least once just to say, “Yes, I made my own butter!”
More homemade ideas to try:
Homemade Butter
Equipment:
- Food Processor
Ingredients:
- 2 cups heavy whipping cream (16 oz)
Instructions:
- Pour the cream into the food processor and put on the lid.
- Start up the food processor. (My food processor has two speeds and the lower speed worked fine).
- Process the cream for about 5 minutes. The heavy whipping cream will go through several stages as it swirls around the food processor. It will first turn into fluffy whipped cream, then it will start to get a little more grainy, then it will start to clump up a bit. Finally it will form into larger chunks (or even a single chunk) with the leftover liquid splashing around which means the process is complete.
- Drain off the liquid (there will probably be about 3/4 cup). This liquid is true buttermilk that can be saved to use in other recipes.
- Scrape the butter out of the food processor and place in a bowl for rinsing. The "rinsing" or "washing" step helps preserve the butter a little longer.
- To rinse the butter, pour a cup of very cold water over the butter in the bowl (cold water keeps the butter from getting too warm and squishy during this step.) Use a spatula or large spoon or even just your hands, to press on the butter to wash it. You should see the water turn cloudy. Drain off the water, and then repeat the washing step again as needed until the water looks clearer when drained off.
- Transfer the finished butter to a covered container and store in the refrigerator.

after reading this I will say this ……I miss home made butter and I have noticed a lot of store brands list water as an ingredient . True butter made only from heavy cream has a richer flavor and I tend to need to use less. I will have to try this on my day off
I use to make butter from fresh milk from the farm. Of course we cannot get this where I live anymore. I will try this. THANKS
I can imagine that butter from fresh milk on the farm was pretty awesome Vicki! I hope you like this version if you give it a try.