Homemade Vegetable Broth {Stock}
In my recent efforts to incorporate more plant based recipes into my menu, I’ve found myself using vegetable broth more and more instead of chicken broth. I also found myself wanting to buy the low sodium version of the vegetable broth at the store. BUT, those low sodium options are always the most expensive option, something that goes against my frugal nature!
So, much like when I was buying the expensive low sodium cans of beans and finally decided it was time to just make my own low salt beans, I decided it was time to make my own no salt vegetable broth. After all, it’s just vegetable flavored water – I think I can make my own!

How To Make Homemade Vegetable Stock
Homemade vegetable broth (what is also sometimes called vegetable stock) is really more of a process than a recipe. And for those who want to be really frugal, it can often be done with the odds and ends and leftovers of vegetables that you can keep in the freezer until it’s time to make your own vegetable broth. Basically you put some vegetables and herbs in a large pot, add some water, simmer for a while, and you’ve got homemade vegetable broth!
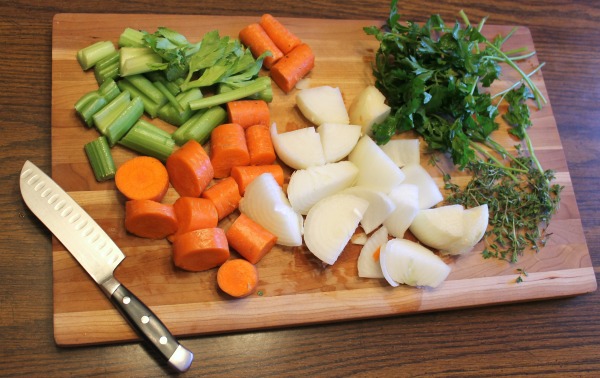
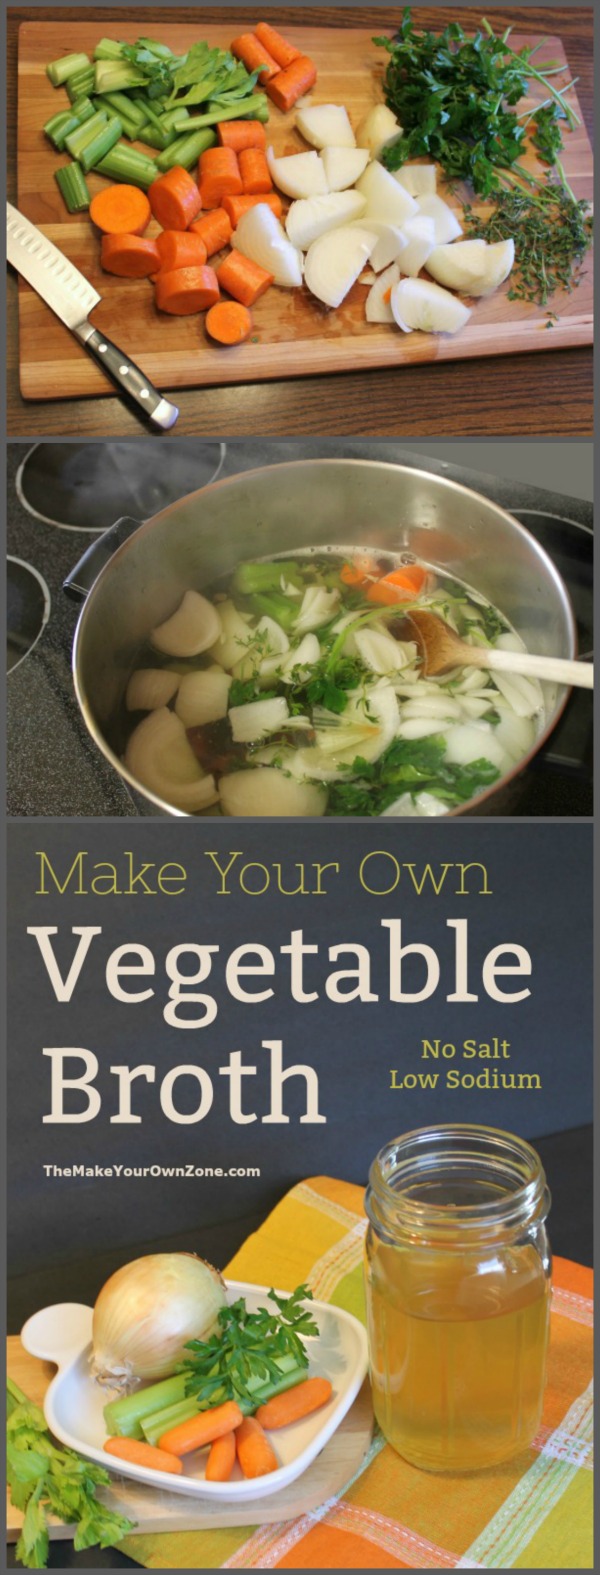
For my homemade vegetable broth I opted to use onions, carrots, and celery as they’re the classic flavoring combination of vegetables that are often used in soups. Larger chunks of vegetables work OK for this method and only a quick rough chop is needed. I used two onions, two large carrots and three stalks of celery, although the next time I do this, I think I’ll go a little heavier on the carrots and a little lighter on the onion. All of these chopped vegetables are then dumped into a large pot.
For some extra flavoring I added some fresh parsley and thyme, and a small palmful of peppercorns to the pot too (but no salt because I’m keeping things low sodium).
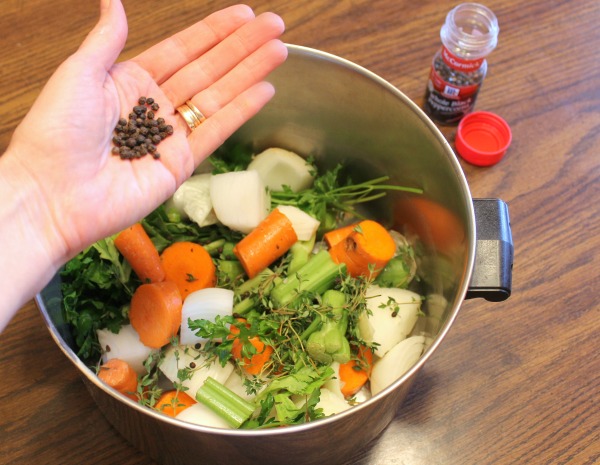
Next, you just add water to the pot. You want enough water to cover the vegetables, plus a little more so that you can stir the vegetables around in the water.
Once everything is in the pot, place it on the stove and heat it up. Bring it to just under a boil so that everything is nice and hot and steamy. Then turn the heat down lower and let it simmer for about an hour, giving things a stir every once in awhile.
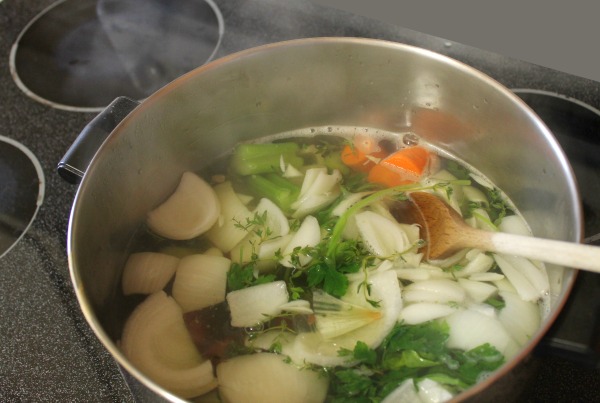
This is part of what makes this recipe so easy to do. While it was simmering for an hour I went out and did some yardwork and every so often came in and stirred things around a bit. So not only is it a frugal recipe, but you can be productive and doing other things while it’s cooking too!
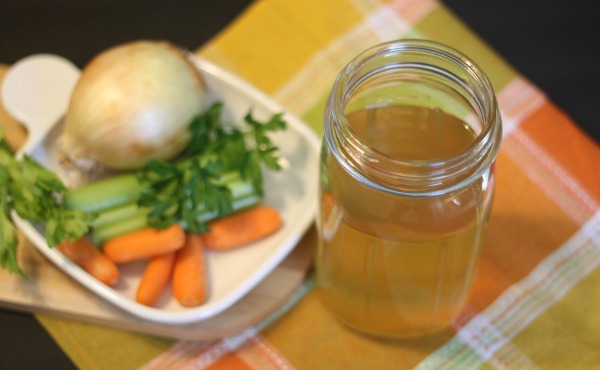
At the end of the hour the water in the pot will be lightly colored from the vegetables and will also have taken on the vegetable flavors. Remove the larger chunks of vegetable with a slotted spoon. The remaining liquid will probably have to be strained because of the fresh herbs floating around. I lined my colander with coffee filters for this step, but it took a long time for the broth to funnel through!
Storing Your Homemade Vegetable Broth
I ended up with about 9 cups of vegetable broth using the process described above. I put about three cups into a canning jar to keep in the refrigerator for (hopefully!) using up in the next couple of weeks.
I divided the rest of the broth into plastic freezer containers (about 2 cups in each container) and put them in the freezer for using up over the course of the next few months.

So once again, it looks like there’s a homemade solution that’s easy to do and will save me the cost of those expensive low-sodium options. If you’ve been reaching for the high priced low-sodium vegetable broth on the shelf too, why not give this method a try? If you can stir vegetables and water around in a pot, you can do it!

Homemade Vegetable Broth {Vegetable Stock}
Ingredients:
- 1 or 2 Onions
- 3 or 4 Celery Stalks
- 3 or 4 Carrots
- Small Bunch Fresh Parsley
- A Few Sprigs Fresh Thyme
- Small Palmful Whole Peppercorns
- Several Cups Water
Instructions:
- Roughly chop the vegetables. Larger chunks work OK for this recipe.
- Add the chopped vegetables, and the parsley, thyme, and peppercorns to a large pot.
- Add water to the pot. You want enough water to cover the vegetables, plus a little more so that you can stir the vegetables around in the water.
- Once everything is in the pot, place it on the stove and heat it up. Bring it to just under a boil so that everything is nice and hot and steamy. Then turn the heat down a little lower and let it simmer for about an hour, giving things a stir every once in awhile.
- At the end of the hour the water in the pot will be lightly colored from the vegetables and will also have taken on the vegetable flavors. Remove the larger chunks of vegetable with a slotted spoon. The remaining liquid will probably have to be strained because of the fresh herbs floating around. A colander lined with coffee filters is helpful for this step.
- Store in the refrigerator what you will be able to use up in the next week or two. Store any remaining broth in the freezer.

“A colander lined with coffee filters is helpful for this step.”
I am so grateful for that tip! Thank you for saving me time.
What did you do with the vegetables?
Because the vegetables are very soft and soggy after simmering for an hour, I chose to just dispose of them. However if you wanted to save them, you could perhaps use them in a soup if you cut them up a little smaller.
I’m also on a low sodium diet, so this will help me a lot in the long run.
That’s why I like to make my own broth too Angela – it’s a way to control that sodium!
My husband is now on a very strict heart healthy diet so I was happy to find this low sodium broth. Thank you!
So glad this recipe was helpful for you Darlene!
How much sodium does this have
I think the amount of sodium in this broth would still be a little less than the low sodium broths you can buy. Vegetables do have some natural sodium in them, so there is a bit of sodium, but not much in your final product because this recipe has no added salt. My estimate would be that it’s still under 100 mg for a cup of the broth.
I’ve done this before and added items from the vegetable drawer that, although were not quite ready for the compost pile, were not suitable for use in a salad. You can put all manner of greens in this mixture, as well as apples, cauliflower, broccoli, and peeled garlic cloves. Making broth is a great way to lessen food waste. An easier way to strain the broth than the colander/coffee filter method is to use one of those splatter screens you put over a skillet; the mesh is fine enough to catch all of the tiny particulate matter in the mixture.
Thanks for the tip on straining with a splatter screen Judith!