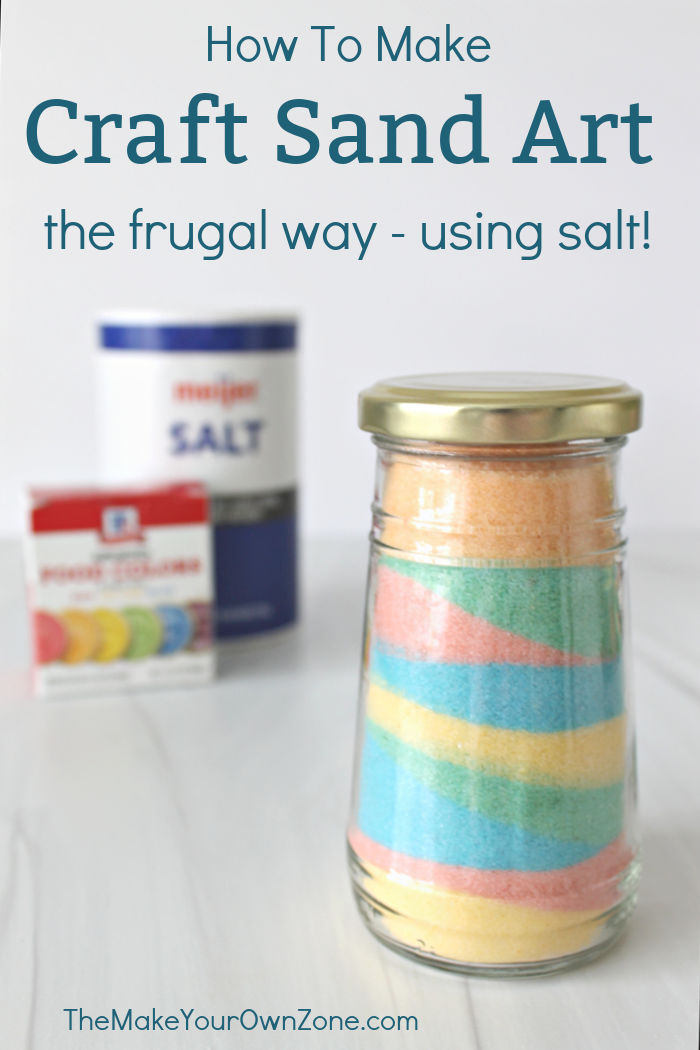
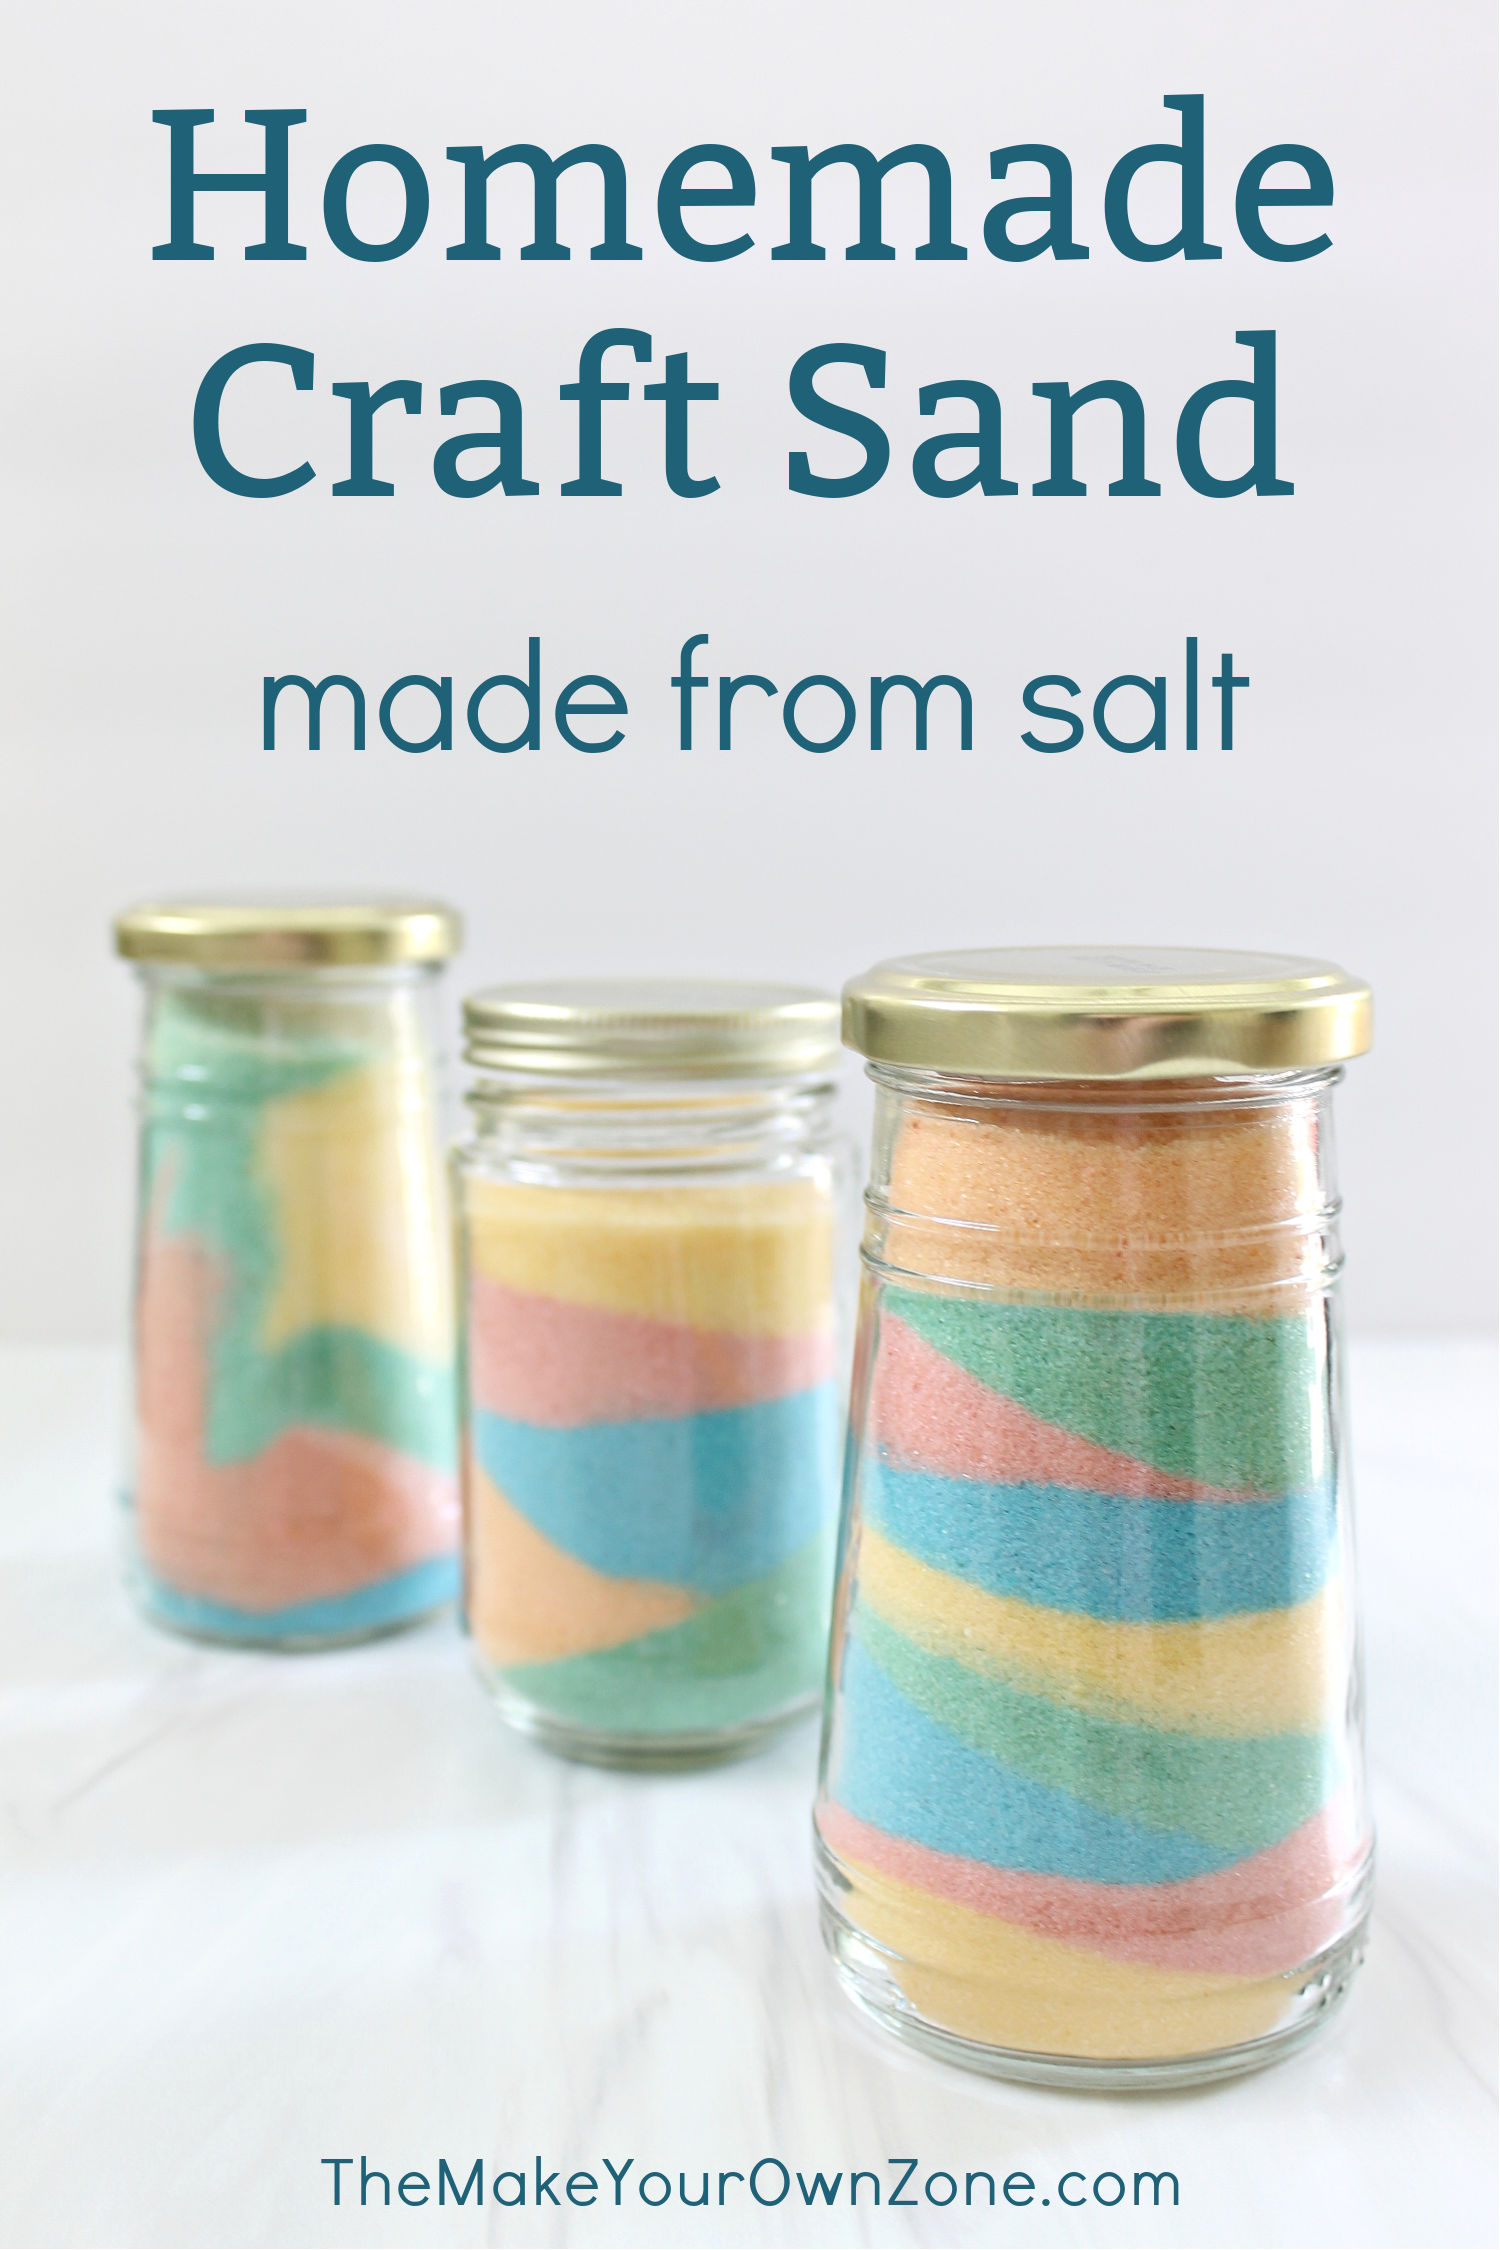
DIY Colored Sand Art (Using Salt!)
Here’s a quick and clever to make colored sand for sand art in bottles. And guess what – you won’t even need sand! Nope, instead we’re going to make our own copycat colored sand using plain old table salt and food coloring. It’s a great frugal alternative that looks just as lovely layered in repurposed glass jars.
How To Make Craft Sand Using Salt
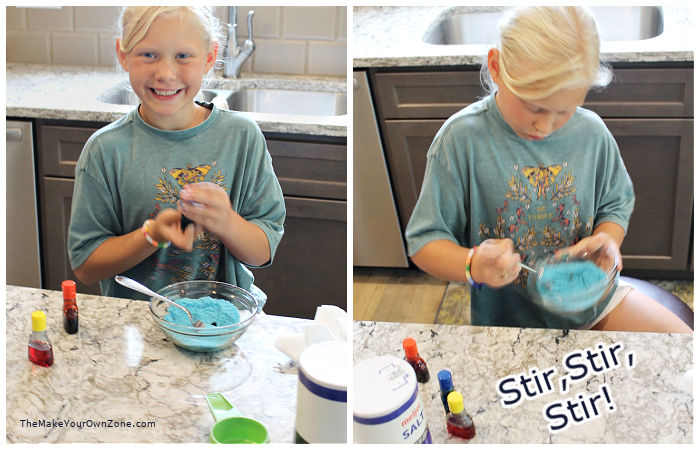
To get started with this craft you’ll need table salt and liquid food coloring, items you might already have in your kitchen. These simple ingredients make this homemade sand art craft great for kids too. My granddaughter had fun making different colors with me and stirring so diligently that her hand was just a blur in the photos.
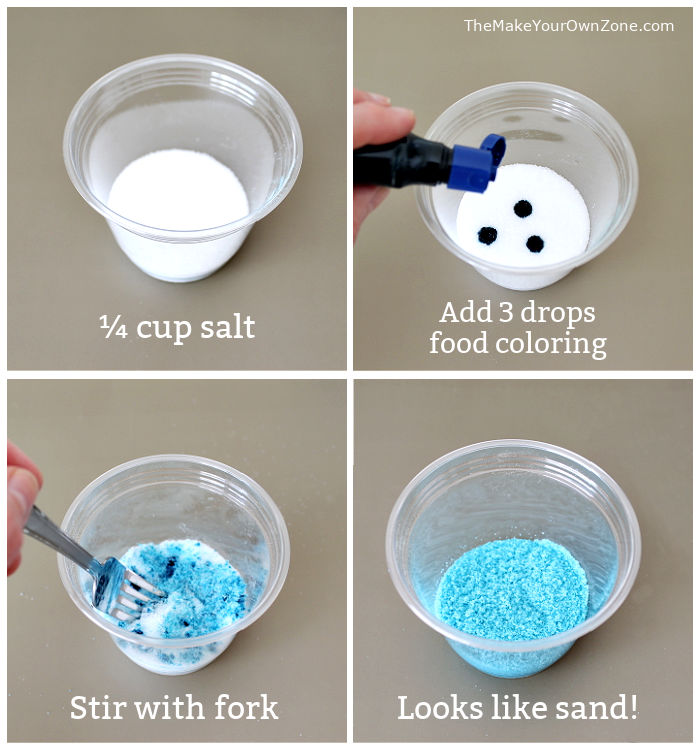
We used a starting measurement of ¼ cup of salt with 3 drops of food coloring. But because the ingredients are inexpensive (I calculated about 7¢ per ¼ cup of salt), you might find it fun to continue on and experiment with different sized batches and creative color combinations.
My box of food coloring has 3 colors in it (red, blue, and yellow). Using 3 drops of a color gives you a nice pastel shade for your homemade layered sand art. We also combined a couple of the colors to make green and orange.
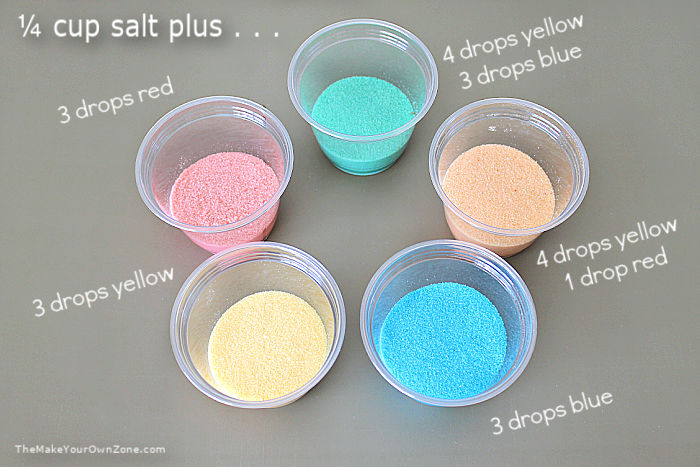
Table salt is usually sold in 26 oz containers and costs about 75¢. You’ll be able to get about 10 batches of a ¼ cup size from your container of salt. So this is definitely a very frugal way to make your own craft sand!
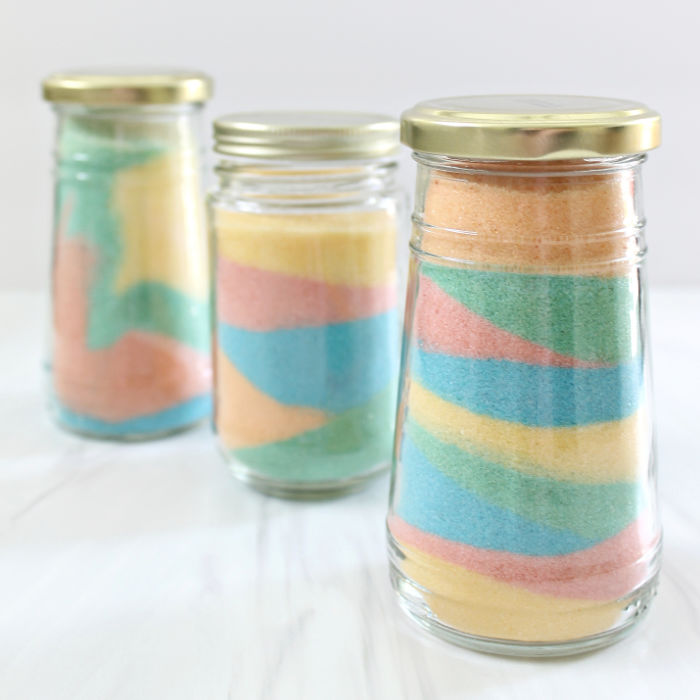
Layering Your DIY Craft Sand in Glass Jars
Once you’ve created a few colors of your craft sand, you can layer it into glass jars to make your own sand art. A funnel is a very helpful tool for this step. Not only does the funnel keep the salt from spilling around, you can also point the funnel toward one side or the other of the jar to create slanted layers of salt.
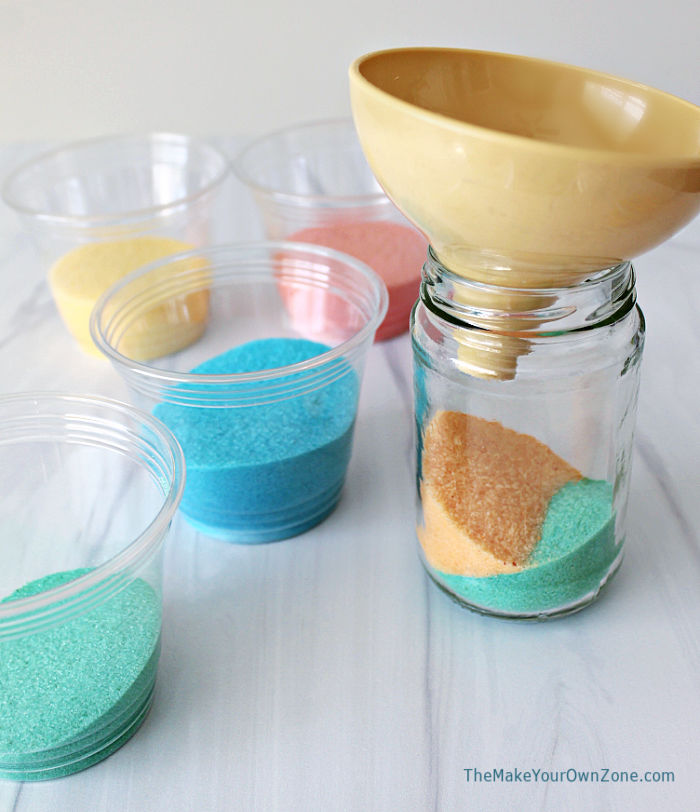
You can keep the frugal vibe going here and just use some repurposed glass jars. We used a couple of olive jars, a pickle relish jar, and a fun little round jar that once held jam.
Related: I use my DIY Goo Gone to clean my glass jars – it works great!
Related: Almost any jam works in my Oatmeal Jam Bars, even the fig jam that was in the little round jar.
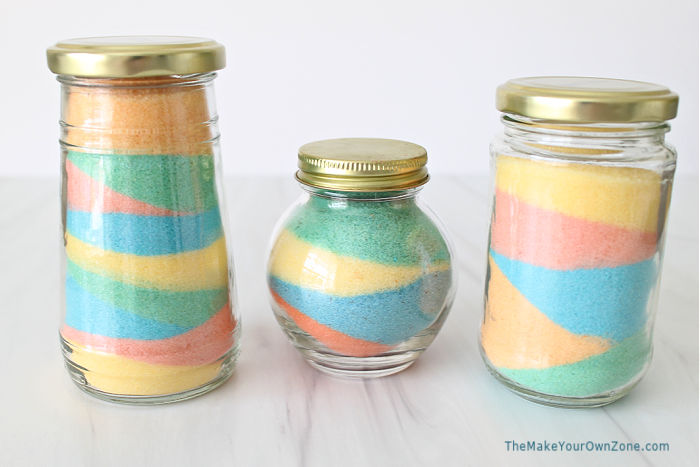
And one final note, even if you make a layered jar and then shake it (yup, my granddaughter did that, she had to find out), you’ll still get an interesting design as long as you only do one or two small shakes. The jar in the back of the photo below is the one that was given two shakes and now has a very interesting swirl design. Have fun creating your own colors, layers, swirls, and designs too!
DIY Craft Sand made from Salt
Equipment:
- small cups or mixing bowls
- fork (for stirring)
- small glass jars with lids
- Funnel
Materials:
- table salt
- liquid food coloring
Instructions:
- Pour 1/4 cup of salt into a small cup or mixing bowl (You can of course make this in larger batches too, however I found it easy to work in 1/4 cup batches).
- Add 3 drops of liquid food coloring to the 1/4 cup of salt.
- Mix well with a fork until the food coloring is evenly mixed into the salt.
- Once you have made a few different colors, you can layer them into clean glass jars. A funnel is helpful for this step. Screw the lid on your jar when you are done.
Notes:
