

Recipe Ideas Using Creme de Menthe
Making your own homemade creme de menthe is super simple to do and it looks so pretty in a little glass bottle too. And if you’re looking for some inspiration for using your creme de menthe, I’ve got a couple ideas that you can try including a familiar cocktail and some delicious creme de menthe brownies.
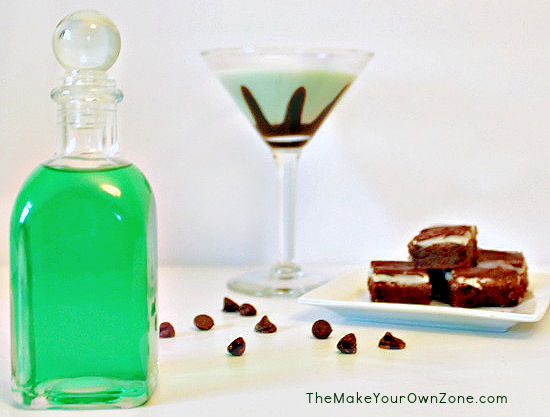
Make A Grasshopper Cocktail
The first idea is to use your Creme de Menthe to make the classic minty Grasshopper cocktail, a combo of half & half, creme de menthe, and vodka. A fun idea is to drizzle the glass with chocolate syrup before adding the drink because not only does it look lovely, chocolate and mint are a yummy combo!
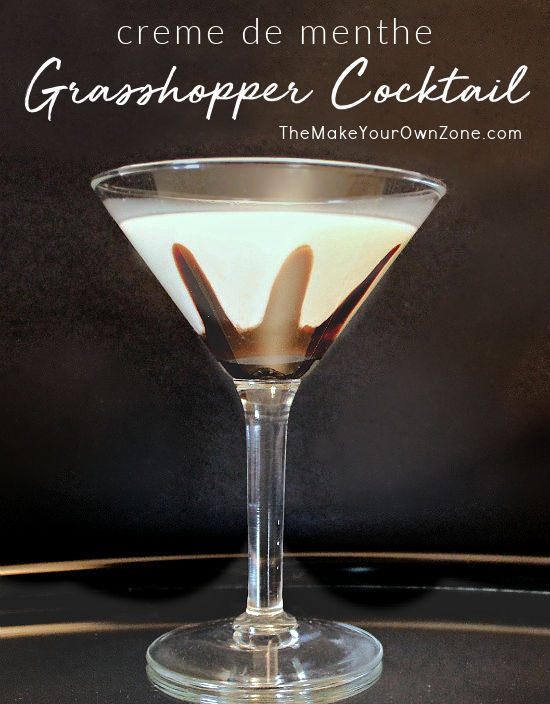
Grasshopper Cocktail
Ingredients:
- 2 parts half & half
- 1 part creme de menthe liqueur
- 1/2 part vodka
- chocolate syrup (optional)
Instructions:
- If using the chocolate syrup, your first step will be to drizzle a few lines of chocolate syrup down the edges of your glass.
- Then combine the half & half, the creme de menthe, and the vodka and pour into your prepared glass. Your Grasshopper cocktail will have a pretty pale green color and minty flavor.
- Note: A shot glass is a good way to measure the parts in this recipe.
Creme de Menthe Brownies
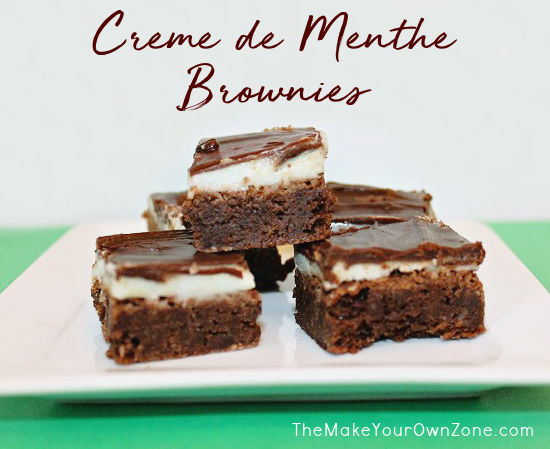
You can use your homemade creme de menthe for baking too. Here’s an idea for turning ordinary brownies into Creme de Menthe brownies. These bars are quite rich and taste best cut into very small squares more like fudge.
This recipe is for two more layers to add to the top of plain brownies. I used my homemade brownie recipe which makes an 8×8 or 9×9 size square pan of brownies. If you want to add these layers to a 9×13 pan of brownies, you can double the recipe ingredients for the additional two layers.
And finally, you can always just enjoy your homemade creme de menthe by drizzling it over some vanilla ice cream. So easy but so minty and yummy too!
Creme de Menthe Brownies
Ingredients:
Brownie Layer:
- 1 cup chocolate chips
- 4 tablespoons butter
- 3/4 cup white sugar
- 2/3 cup flour
- 1/4 teaspoon baking powder
- 1/4 teaspoon salt
- 1/2 teaspoon vanilla extract
- 2 eggs
Creme de Menthe Layer:
- 4 tablespoons butter – softened
- 1 cup powdered sugar
- 2 tablespoons creme de menthe
Chocolate Glaze Layer:
- 2 tablespoons butter
- 1/2 cup chocolate chips
- 2 teaspoons creme de menthe
Instructions:
1st Layer: Brownies
- Place the chocolate chips and butter in a glass mixing bowl (or other microwave safe mixing bowl). Heat on high for one minute, or until the chips are soft and the butter is melted. Remove from microwave and stir until smooth.
- Add the rest of the ingredients and stir until well mixed.
- Pour batter in a greased 8×8 pan and bake at 350 degrees for 25 minutes.
2nd Layer: Creme de menthe
- Mix together the softened butter and the powdered sugar with an electric mixer until smooth. Add the creme de menthe and continue mixing until combined.
- Spread this creme de menthe layer over your 8×8 pan of prepared brownies. Chill while you are making the next layer.
3rd Layer: Chocolate Glaze
- Combine the butter and the chocolate chips in a microwave safe bowl. Microwave for 30 seconds and stir. If things are not quite melted yet, microwave for another 20 to 30 seconds. Stir to completely blend the melted butter and melted chocolatechips, and then
- Stir in the 2 teaspoons of Creme de Menthe.
- Drizzle the glaze over the over the creme de menthe layer, spreading it around as needed. Chill before cutting.