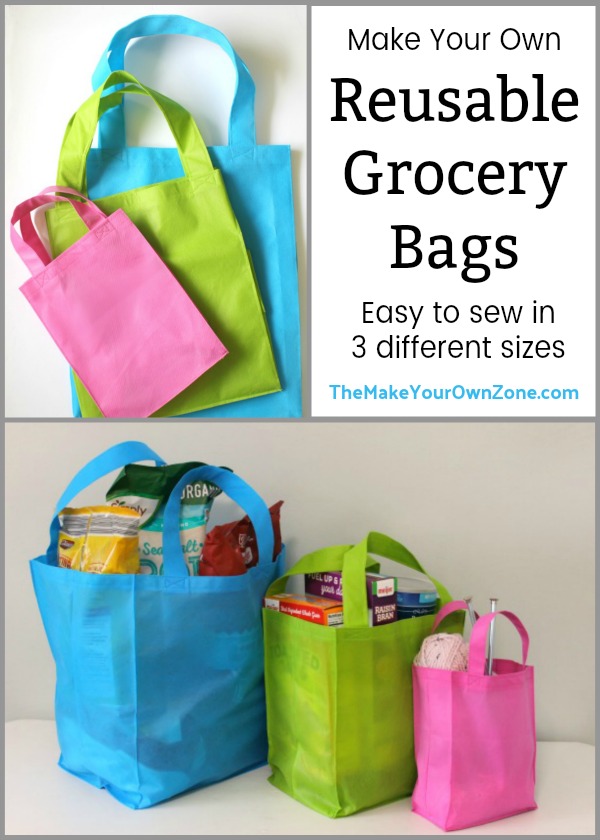
Homemade Reusable Bags (Bigger & Smaller!)
This post may contain affiliate links. Please read my disclosure policy for more information.
It’s been a year now since I first wrote about how to make your own reusable grocery bags. I used the Oly-Fun fabric that closely resembles the store-bought reusable grocery bags, and created my pattern in a size and shape that also was very close to the type of reusable bags that the grocery stores sell.
But since I first published that pattern I’ve gotten several questions along the lines of, “Can I make these bags in a bigger size?” or “What if I would like to make a smaller bag?” Yes indeed, that’s totally possible and I decided it was time to do this additional post with a few more size suggestions and measurements for those who are asking.
As mentioned in that first post, my initial inspiration for this pattern was the book Hack That Tote that shared a simple pattern method for making tote bags. You decide on the size for the rectangular pieces for your bag, and then cut squares out of each of the bottom corners of the rectangle which is how you form the bag bottom. It’s an easy strategy that can be adapted in lots of ways!

Before I get started on the size adjustments, here’s the link to the original post with the step-by-step photos of how to sew the bags: Steps for how to sew a reusable grocery bag.
Here also is the link to the printable instructions that have been updated to include the new measurement ideas that I’ll be discussing below: Printable Sewing Instructions for Tote Bags
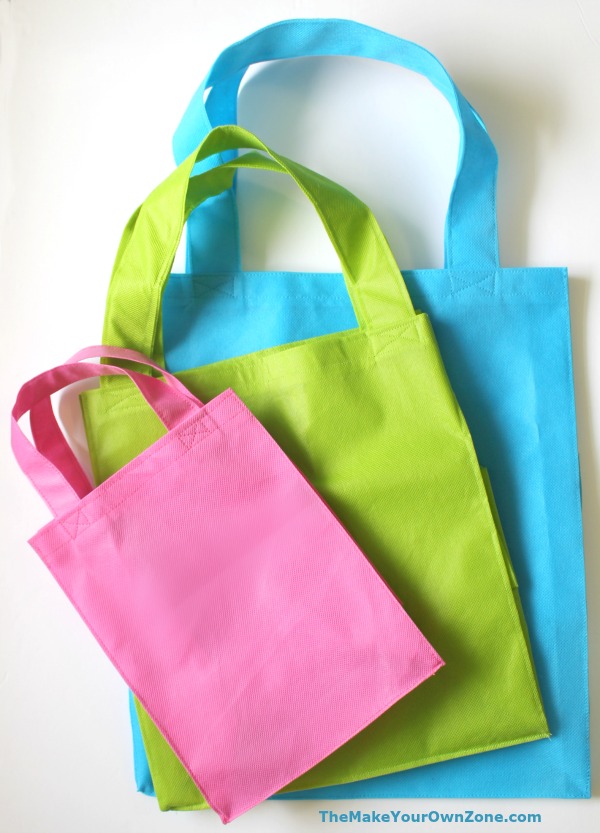
And as a quick point of reference, the measurements for the original bag was to cut pieces 20″ wide by 18″ high with 4″ squares cut from the corners. The handle measurements were 4-1/2″ by 20″. This is the green bag in the photos below with finished dimensions of 11″ wide x 12.5″ tall x 8″ deep.
How To Make A Larger Size Reusable Tote Bag
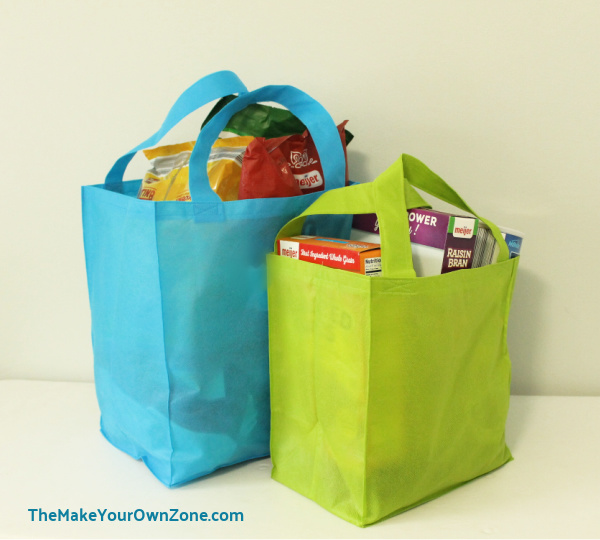
The first size adjustment we’ll look at is to make a larger bag (the blue bag in the photos). In addition to using these in the store, they could be great for any time you have a lot of assorted and unwieldy stuff to drag along with you. Here are the adjusted measurements for a larger bag:
- Cut two pieces that are 24″ wide by 22″ tall
- Cut 5″ squares out of the bottom corners
- Cut two handle pieces 4.5″ x 24″
- When sewing the handles into the bag, place them 7″ from the side seam
- To sew the defining edges, measure 5″ from the seams
Because this is a larger bag, it might feel a little “floppier” to you and you may wish to use the strategy of putting a piece of cardboard cut to size in the bottom of the bag to make it a little sturdier, or a piece of plastic needlepoint canvas also works for this purpose.
The finished dimensions of this bag will be 13.5″ wide x 15.5″ tall x 10″ deep.
How To Make A Smaller Size Reusable Tote Bag
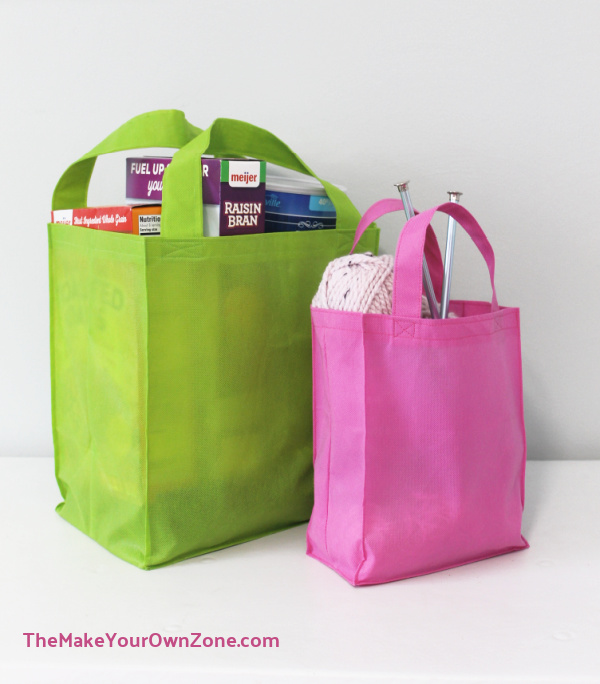
To make a smaller sized tote bag, I’ve adjusted the size as follows for a bag that’s a little taller and skinnier. { I love to use this size for taking a small knitting project along with me 🙂 }
- Cut two pieces that are 12″ wide by 13″ tall
- Cut 2″ squares out of the bottom corners
- Cut two handle pieces 3″ x 14″
- When sewing the handles into the bag, place them 3″ from the side seam
- To sew the defining edges, measure 2″ from the seams
The finished dimensions of this bag will be 7.5″ wide by 9.5″ tall x 4″ deep.
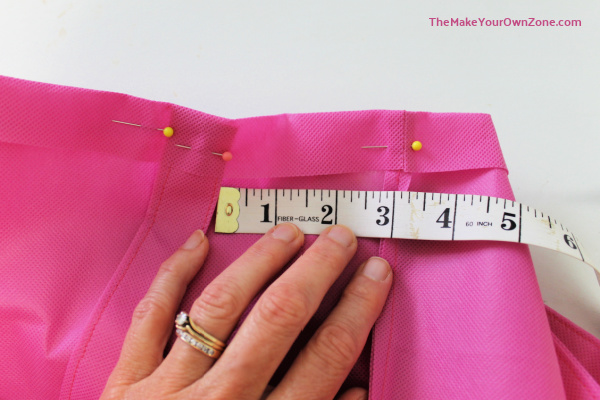
I’ll also note here that when I talk about placing the handles at a certain measurement from the side seam, I measure from the seam to the beginning edge of the handle as shown below.
The more I make these bags, I’ve also come to realize how the step of defining the corners is what really makes these bags easy to use. It’s what gives the bag the definition and shape it needs to make it a useful bag that cooperates with you. To define the corners you turn the bag right side out after sewing it together – THEN – do topstitching seams on the corner points on the outside of the bag. It’s really a wonderful finishing touch!
One More Smaller Bag Idea
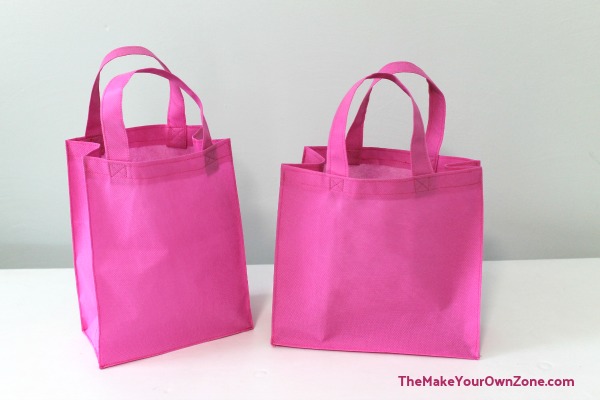
Finally, here’s one more idea for a smaller bag that’s a little more of a short and wide shape (on the right in the photo above). The finished dimensions are 9.5″ wide x 8.5″ tall x 4″ deep.
- Cut two pieces that are 14″ wide by 12″ tall
- Cut 2″ squares out of the bottom corners
- Cut two handle pieces 3″ x 14″
- When sewing the handles into the bag, place them 4″ from the side seam
- To sew the defining edges, measure 2″ from the seams
As you can see, there’s lots of creative ways to adjust this pattern for making your own tote bags!
Printable Instructions for Tote Bags
Once again, here’s the link for printing the instructions. These instructions are from the original blog post, but I’ve added these three new size ideas to the end of the instructions to help you make these size adjustments if you wish.
= = = > > Printable Instructions for Sewing Reusable Bags
And while these bags make great reusable grocery bags to use at the store, I’ve learned that they can come in handy for so many other things too. If you make a few, I predict you’ll find plenty of ways to use them too!
More Make Your Own Ideas:

Greetings once again. Yesterday I made the large tote in black canvas and today I made the extra large in pink canvas. For me personally, the extra large size is the winner. I did have to reinforce the bottom with a piece of cardboard (as you suggested) because the extra large needs the support. I love the size and the extra large boxed bottom. This is such an easy bag to make. Thanks again!
I use my extra large size bag at Aldi every time I go!
Thank you so much for sharing. I do a lot of sewing, but didn’t have it in me to create the pattern. Going to make some of the large size for a food distribution for those who could use a hand up. I’ve got plenty of fabric and happen to have some thicker cardboard for making the bottom more sturdy.