Homemade Bath Bombs
This post may contain affiliate links. Please read my disclosure policy for more information.
This past Christmas my little granddaughter was excited to get some store-bought bath bombs in her stocking. A few weeks later when I asked her if the bath bombs had been lots of fizzy fun she put on her sad face and said, “No, they made us itchy.” I agreed that was very disappointing, and rather surprising as both her and her brother had the same itchiness even though neither one has ever had a sensitive skin reaction like that before. I let her know that we could probably solve that by learning how to make our own homemade bath bombs!
And so for the last few months I’ve been fiddling with some homemade bath bomb recipes, always using the same ingredients, but finding the ratio of dry ingredients to wet ingredients that I liked the best. And when we finally tested some in the bathtub, they fizzed up very nicely and there were no itchies for the kids either. 🙂
How To Make Bath Bombs
Here are the instructions if you would like to make your own bath bombs too. All the ingredients are things you can find at larger grocery stores and you have the option to make them with some scent and coloring, or leave those ingredients out.
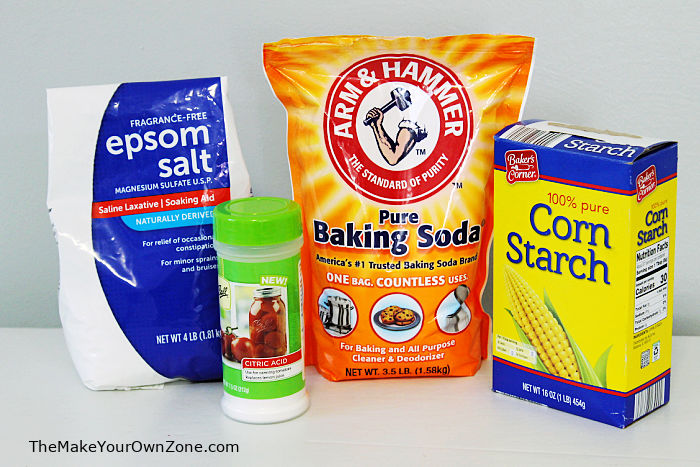
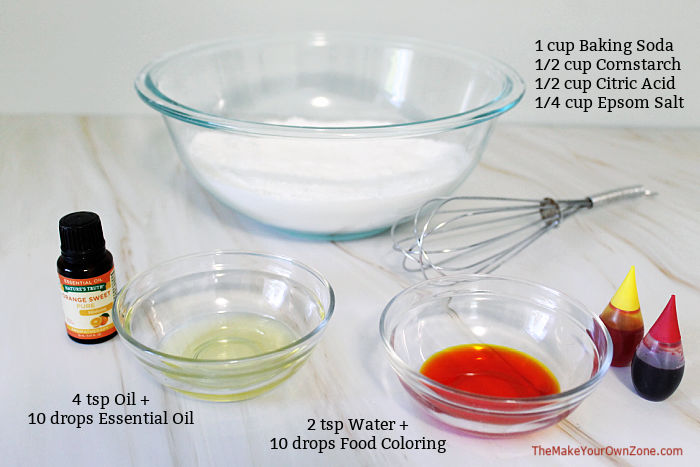
The first thing I do is mix together my dry ingredients. I use 1 cup baking soda, 1/2 cup cornstarch, 1/2 cup citric acid, and 1/4 cup epsom salt. You can find citric acid with other canning supplies in the store, or you can order citric acid from Amazon. This is the ingredient that makes the bath bombs fizz.
Once I have my dry ingredients mixed together in a large mixing bowl, I prepare my wet ingredients. In one little bowl, I measure out 4 teaspoons of oil, (I used olive oil) and then I add in about 10 drops of essential oil. I like to use sweet orange essential oil, however you can use the scent of your choice or you can leave this ingredient out if you prefer no scent.
Then I measure out 2 teaspoons of water into a second little bowl and add in about 10 drops of liquid food coloring. This will give your finished bath bombs a little color but you can also leave the food coloring out in which case your finished bath bombs will be white. For the bath bombs pictured in this post I used 8 drops of yellow and 2 drops of red.
Mixing Your DIY Bath Bomb Ingredients
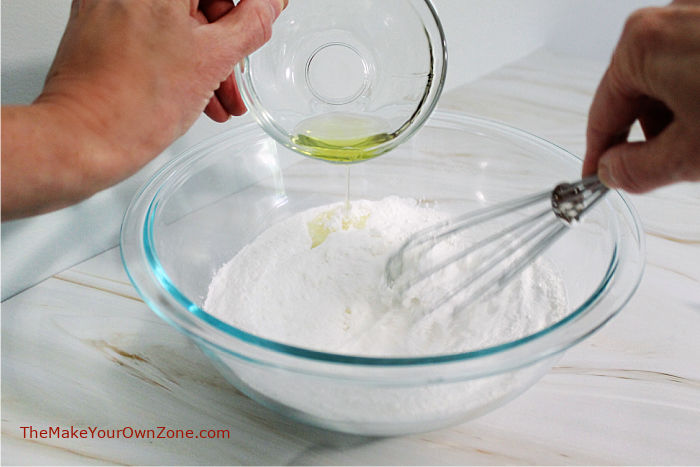
Now that all the ingredients are prepared, it’s time to start mixing things together – and this means lots of continuous whisking. Whisk, whisk, whisk!
First, add the oil mixture, whisking as you slowly pour it into the dry ingredients.
Next, you’ll add in the water mixture and this is where you must go slowly and continuously whisk. If too much water is added all at once and not quickly stirred in, the mixture will start to fizz and you want to save all that fizzing for the bathtub.
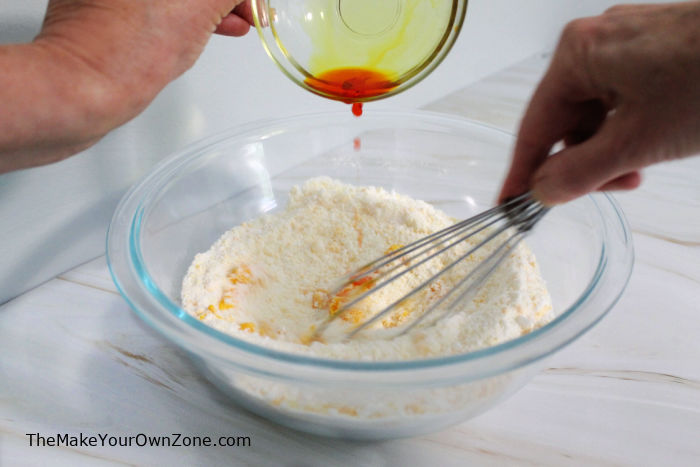
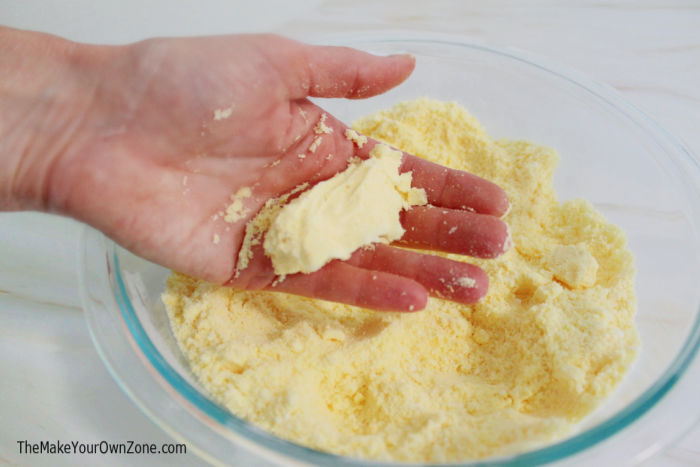
So – sloooowly drip the water into the mixing bowl, while quickly and continuously whisking it into the dry ingredients until all the water is mixed in. Once this step is completed, the mixture should be just moist enough to hold together if you squeeze it in your hand.
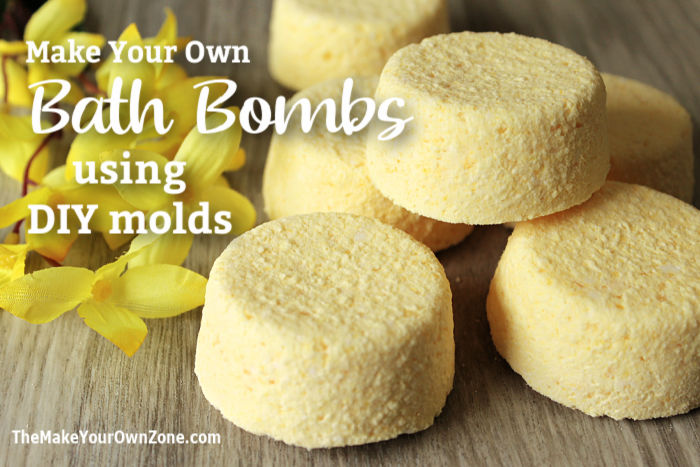
DIY Molds for Homemade Bath Bombs
Now that all the bath bomb ingredients are mixed together, it’s time to mold them into shapes. The most popular shape is a ball and many people use round bath bomb molds. But I found that I liked my DIY bath bomb molds better than the store-bought round one that I tried. My favorite options were my mini muffin tin, an ice cube try, and a 1/4 cup measuring cup. All of these were firm enough molds that I could easily pack the mixture in firmly and still pop them out with no problems.
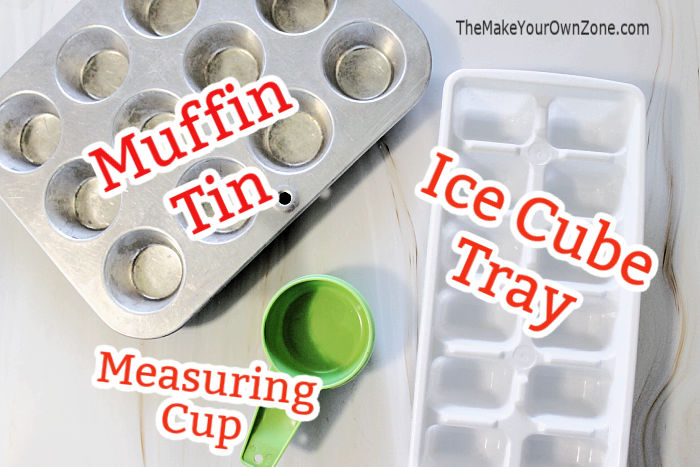
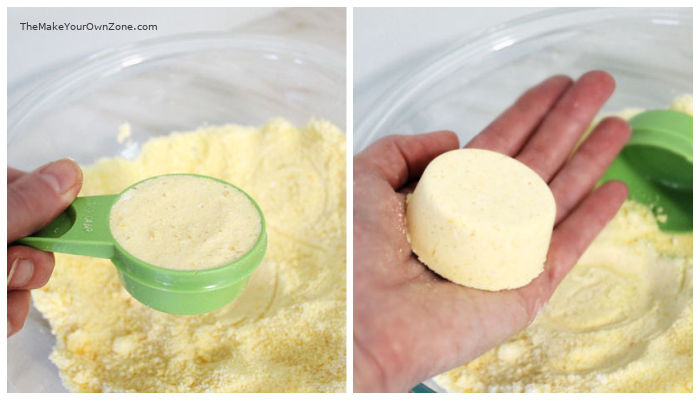
Out of those three options, my most favorite DIY bath bomb mold (and probably the only one I’ll use in the future) was my small measuring cup. And yes, that’s a vintage Tupperware measuring cup in my pictures but something like this dry measuring cup set would have a small cup size too that would work just fine as a DIY bath bomb mold. The moist bath bomb mixture can be easily and tightly packed into it, it was easy to pop it back out again while keeping a clean edge – AND – it made a cake that was a nice size to use too. It’s a nice frugal option especially if you already have a set of measuring cups like this around the house.
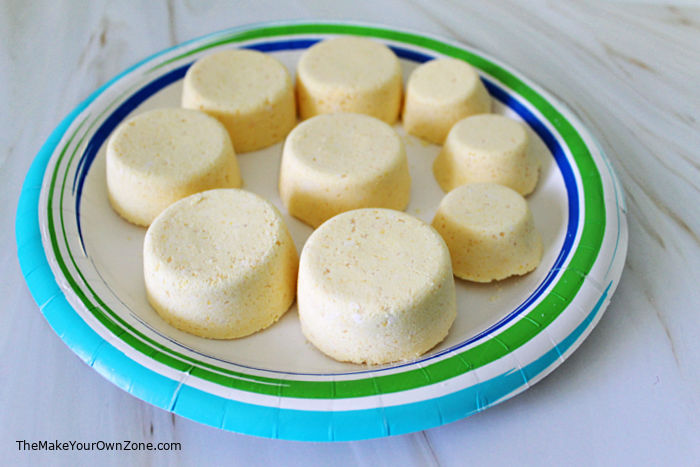
Once you’ve molded all of the mixture, set your bath bombs aside to dry. I usually set mine out on a waxed paper plate and it will take a couple of days for them to be completely dry. I also check back in a few hours and if they are sticking to the plate, I move them around a little bit.
Once the homemade bath bombs are dry, they’re ready to use. Simply drop one or two of them in the bathtub and watch them fizz! Here’s a quick little demonstration video below showing a homemade bath bomb dropped in a bowl of water. A medium sized bath bomb should give you about a couple minutes of fizzing fun.
Enjoy Your Homemade Bath Bombs!
If you’d like to enjoy the bath bomb experience too, this homemade option is easy to make, easy on the budget, and you know exactly what ingredients are being used. Making your own helps you avoid any unknown chemicals, additives, and fragrances but if you’d like to add a little color and a little bit of essential oil scent, you can still do that too.
Homemade bath bombs make nice gifts as well and kids in particular will have fun in the tub watching the fizzing and the bubbling.
And remember, your bath bombs don’t necessarily have to be round just because that’s how they are sold in the stores. They will fizz up fine and be enjoyable in any homemade shape you choose!
Related Reading:
- Make your own bubbling bath salts
- Make your own brown sugar body scrub
- Make your own after-sun skin moisturizing spray
Homemade Bath Bombs
Equipment:
- 1 Medium Size Mixing Bowl
- 2 Small Size Bowls
- Whisk
- Bath Bomb Mold (DIY options are measuring cups, ice cube trays, or muffin tins)
Materials:
- 1 cup Baking Soda
- 1/2 cup Cornstarch
- 1/2 cup Citric Acid
- 1/4 cup Epsom Salt
- 4 tsp Oil (Olive, almond, coconut, etc.)
- 10 drops Essential Oil (optional)
- 2 tsp Water
- 10 drops Liquid Food Coloring (optional)
Instructions:
- In a medium mixing bowl, combine the baking soda, cornstarch, citric acid, and epsom salt.
- In a small bowl, combine the oil, and the drops of essential oil.
- In another small bowl, combine the water and the drops of food coloring.
- Using a whisk, add the oil mixture to the dry ingredients, whisking continuously to combine.
- Next, still using the whisk, very very slowly add the water mixture a few drops at a time, continuously and quickly whisking as you go. The water must be added very gradually and then quickly mixed in so that it does not begin to make the ingredients fizz. If you see any fizzing, quickly mix the ingredients in that area.
- Once all the water is added, the mixture should be just moist enough to hold together if you squeeze it in your hand.
- Press the mixture into molds, tightly packing the mixture in. You can use a DIY mold such as a muffin tin, ice cube try, or a small measuring cup.
- Then carefully pop the mixture out of the mold and set it on a plate to dry. This mixture will make approximately 6 to 8 medium size bath bombs.
- Check on your bath bombs after a couple of hours and if they are sticking to the plate, move them around a little bit. It will take 24 to 48 hours for the bath bombs to dry completely.
- To use: Toss one or two of the bath bombs in a tub of water and watch them fizz!
