DIY Christmas Plates
Christmas dishes can be such a pretty way to dress up a table around the holidays. But if you’re a frugal, practical sort of person, you may find yourself not wanting to spend a lot of money to buy dishes that are only used once or twice a year. The money-saving solution? Make your own!
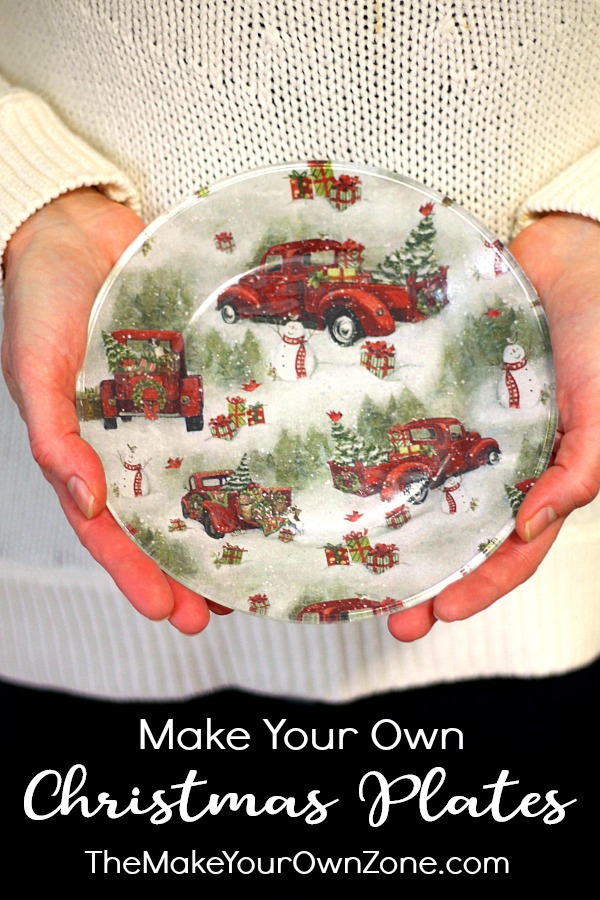
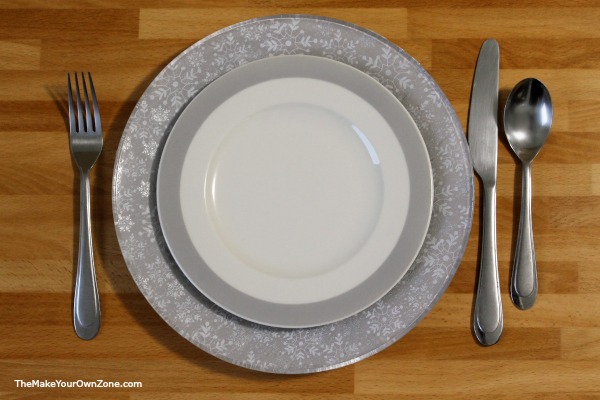
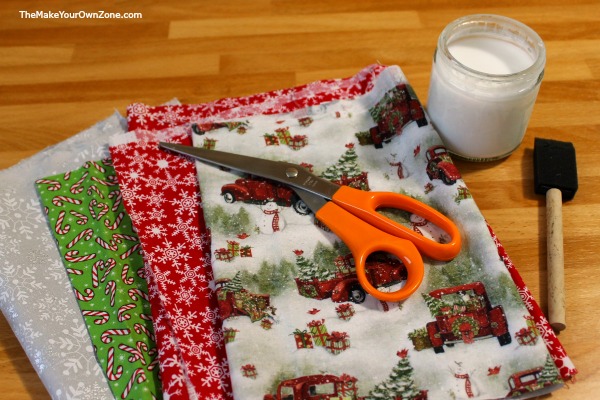
With some clear glass plates from the Dollar Store, some fabric, and some homemade mod podge, you can create your own cute and colorful Christmas plates. A smaller 7.5″ size plate can be filled with holidays treats for gift giving or for setting out plates of snacks and munchies on a buffet table. Plates made in the larger 10.5″ dinner size could be used like chargers to set under a slightly smaller plate for a pretty place setting.
Now if you have store bought Mod Podge you want to use for this project, that’s fine. But if you don’t, no worries! Once again my homemade mod podge could be used for this project and was a great inexpensive option. You can get the complete instructions for homemade mod podge here – – > How To Make Your Own Mod Podge.
How to Make Decorative Plates Using Fabric and Mod Podge
The steps for making these plates are pretty simple.
Begin by cutting a piece of fabric slightly larger than your plate. There’s no need to be too precise at this point and no need to worry about wrinkles in the fabric.
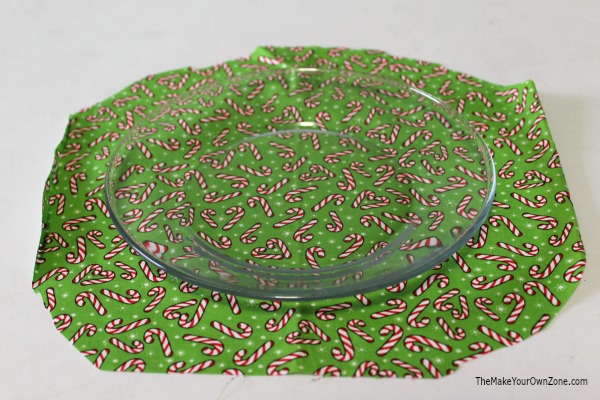
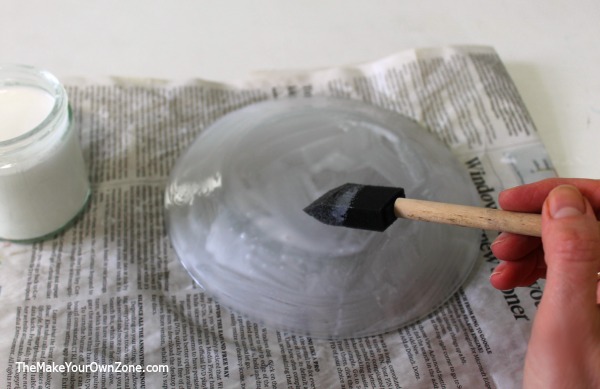
Then, turn the plate upside down (I cover my work surface with newspaper to catch the mod podge drips). Using a sponge applicator brush, cover the surface of the upside down plate with mod podge. Do a generous layer of mod podge, being sure to go all the way to the edges.
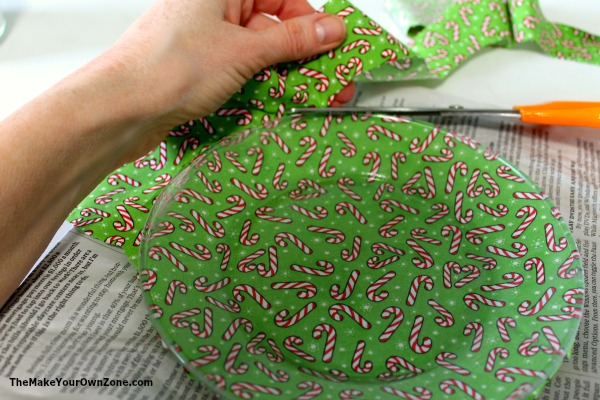
Lay the material over the plate, with the pattern side down. (Be sure the right side is facing down so it will show through the plate).
Smooth the material over the plate, pressing firmly, and picking up the plate as needed to press around the edges.

Next, turn the plate over and trim the excess material. I like to hold the material up with one hand (because it will still fall away from the edge of the plate a little bit), and then I cut with the other hand, keeping my scissors up against the edge of the plate.
Then turn the plate back over again and do another layer of mod podge. You want the material to be nice and wet with the mod podge at this point.
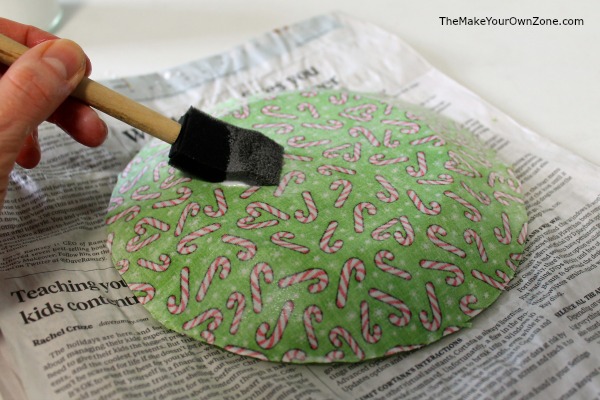
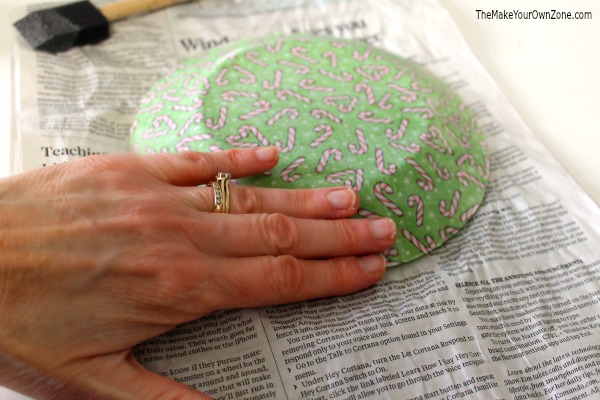
Smooth the fabric again, pressing very firmly over all of the plate, and being sure to smooth all the way to the edges.
Then let your plate dry. This will take a couple of hours.
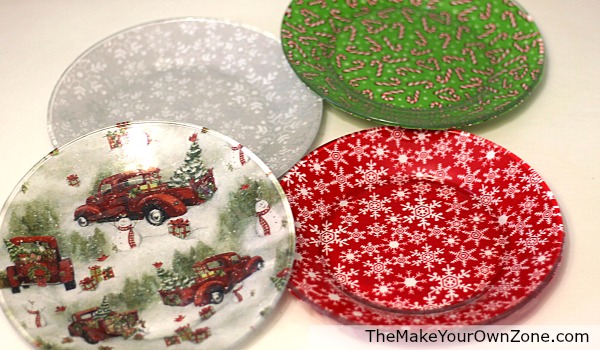
And then your Christmas plate is complete! Oh no wait, there’s one more step.
Add cookies. 🙂

What If Bubbles Happen??
One problem I encountered a couple times while making these plates is that bubble-like lumps in the fabric appeared as the plate dried. After some trial and error, I think the cause for this might have been just not smoothing things down really firmly. It also seemed to help to use a generous layer of mod podge so the fabric was very moist during the smoothing.
If after your plate has dried some bubble lumps have appeared, you can try getting everything wet again with another layer of mod podge and see if you can smooth things out by pressing all over the plate once again very firmly. Then you might want to “babysit” the plate as it dries again and if any lumps are still appearing, try smoothing them out before everything is too dry.
A Frugal Christmas Craft
I always enjoy when a few inexpensive supplies can be used in a craft like this to create something that’s not only pretty but is also practical. Each plate will only cost you a a little more than a dollar if you start with glass plates from the dollar store, and use your homemade mod podge.
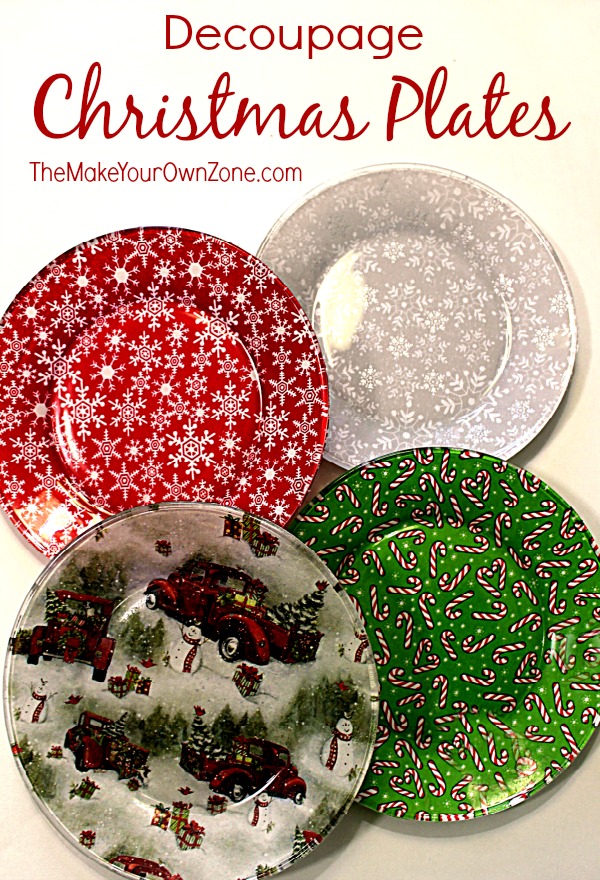
The fabric for these plates will only cost you a buck or two as well. Picking out your fabric is probably the most fun part of this project as there are so many fun patterns and colors to choose from at the fabric store. I used ordinary cotton fabric for all the plates that I made.
If you are making one of the smaller 7.5″ plates, you’ll probably want to purchase at least 1/4 yard of fabric, and about 1/3 yard for a 10.5″ dinner plate. You should be able to make three or four plates from each of those yardage amounts.
Update: A question I have gotten several times is, “Are these plates washable?” What I do is just give them a quick washing on the front side of the plate with a damp sponge or cloth which works fine. However, I would not recommend putting them in the dishwasher or immersing them in a sink full of water. Just stick with a quick and light hand washing on the glass front side of the plate.
Here’s the complete printable instructions:
How To Make Decoupage Plates
Materials:
- Glass Plate
- Mod Podge
- Sponge Applicator Brush
- A piece of cotton fabric slightly larger than your plate
Instructions:
- Begin by putting something protective over your work surface, such as a piece of newspaper. Then lay your glass plate upside down, and cover with a generous coat of mod podge.
- Lay the fabric on the plate, with the pattern side facing down (so that it will show through the glass plate).
- Smooth the material over the plate, pressing firmly, and picking up the plate as needed to press around the edges.
- Next, turn the plate over and trim the excess material. I like to hold the material up with one hand (because it will still fall away from the edge of the plate a little bit), and then I cut with the other hand, keeping my scissors up against the edge of the plate.
- Then turn the plate upside down again and do another layer of mod podge. You want the material to be nice and wet with the mod podge at this point.
- Smooth the fabric again, pressing very firmly over all of the plate, and being sure to smooth all the way to the edges.
- Let the plate dry, which should take about 2 hours.
Notes:
Related Reading:

Hi! I love the plates and have made a few. My question is, what is your process for the edge of the plate? I find that I have strings from the fabric or the fabric tends to lift a little. Do you use the modpodge around the edge into the front of the plate? Thank you!
When applying the mod podge, I always try to get it spread on all the way to the edge as completely as I can, and when smoothing the fabric I also try to get it smoothed down close to the edges, and that usually helps. I usually don’t add any mod podge on the front of the plate and instead just spend a little extra time on the back getting things well coated and smoothed down on the edges.
You could also use dishwasher safe modpodge, I still would not put them in the dishwasher however it would help them stand up to hand washing
Do you think this would work if I printed some art on a piece of vellum or light weight paper?
I think it would definitely be worth a try, as paper and mod-podge usually work together very well. The tricky part however, might be getting the paper to mold well against the curved shape of the plate because the paper will not drape the same way as a piece of cloth material will.
I found some dishwasher safe Mod Podge at Michael’s. I hope this will really be dishwasher safe. I am trying I!
After several days of drying, the back of the plate still feels sticky and stick to the table. What should I do to fix this problem? I used the gloss mod podge for the project.
Mine never lost that sticky feeling I’m going to try a spray sealant to see if it works
What is the best kind of mod podge to use for the glass plates
Hi… I have made a bunch of these…and I love them.but some of them had a milky look from the front of the plate. What did I do wrong. I also send the back once it is dry so ot isn’t so rough.
I also have made four of these plates and each one has a Milky Shadow spot on each one
I don’t know what else to do. The plates were thoroughly cleaned with alcohol before I started.
I tried this two days ago and the plate is milky. What should I do?
Hmm, I’m not sure what might be causing that. I did not encounter that problem with mine. I used my homemade Mod Podge, perhaps other mod podges give different results ??
how do you make homemade mod podge?
Here is the link to my homemade mod podge recipe: How To Make Mod Podge (It’s equal parts white glue and water)
I find the bottom of the plate is sort of scratchy. Is there some way to make it “softer”? It seems like it might scratch a wooden table. Thank you.
Hmmm, the fabric is stiffer after being decoupaged so I suppose some fabrics might feel scratchier after that. Perhaps you could try spraying on a clear acrylic sealant. However I haven’t tried that personally so I’m not sure how that would turn out.
Wet sandpaper. It’s a black sandpaper.
Love making these plates, great info.
Are these plates washable?
I do just a quick washing on the glass front side of the plate with a damp sponge or cloth which works fine. However, I would not recommend putting them in the dishwasher or immersing them in a sink full of water. Just stick with a quick and light hand washing on the glass front side of the plate.
How do you wash these plates?
I just give these a quick hand washing on the front side of the plate with a damp sponge or cloth. I would not put them in the dishwasher or in a sink full of water.
Is this washing machine safe?
I would not put these in the dishwasher. Instead I just give my plates a quick hand washing on the front side with a damp sponge or cloth which works fine.