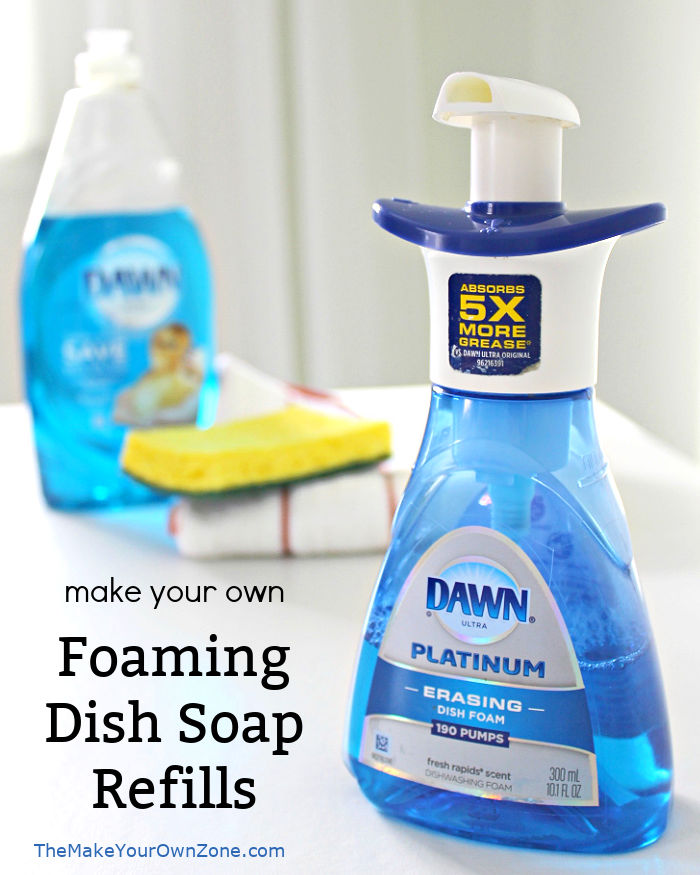
Make Your Own Foaming Dish Soap Refill
January 2026 update: The Dawn Powerwash Spray is now easier to find in stores than these small foaming containers that were more popular when this post was first written. Click here to see how I save money on my Powerwash Spray: Make Your Own Dawn Powerwash Refills
One of the great side benefits of making more of your own stuff is that you’ll usually save money too. Some of the homemade strategies may seem like only little changes at first, but over time they can all add up and become regular ways to help the budget.
One of the little strategies we’ve had in place for several years now is stretching our liquid dish soap so that it lasts almost five or six times longer than before. How do we do this? By watering down our dish soap in a foaming dispenser.
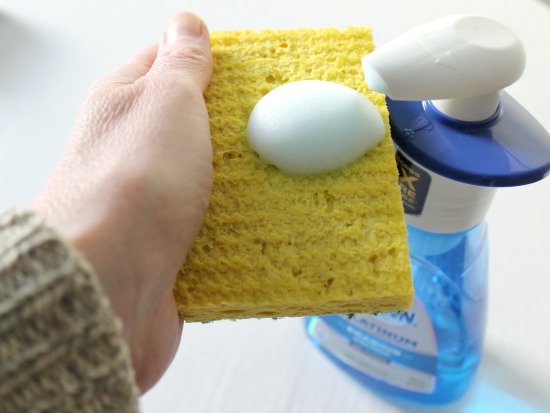
Even though “watered down soap” might not sound effective, that’s what were doing any time we squirt a little bit of dish soap in a sink of water and wash dishes that way too. Instead we’re using this method to squirt a little of our watered down soap onto a dish sponge as we do our dishes. It’s been working fine for us!
How To Make Your Own Foaming Dish Soap Refills
To begin to make your own foaming dish soap refills, you’ll need to start with a foaming soap dispenser. I think an easy way to get started is to buy the Dawn Foaming Soap and then just keep recycling the bottle when it needs to be refilled.
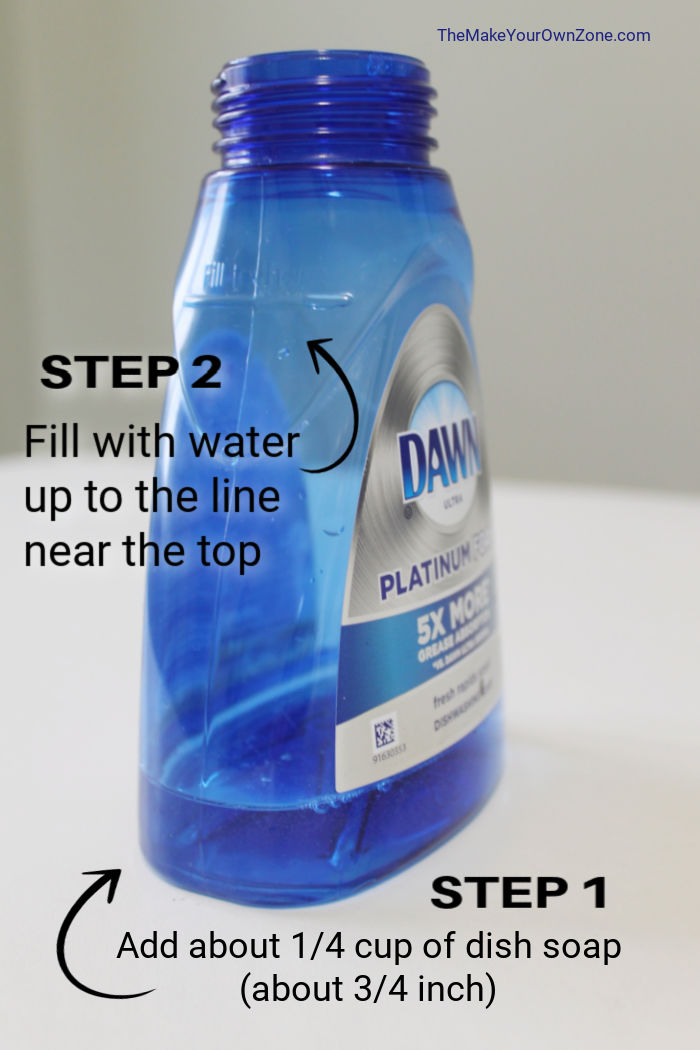
When it’s time to refill the dispenser, you’ll want to use about 1 part dish soap to about 5 parts water. I put about 1/4 cup of dish soap in the bottom of the dispenser. If you’re just eyeballing it (which I always do), it’s about 3/4 of an inch. Then you can fill the dispenser the rest of the way with water up to the fill line at the top. This will be about 1-1/4 cups of water. There needs to be a little head space at the top of the container for inserting the top back in and screwing it on.
Once the top is screwed back on, gently tip the container back and forth to combine the ingredients. I’ve found I can refill these dispensers many, many times but eventually they might wear out (after a year or two).
So if you like to use a foaming dish soap by your sink, I think you’ll like this strategy too. It’s a great way to save money by making a bottle of dish soap last much long, and a great way to just make your own foaming soap refills.
How To Make Your Own Foaming Dish Soap Refills
Materials:
- 1/4 cup Dish Soap
- 1-1/4 cups Water
- Foaming Soap Dispenser
Instructions:
- Place about 1/4 cup of dish soap in the bottom of a foaming soap dispenser.
- Slowly add 1-1/4 cups of water. Make sure you leave a little head space at the top of the container. If you are repurposing a Dawn Foaming Dish Soap bottle, add water up to the fill line at the top of the bottle.
- Screw the top back on the bottle and gently tip it back and forth to combine the ingredients.
Notes:

You should not add water to dish soap. It dilutes the soap, reducing its effectiveness and possibly compromising the preservatives, thereby inviting bacteria to accumulate.
If this is a concern, you could use distilled water instead.
I just use the foaming hand soap pumps from the dollar tree. It seems like the foaming dispensers never last more than a few refills, no matter if I use name brand or not. I have also used a spray bottle for watered-down dish soap. Handy, but takes a lot of work to spray. I think I will try a squeeze bottle next. I currently use a bar of homemade soap to wash just a few dishes. Works good.
Very interesting. I’m going try all your tips and see if an ordinary person can get the results you can.
I know you’ll be able to get good results too because I’m an ordinary person as well!
I dilute my ‘liquid fabric softener’ since they claim their bottle is 2 or 3 times concentrated. Been doing that for some time. No particular diluting ratio that I follow. Haven’t seen any static cling so far but it sure helps stretch the price.
Just ran across this recipe, and I’d like to share a tip that will make life even easier! If you add your water to the dispenser FIRST, and top it off with the soap SECOND, your mixture is less likely to bubble up. Put the top on, shake to mix, and you’re set!
Yes, you can do things in the order and you will indeed have less bubbling. If I add the soap first, however, it sure seems to help me just eyeball it a little better on how much soap to add without getting out my measuring cups.
I use this water soap combination in all my foaming soap dispensers. Works great…..until the dispenser wears out or breaks!
I know what you mean! When you recycle one of the foaming containers and refill it, they will last for awhile, but after many months they can wear out.
Hello. Could you do the same for handwash too. Thanks
Yes! I use this strategy for hand soap in my bathroom too. I’ve used castille soap, dish soap, and Sal Suds soap in my foaming hand dispenser.
It was so gratifying to read this post, because I’ve been doing this for my hand-washing soap for years. It’s nice to know I was doing it right! Tomorrow I will try it for the dishwashing soap. I hadn’t thought of that. Thank you!
Thank you so much for this tip. I am certainly going to try it.
Linda D.
I just came across this article (found you through the 2020 Blogging challenge) and while I’ve done this with hand soap for ages, I never even knew there was such a thing as foaming dish soap! This seems like a totally winning idea and MUCH better than the simply watered down version I use now (my husband hates it — we have it in a regular soap pump and it always shoots out onto his stomach when it’s watered down lol)!
Yes, the foaming dispenser is super helpful if you’re watering down your soap!
Do you know what it is about the dispenser that makes it foam?
My understanding is that the foaming dispensers add air. There are two chambers in the pump mechanism, one for the soap and one for air, and when pumped, the pressurized chamber then creates foam by combining the two.
Thanks! Will have to give this a try! I enjoy your DIY ideas!
Hi Bev: I also love foaming soap. I find if I use a little foam on the counter, stove or a plate with stuck stuff on it, it dissolves it easily after a few minutes without scrubbing. Of course, i’ve noticed if it’s a flat surface, a more than damp dish rag laid over the offending area for a few minutes also gets it off. Who knew? (When we still had gas station attendants here in California, they would wash our windows. Once I asked what the guy was using because the windows just sparkled. He kind of laughed and said, “water.”) Well, that was embarrassing!
As far as washing dishes with foam, we use a dish wand that you fill up with dish soap. When it gets wet, dish foam comes out and we use that to wash dishes.
Thanks for all your ideas.
Rita
Oh that was my smile for the day . . . finding out the magic cleaning ingredient is water! I’ve always wondered if those wet squeegee things you can use at the self-serve gas stations to clean your car windows had more than just water on them too. I guess not 🙂
I love Dawn Platinum Foam. I make my own, but I use the original pump. It lasts much longer than other foaming pumps I have tried. If you make large batches, consider the fact that you are diluting the antibacterial benefits of the soap. I use a combination of distilled water and rubbing alcohol rather than only tap water. This also improves the cleaning abilities of my foaming dish soap! I use it whenever I wish to wash something by hand. One squirt of this homemade foam on a China dish is all it takes. I do not add it to dish water, but apply it directly onto the handwashable glassware, China, ect.