How To Tint Canning Jars
This post may contain affiliate links. Please read my disclosure policy for more information.
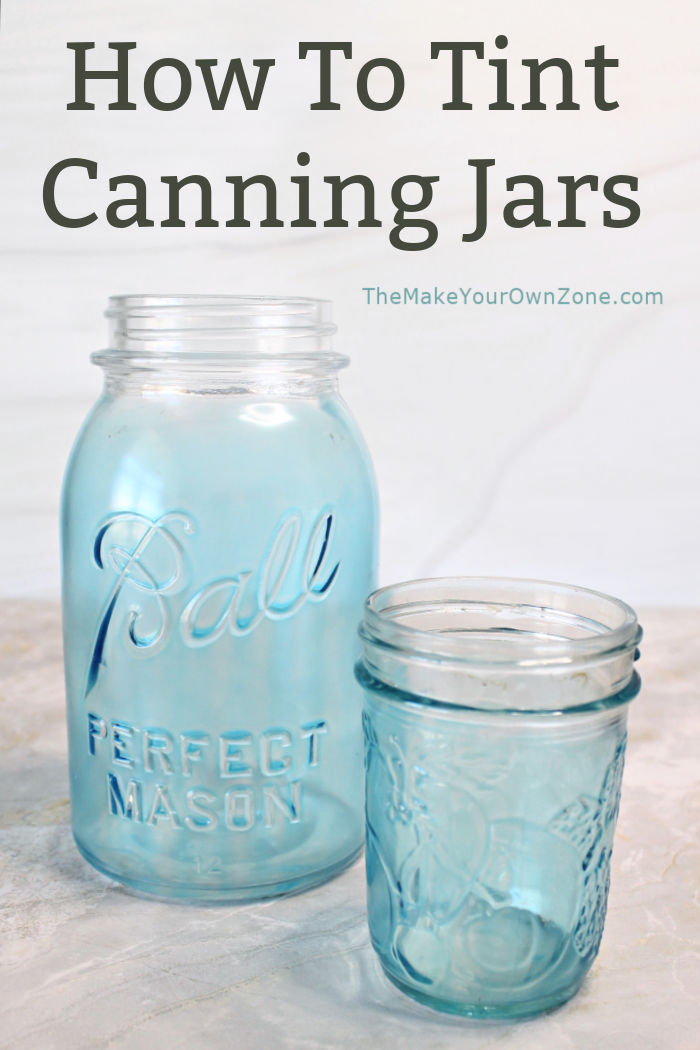
What do you do when you’ve got a yen for some colored canning jars, but you’re too frugal to buy a box of them? You find a way to make your own! That’s what I set out to do recently and now I have some blue canning jars just like the type I’ve been wishing for.

Supplies for Tinting Canning Jars
I tried two different methods to make my own colored canning jars. The method that worked the best used a product called Glazing Medium. The second method I tried was more of a Let’s-just-try-it-what-the-heck experiment with my homemade Mod Podge. BUT – it actually worked quite well so I’ll include those instructions too because it was a super frugal way to get a colored canning jar.
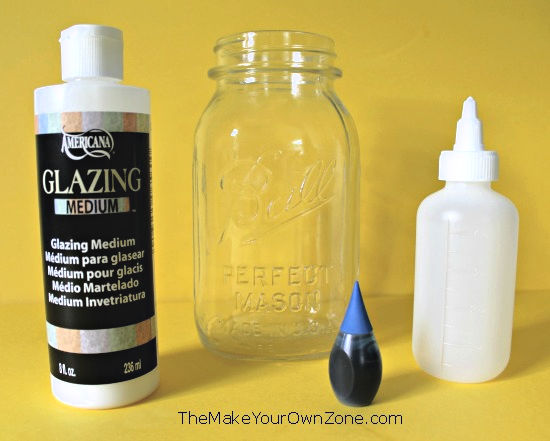
For the first method you’ll need a bottle of Glazing Medium (sold at craft stores or online: Glazing Medium![]() .) You’ll also need some liquid food coloring and a small squeeze bottle (such as you can often find in stores with the travel sized items)
.) You’ll also need some liquid food coloring and a small squeeze bottle (such as you can often find in stores with the travel sized items)
Although the picture above shows the original top that came with the plastic bottle, I discovered that the top from the bottle of glazing medium screwed right onto my little squirt bottle and worked MUCH better for squirting the glazing medium around.
Steps For Tinting Your Own Canning Jars
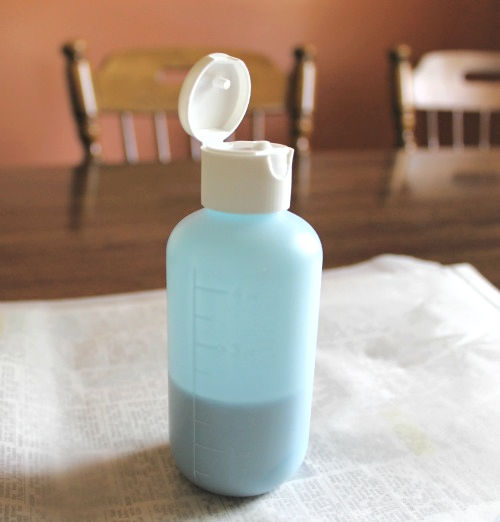
To get started, measure out 3 tablespoons of glazing medium into your squeeze bottle. Then add 10 drops of food coloring to the glazing medium. Put the top on the bottle and gently swirl and shake the contents around to mix the glazing medium and the food coloring.
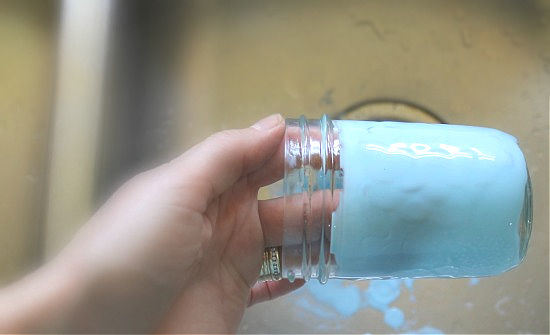
For this project we’ll be tinting the OUTSIDE of the canning jar. Hold the canning jar horizontally while you squirt the colored glazing medium over the outside of the jar, avoiding the screw threads at the top of the jar. Keep rotating the jar and squirting on the glazing medium until the jar is covered. I did this step over my kitchen sink and then just quickly rinsed away the drippings that fell in the sink.
Set the jars upright on some waxed paper to dry (I put newspaper under my wax paper too). The colored glazing medium will be opaque when you first put it on. As the canning jar sits on the waxed paper to dry, the glazing medium will keep draining down and puddling around the bottom. Move the jars around every so often, and wipe the excess from the bottom with paper toweling.

The glazing medium will get more and more clear and “see through” as it dries. It will take about 3 hours for the glazing medium to completely dry.
Another Canning Jar Tinting Method To Try
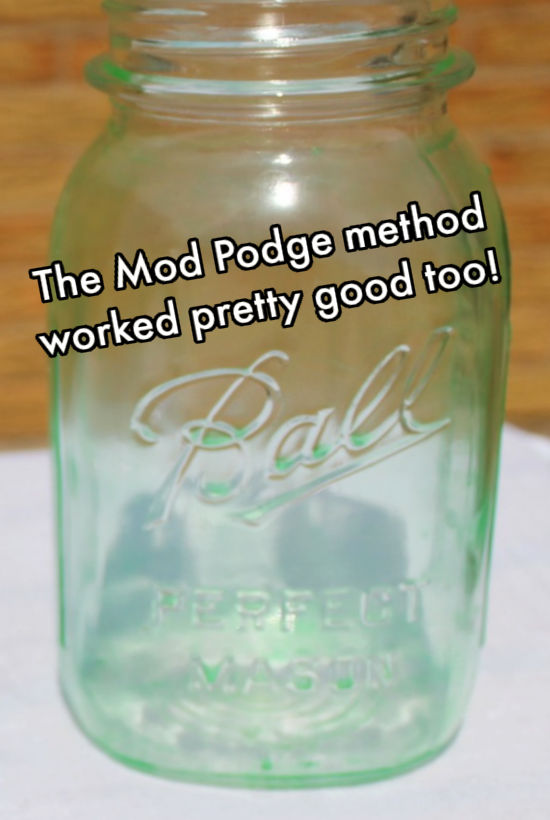
In addition to the method above, I tried using my homemade Mod Podge (a simple mix of equal parts white glue and water) instead of the glazing medium. I used 3 tablespoons of my Mod Podge with 10 drops of food coloring in my squeeze bottle, and squirted it onto the outside of a jar, just as I had with the glazing medium method. It was a thinner mixture than the glazing medium so I used a small craft paintbrush to make sure I had coverage on all the areas. It turned out pretty good!
And one final note for those of you with lots of old canning jars. After I picked a couple jars from my stash and did my tinting, I was looking at the different type of logo on my jar. After I little research, I discovered it’s a very old jar, probably something that used to belong to my grandma. According to the chart I found, it dates to between 1923 and 1933. If I had realized that, I might have picked a different jar!
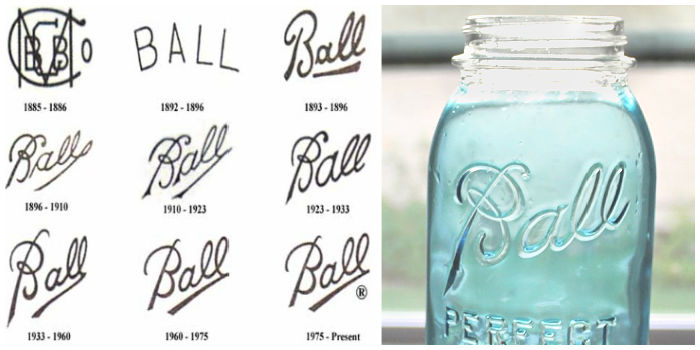
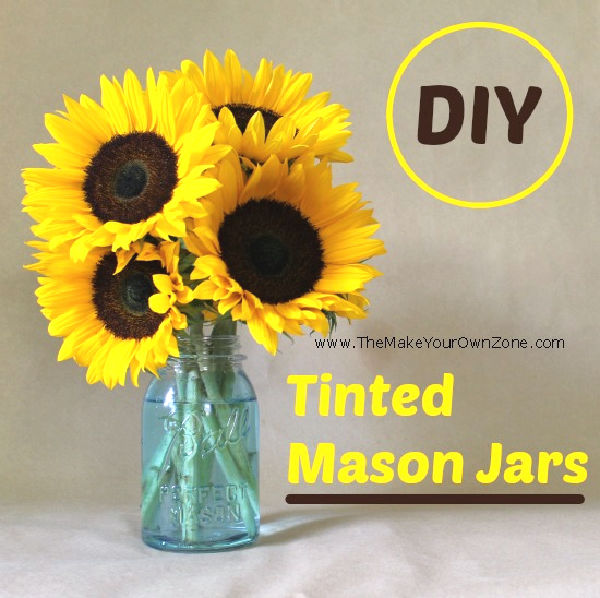
But it’s all tinted now, so I’m enjoying my “new” 100 year old canning jar and it’s pretty blue color by filling it with a nice bunch of sunflowers. I think Grandma would approve!
How To Tint Canning Jars
Materials:
- 3 tablespoons glazing medium
- 10 drops liquid food coloring
- Small squeeze bottle
- Clean glass canning jar
- Wax paper
Instructions:
- Measure out 3 tablespoons of glazing medium into your squeeze bottle.
- Next add 10 drops of food coloring to the glazing medium. Put the top on the bottle and gently swirl and shake the contents around to mix the glazing medium and the food coloring. (Note: I discovered the top of the bottle of glazing medium fit perfectly on my squeeze bottle and worked better too).
- Hold the canning jar horizontally while you squirt the colored glazing medium over the outside of the jar, avoiding the screw threads at the top of the jar. Keep rotating the jar and squirting on the glazing medium until the jar is covered. Work over an area where it's OK for drips to fall (over the sink or a protected surface).
- Set the jars upright on some waxed paper to dry (I put newspaper under my wax paper too). The colored glazing medium will be opaque when you first put it on. As the canning jar sits on the waxed paper to dry, the glazing medium will keep draining down and puddling around the bottom. Move the jars around every so often, and wipe the excess from the bottom with paper toweling.
- The glazing medium will get more and more clear and "see through" as it dries. It will take about 3 hours for the glazing medium to completely dry.
Alternate Idea to Using Glazing Medium:
- You can also try using Mod Podge instead of the glazing medium. Use 3 tablespoons of Mod Podge with 10 drops of food coloring. (I used my homemade Mod Podge). It will be a thinner mixture and you might need a small paint brush to make sure all areas of the jar are covered.

Thank you for your post… Just curious as to which method you used with the sunflower jar?
I used the first method with the glazing medium for the blue tinted canning jar with the sunflowers in it.
Excellent instructions – thanks!
Glad you found the instructions easy to use Shelly!
I did this to a set of 25 jars in various basic colors (red, green, blue, yellow, orange) to create a string of lights for christmas (redneck look)
I dont know how the glazing stuff is, but with the decopage (you can also use elmers glue) that they do not hold up to water or heat well.
The lights I hung outside faded in time and the only colors that stayed were the green and blue and even they faded some. The warm weather melts the glue or modpodge back into the bottom of the jar – the bottoms of my jars are brilliant colors.
When the humidity came, the color turned into an opaque sticky runny mess.
So if you want to color jars, buy them colored or buy glass tint or spray them with krylons glass spray paint (yes this is a real thing). And it’s water/heat proof