Make Your Own Greeting Card Envelope
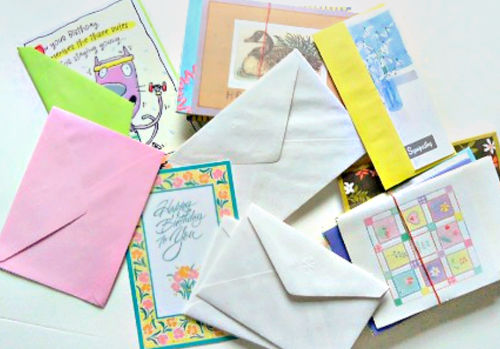
One of the interesting things that’s happened to me as I’ve become a well seasoned homemaker is that I’ve built up little supplies of things around the house to solve last minute problems. One helpful stash I have is assorted greeting cards and note cards.
And just this week I realized few hours before we were to leave for a birthday party, that I had not picked up a card to go with our gift. Time to check the greeting card stash! Yes! I have a birthday card here that will work!! Oh, but wait. Seriously?? I have the card and not one single envelope here that it will fit into? I guess it’s time to make my own envelope!
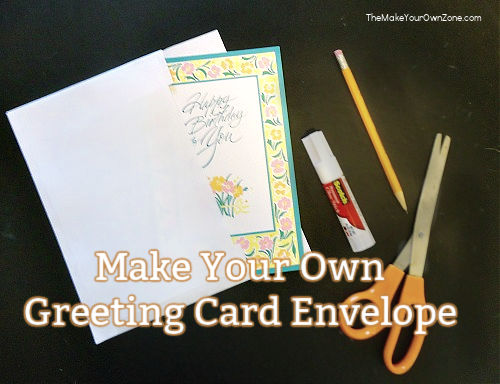
Here’s how I made my own envelope and maybe it will help you out in a pinch too. The supplies I used were:
- Two pieces of 8.5″x11″ white paper
- Scissors
- Glue Stick
- Pencil
- Ruler (helpful for centering your card on the paper)
I followed these instructions at the WikiHow website which has great step-by-step pictures and instructions. I managed to snap a few photos too even though I was in a rush to solve my birthday card problem.
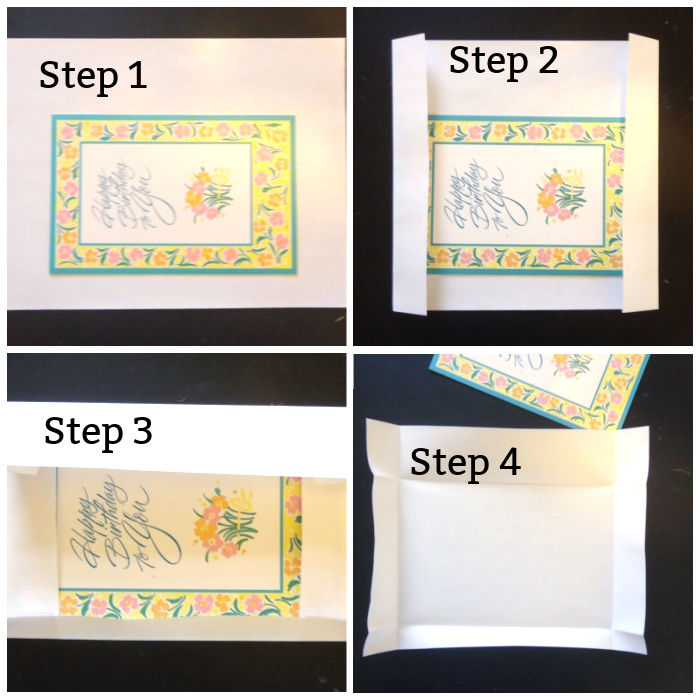
Step 1: Lay your card horizontally on your piece of 8.5″ x 11″ paper, centering it, but placing it a little low. (This is so you can have a larger flap at the top). I used a ruler to make sure I had an equal distance to the edge of the paper on each side.
Step 2: Fold the sides of the paper in. Make sure to leave a little room so that the envelope will be a little larger than the card.
Step 3: Then fold the top and bottom too, making sure once again to leave a little bit of wiggle room.
Step 4: Remove the card and flatten the paper out a bit.
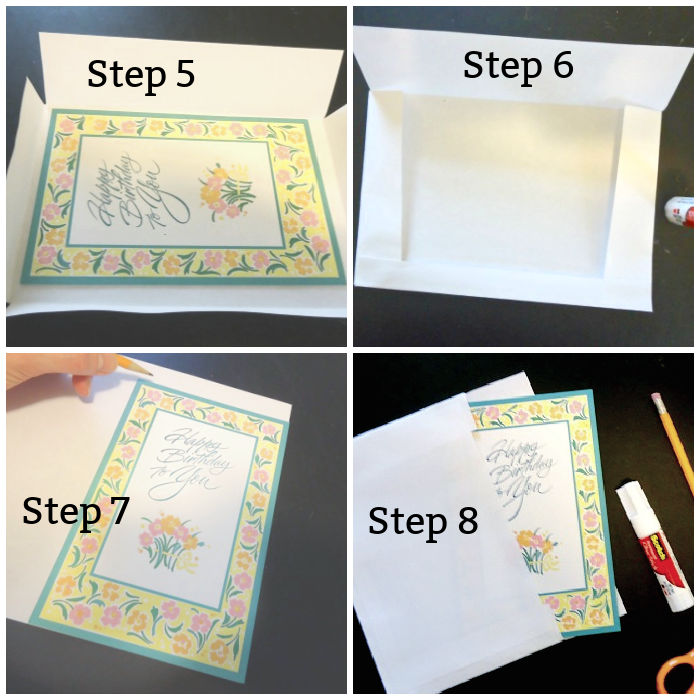
Step 5: Snip off the corners along your fold lines. I found it helped to cut just a tiny bit outside the fold lines. Lay the card back in to make sure you’re happy with your folds and the size. Remove your card for the next steps of gluing the envelope together.
Step 6: Fold in the sides and then put a little glue on the bottom of each side. Fold up the bottom and press down to glue it to the sides.
Step 7: Next, from your second piece of paper, you will cut a rectangle slightly smaller than the envelope for the back piece. I found the simplest way to do this was to just use the greeting card itself as a template! Because you leave a little wiggle room when making your folds, the card ends up being the perfect size to trace around for a back piece because it’s just a bit smaller than the finished envelope will be. I also placed the card in the corner of my paper so I only had two edges to cut.
Step 8: Spread a little glue along the sides and bottom of your envelope and place the back piece on, pressing down to glue it in place.
Your homemade envelope is finished! After you insert the card, you can use your glue stick on the top flap to seal the envelope shut.
So if you have a couple pieces of paper, a scissors and a glue stick, you can solve your last minute problem of no envelope, with a perfectly sized homemade envelope.

This was very helpful, very nice instructions. I had a bunch of greeting cards without an envelope and I don’t have a son who used mine.
For step 8, the back rectangle, you could use a picture from a magazine. The color and design would help conceal the card front.
Yes, you could definitely use any combination of papers available to you to create colorful envelopes 🙂