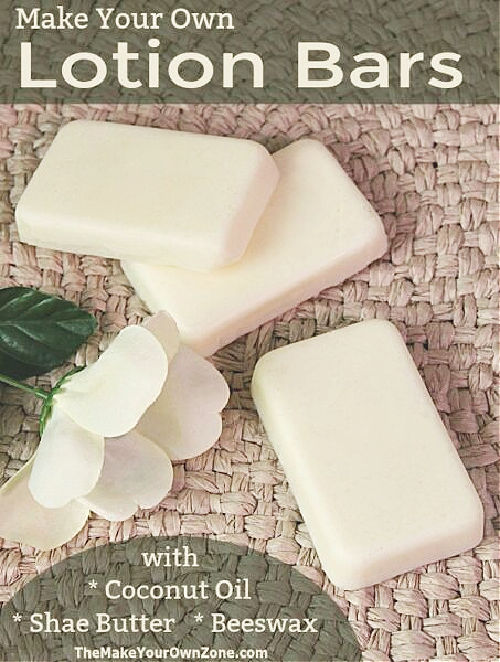
Homemade Moisturizing Lotion Bars
When we think about moisturizing our skin, most of us think about a soft lotion, not a bar. But I think you’ll be as pleasantly surprised as I was to discover that homemade lotion bars are easy to use on dry skin (especially hands) even though they’re not in the more familiar bottle or tube.
Homemade lotion bars for dry skin are made of ingredients that are thicker and harder at room temperature, which is why they’re a bar. But when you rub them on your skin, your body heat will soften the bar just enough that you’ll be able to rub the goodness of the ingredients onto your skin to enjoy their moisturizing benefits. I found they can be a handy little thing to pick up and rub around in my hands when they’re feeling dry. And the ingredients are natural too so there’s no worries about what chemicals or fragrances might be lurking in the mixture.
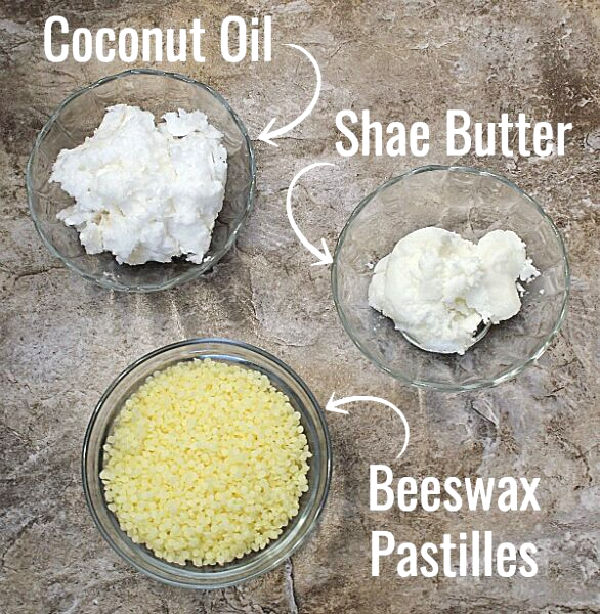
To make these bars I combined a ½ cup coconut oil, a ½ cup beeswax pastilles, and a ¼ cup shae butter. I melted these three ingredients together and once melted, poured it into molds to harden up again.
Anytime you’re melting a mixture with beeswax, it’s best to do it in a container that can be tossed out when you’re done. I always use a recycled tin can. Melted wax can be troublesome to try to wash out of a container again and you certainly don’t want any melted wax to get in your pipes or sink and then harden up.
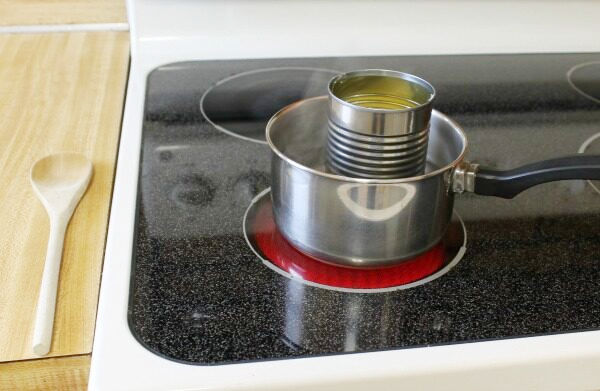
So the best method is to put all your ingredients in a tin can, and then put the tin can in a small sauce pan with about an inch or two of water. Then heat the pan on the stove and as the water heats up, the ingredients in your tin can will start to melt. Just keep the water at a high simmer, you don’t need it to be boiling. After about 5 minutes the ingredients in your can should be melted. You can then pour the melted mixture into molds.
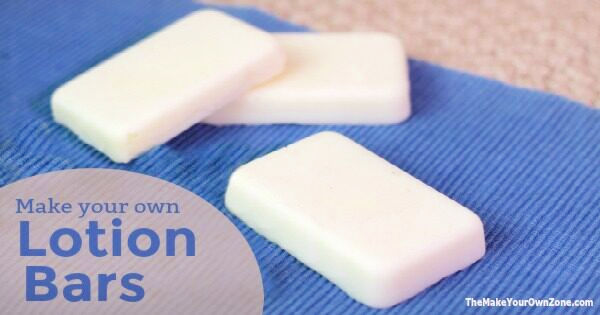
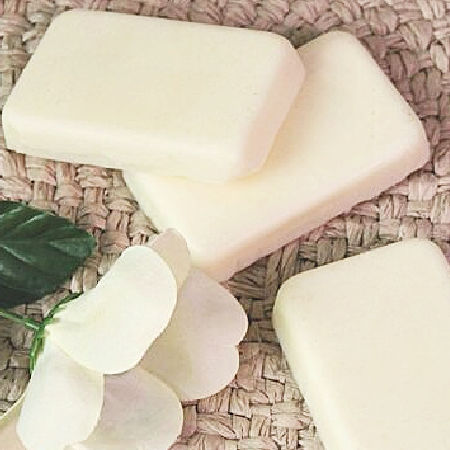
I like to use my mini loaf pan as a mold. Seems kind of weird, I know, but it’s a frugal solution for me that works well. A batch this size creates three bars in my loaf pan that are about the size of a small bar of soap and fit perfectly in your hands.

Once the lotion bars have cooled, you can pop them out of your molds, and they’re ready to use. As mentioned before, just rub them around on your skin and your body heat will soften the outside of the bar just enough that you can rub some into your skin. These type of bars can also be helpful in dry rough areas like heels, knees or elbows.
Moisturizing Lotion Bars
Equipment:
- Clean recycled tin can
- Small Saucepan
- mold (I use a mini loaf pan)
Materials:
- 1/2 cup coconut oil
- 1/2 cup beeswax pastilles
- 1/4 cup shae butter
Instructions:
- Combine the coconut oil, and shae butter, and the beeswax pastilles in a clean recycled tin can.
- Place the can with the ingredients into a small saucepan with about an inch or two of water.
- Heat the pan on the stove and as the water heats, it will melt your ingredients in the tin can. Keep the water at a high simmer, it does not have to boil. It should take about 5 minutes to melt the ingredients.
- Once the ingredients have melted, pour them into the mold of your choice. When the ingredients have cooled and hardened, you can remove them from the mold.
- To use the lotion bars, rub them onto your skin and the heat from your body will soften the bars just enough to rub some into your skin.

Splendid idea that fits nicely for personal home care. Stumbled upon yours while searching for items to go into my make shifts similar to the American Red Cross “Be Prepared Kits”. Friends and family members will appreciate the gifts and look beyond any glitches…. The fact that it would probably melt if left in the car or anywhere in the California Sun would be a problem for someone else, but not for me. I like the portability and the ease of handling vs. liquid. I’d like to whip up a batch and try store them in those little new (to me) zip locks I found in the small pill holder isle at our local Walmart. I am thinking about using them for dispensing vasaline(sp), insect repellant, tums, alka selzer and the like. It sounds easy enough and the cost is right on the mark.
Thank you for sharing!