Homemade Elderberry Syrup To Fight Off Colds and Flu
This post may contain affiliate links. Please read my disclosure policy for more information.
This year I’m trying something new (well, new to me anyway). I’m taking a daily dose of elderberry syrup during the winter months of the year to help fight off colds and the flu. Elderberry syrup has long been touted as a natural way to boost your body’s immunity system which can help make you less susceptible to coming down with colds and flu, and if you do catch something, you can experience a milder and shorter bout with it.
I bought my first little bottle of elderberry syrup and had a bit of sticker shock when I discovered the small 3 oz size would cost me about $15, and that was on sale. And whenever I get sticker shock, my next thought is – I bet I can save money if I just make my own!
It turns out it’s very easy to make your own elderberry syrup and that’s just what I did. Once I was done I crunched the numbers and I did in fact save money, but that was in part because I found a good price on a bag of dried elderberries. But even if your cost is a little higher, I always think homemade is a great option because you know exactly what’s in your mixture. Let’s take a closer look.
Can You Save Money With Homemade Elderberry Syrup?
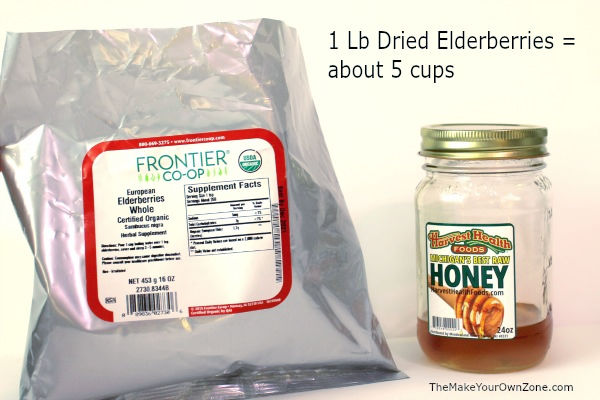
The two main ingredients in homemade elderberry syrup are dried elderberries and honey. Because this is a medicinal mixture, raw local honey is the preferred honey to use. I was able to find both these ingredients at reasonable prices at my local health food store ($23.50 for 1 lb of dried elderberries and $7.29 for 24 oz of raw local honey). I also did some measuring and found that a one pound bag of dried elderberries contains about 5 cups. The bag of dried elderberries can be kept in your refrigerator and they will keep for many months. You can also find elderberries on Amazon – – > One Pound Bag Dried Elderberries (affiliate link)
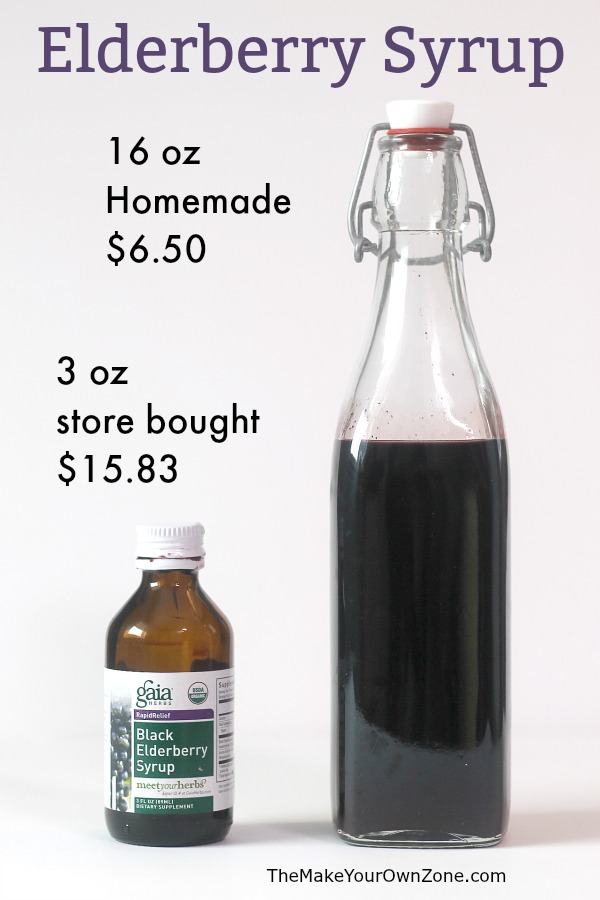
There are also a few spices in the mixture but in a small enough amount that I did not calculate them into the price. My homemade mixture made exactly 2 cups (which is 16 ounces). Here’s how the prices compared:
16 oz bottle homemade = $6.50 = 40¢ per oz.
3 oz bottle store bought = $15.83 = $5.27 per oz.
Now at first glance that looks like great savings – BUT – there is one more thing to consider. My store bought bottle said to take one teaspoon daily. With homemade recipes, you usually take one tablespoon daily (which is 3 times as much). How do the prices on those dosage amounts compare?
Homemade 16 oz = 32 tablespoons = 20¢ per dose
Store bought 3 oz = about 16 teaspoons = 33¢ per dose
So yes there was still a savings with the dosage size considered. And here’s the reality anyway – when you’re taking your spoonful of elderberry syrup, you’re most likely not getting out your measuring spoons and being super accurate. It’s much more likely that you’ll just be grabbing a regular spoon out of the silverware drawer and giving yourself a quick spoonful. So I think the savings per dosage is actually more than reflected above, and I’m quite confident that you will in fact save money if you make your own elderberry syrup.
OK, enough with the numbers. Exactly how do you make your own elderberry syrup?
How To Make Elderberry Syrup
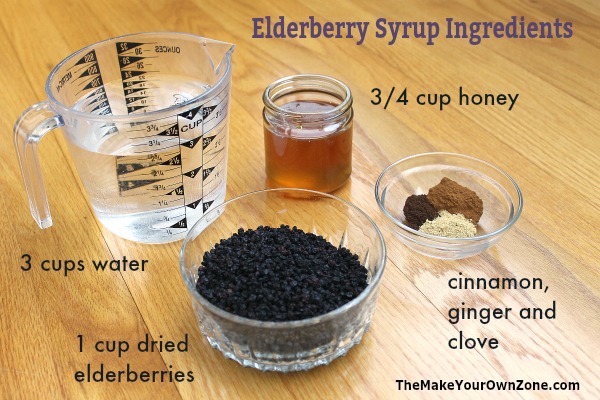
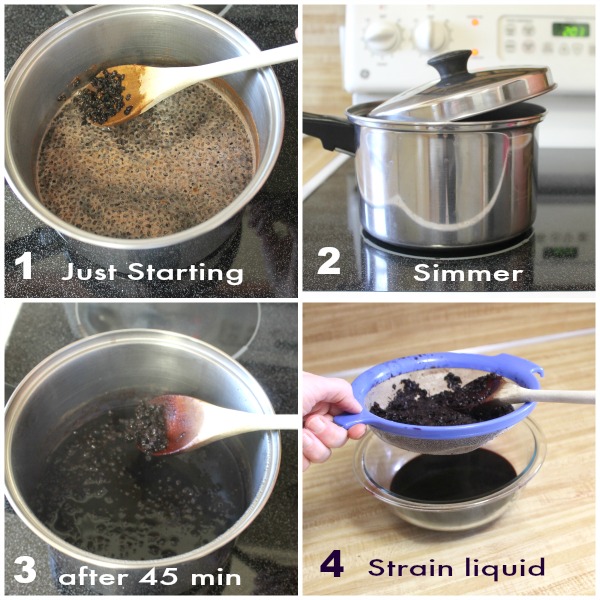
To make my homemade elderberry syrup, I combine 1 cup of dried elderberries with 3 cups of water in a saucepan. I also add in 1 teaspoon of ground cinnamon, 1 teaspoon of ground ginger, and a ½ teaspoon of ground cloves. (Some honey will be added too after the cooking process).
Next, the mixture gets brought to a boil on the stove, the heat is then turned down, and everything simmers (keeping it steamy with just a bit of bubbling) for about 45 minutes until the water is reduced by about half. I stirred my mixture a few times too just because I like to keep tending my mixtures. I also like to let things simmer by putting the lid on a little crooked. 🙂
After the 45 minutes, I mash the elderberries in the pan just a bit with a fork. Then, everything is strained through a fine mesh strainer (like this type of mesh strainer). It’s good to press on the elderberries that are left in the strainer with a wooden spoon to get out any more remaining juices.
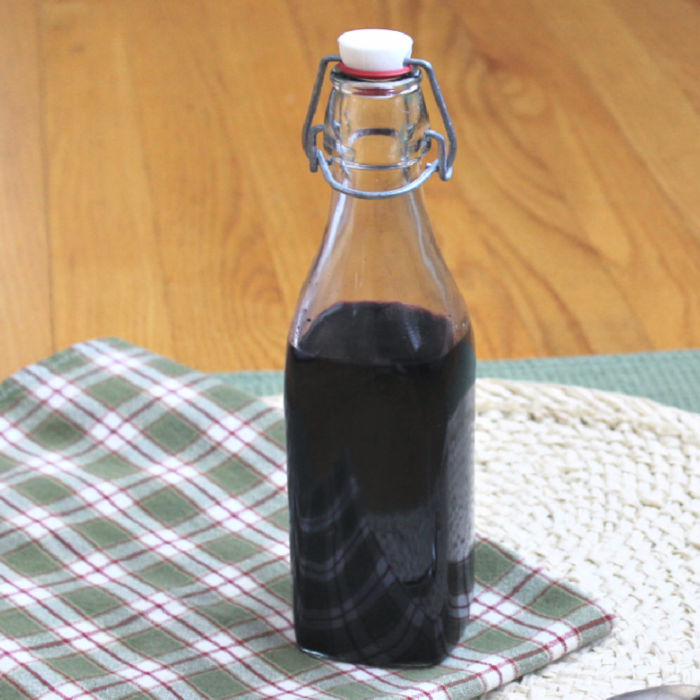
Then, I let the mixture cool. Once it’s cooled I finish up by adding 3/4 cup of honey. This will thicken the liquid somewhat but it is usually still a thinner consistency than the store bought varieties. The mixture can then be transferred to a bottle or jar and kept in the refrigerator. I like to use a bottle like these swing-top bottles but ordinary mason jars work good for storage too.
And that’s it! There’s very little active work involved as the mixture just hangs out on the stove most of the time.
Using Your Homemade Elderberry Syrup
As mentioned above, the dosage amount for your homemade elderberry syrup is to take a spoonful daily (about 1 tablespoon). However if you feel a cold or flu coming on, or if you already have a cold or the flu, you can increase that and take a spoonful every 3 or 4 hours.
This is still something of a new strategy for me, but I can share that both hubby and I had a brief cold with a sore “froggy” throat over Christmas time and both of us rebounded quickly and only felt our cold symptoms for 3 or 4 days, compared to the normal week or so it usually takes us to feel better. We had no stuffy heads or runny noses or achiness with it either. So that was encouraging and we’re planning to keep using our homemade elderberry syrup.
If you’re looking for a new and natural strategy too, I think you’ll find this mixture to be a simple one to make and use. Children can also use this mixture by taking about a teaspoon daily. However because this mixture contains honey it should not be given to children less than 12 months of age as doctors recommend no honey until a child reaches a year old.
Please note, I am not a doctor and am only sharing how this natural strategy has worked for me. If you have any concerns, consult with your doctor first.
Homemade Elderberry Syrup
Ingredients:
- 1 cup dried elderberries
- 3 cups water
- 1 tsp ground cinnamon
- 1 tsp ground ginger
- 1/2 tsp ground cloves
- 3/4 cup honey (raw local honey preferred)
Instructions:
- Combine the dried elderberries, the water, and the spices in a saucepan.
- Place the mixture on the stove and bring to a boil. Then reduce the heat and let the mixture simmer (with just a bit of bubbling). Simmer for about 45 minutes so that the water reduces by about half.
- When the mixture is done simmering, mash the elderberries a bit more with a fork.
- Place a fine mesh strainer over a bowl and drain the liquid off from the elderberries. Use a wooden spoon to press on the elderberries in the strainer to release any remaining juices. Discard the elderberries, and then let the liquid in the bowl cool.
- Once the liquid has cooled, stir in the honey.
- Transfer your finished syrup to a bottle or jar. Keep in the refrigerator.
- To use, take a spoonful daily. During illness, this amount can be increased to 3 or 4 spoonfuls per day. Children should take a smaller dosage, about 1 teaspoon per day. Children under one year of age should not take this mixture as it contains honey.
