

Chocolate Pudding Dessert: Adding Homemade Updates
My adventures in the kitchen last week once again highlighted why it can be frustrating to rely too much on recipes that use a particular size or brand of a pre-packaged convenience item like a cake mix. As the years go by the package size may change, flavors come and go, or the product may disappear completely. You may end up with a favorite recipe where you just can’t find the products on the shelf anymore!
I touched on this subject once before with my recipe for a homemade hot chocolate mix that I’d been using for many years. The sizes and brands that worked 30 years ago just didn’t make much sense anymore and after doing some thinking and number crunching, I created my updated homemade hot chocolate mix that worked much better. PLUS – it will last better into the future too because it doesn’t rely on a particular size or brand of product packaging.
And it was time to do the same thing with another oldie but goodie – a favorite chocolate pudding dessert.
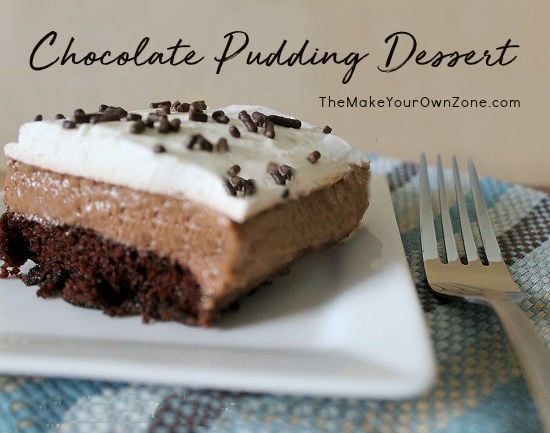
I’ve made this chocolate pudding dessert recipe for many potluck and company occasions and it’s always been enjoyed. But there was one ingredient that was making it hard to continue making this recipe.
The recipe called for a Jiffy one-layer chocolate cake mix. Which I can find exactly NOWHERE anymore. It’s not on any shelf at any grocery store in my area.
And here again I’m reminded of what at first glance seems like convenience may not really be convenient after all. Sure, that little cake mix was handy for the first few years I made the recipe, but now? Now it was the thing causing all the great inconvenience. All the cake mixes now are for larger sizes that won’t work in this recipe. So there I stood in my kitchen, surrounded by the flour and sugar and cocoa that would make a great chocolate cake, and yet feeling like I couldn’t make my favorite chocolate pudding dessert anymore because of a cake mix!
It was time for a few homemade updates. And once those updates were made, I knew I would have the new convenience of being able to use what I had to help make what I need.
This dessert is made with three layers: A bottom layer of chocolate cake, a middle layer of pudding and ice cream, and a top layer of whipped cream. Here’s how you can do each of these layers.
Layer 1: Chocolate Cake. To make the bottom layer of this dessert, I used a homemade one layer cake that may be familiar to you as Wacky Cake. You can find my post on that here: DIY Wacky Cake Mix. I also use this mix of ingredients in my Topsy Turvy Cupcakes. It’s a simple mix of pantry ingredients that makes a perfect one-layer chocolate cake that can replace my old Jiffy store-bought cake mix.
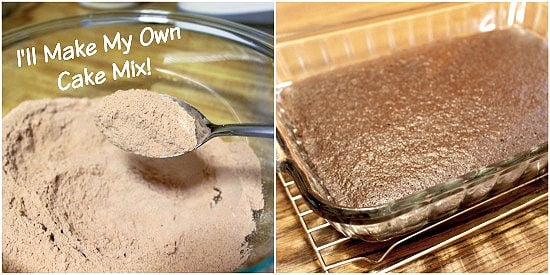
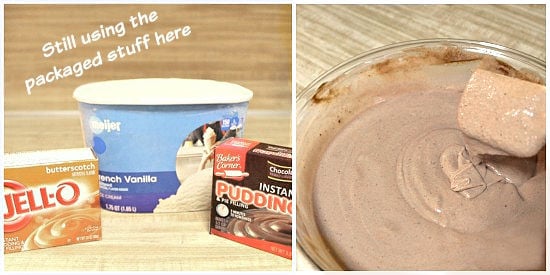
Layer 2: Pudding and Ice Cream Mixture. For this layer I mix together vanilla ice cream with a chocolate instant pudding, a butterscotch instant pudding, and milk. Most of these ingredients are the same however the measurement of “1 quart of ice cream” is usually my best guess now. It used to be half of the 2 quart containers, but those have been downsized now too.
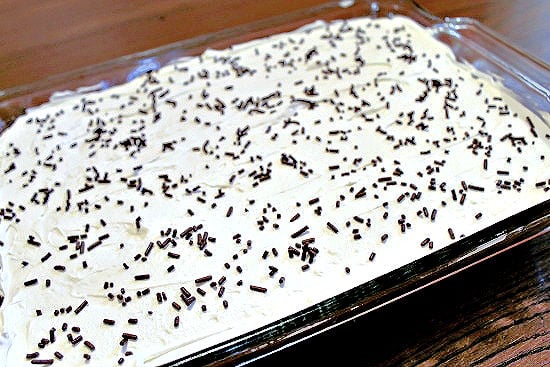
Layer 3: Whipped Cream. The final layer of this dessert is a topping of whipped cream. Many times I just spread on cool whip. But for this most recent dessert I made my homemade stabilized whipped cream. It worked great and was another handy DIY substitution. You can find that recipe here: Homemade Stabilized Whipped Cream. A few chocolate sprinkles on the top are a nice touch too.
So when those store-bought convenience products disappear, it doesn’t mean the end of a favorite recipe. Sometimes you just have to get creative and start making your own instead!
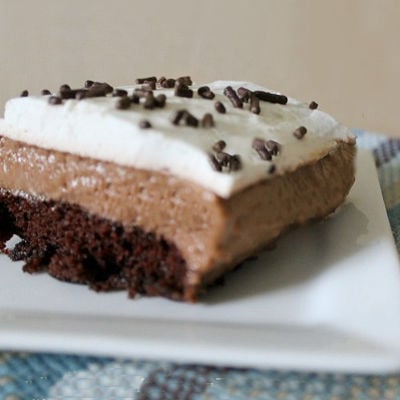
Chocolate Pudding Dessert
Ingredients:
Chocolate Cake Layer:
- 1½ cups flour
- 1 cup sugar
- ¼ cup cocoa powder
- 1 teaspoon baking soda
- ½ teaspoon salt
- ⅓ cup vegetable oil or melted coconut oil
- 1 talespoon white vinegar
- 1 teaspoon vanilla extract
- 1 cup water
Pudding Layer
- 1 box instant chocolate pudding
- 1 box instant butterscotch pudding
- 1½ cups milk
- 1 quart vanilla ice cream
Whipped Cream Layer
- 1 container Cool Whip
Instructions:
- Cake layer: Mix together the ingredients for the chocolate cake layer. Grease a 9×13 pan and pour the cake batter into the pan. Bake at 350 degrees for 25 minutes. Let cool.
- Pudding layer: Combine the pudding mixes and the milk in a mixing bowl. Add the ice cream and keep slowly stirring until it is completely mixed in with the pudding. Then spread the pudding/ice cream mixture over the cake layer in the pan. Put the pan in the refrigerator for about 15 minutes so it can firm up slightly before adding the next layer.
- Whipped cream layer: Spread a layer of cool whip over the top. You can also use this homemade stabilized whipped cream recipe for this layer if you wish.
- Refrigerate until serving time.