

Homemade Whipped Cream (Stabilized version too)
Making homemade whipped cream is such a simple process, and yet we often don’t do it or kind of forget that we can do it. So here’s a little encouragement and inspiration to help us remember it only takes a couple minutes to make our own whipped cream and the result is a light, fluffy, and tasty homemade topping with very few ingredients. I’ll show you how to make the basic homemade whipped cream, as well as a “stabilized” whipped cream that’s a bit sturdier and holds its shape a little longer.

Steps To Make Homemade Whipped Cream
To make the basic homemade whipped cream we’ll only be using three ingredients:
- a cup of heavy whipping cream
- a tablespoon of sugar
- a splash of vanilla extract
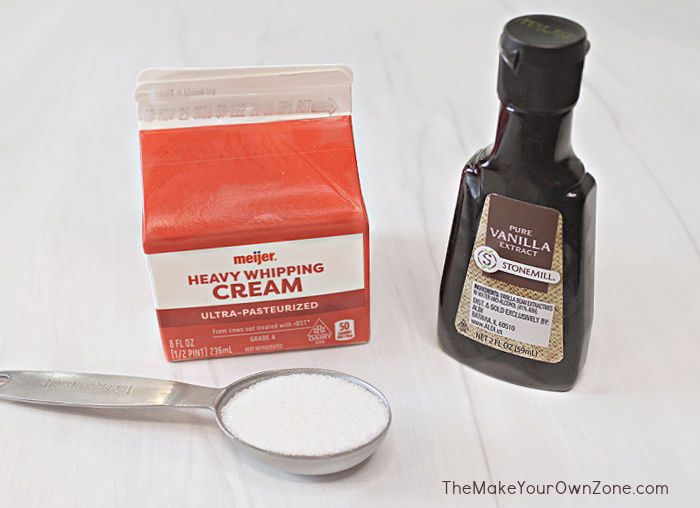
The heavy whipping cream is poured into a mixing bowl, and the sugar and vanilla are added. Then you’ll need an electric mixer (either a hand mixer or a stand mixer), and you’ll begin whipping the cream.
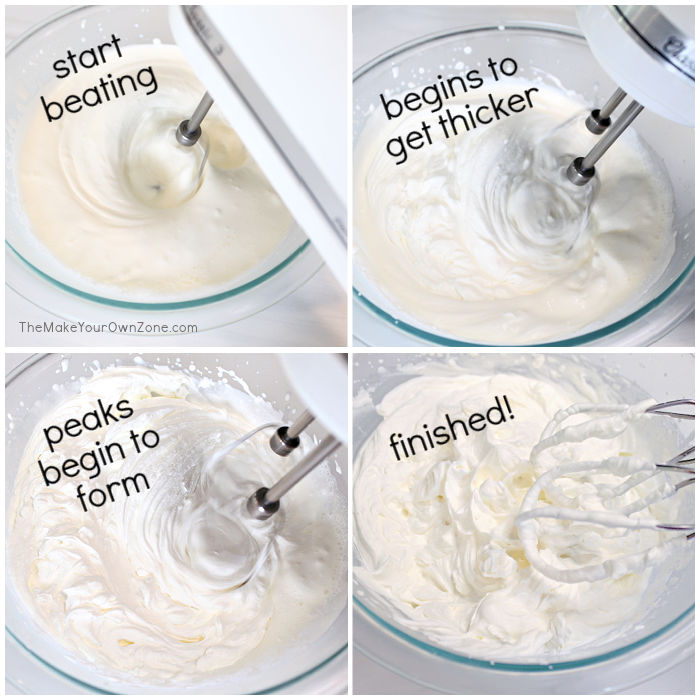
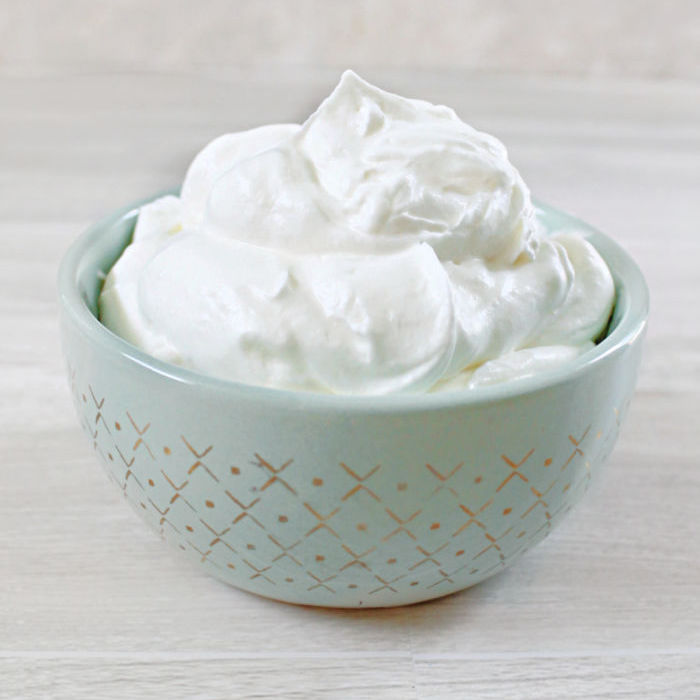
This process will only take a couple minutes and will go through a few stages. It starts off as a liquid, and you might need a lower speed on your mixer so it doesn’t splash everywhere. But then it begins to get a little thicker and you can start using a higher speed on your mixer. Then you’ll see peaks begin to form and finally you’ll have a lovely whipped cream with a texture that holds the peaks when you pull the beaters out of the mixture.
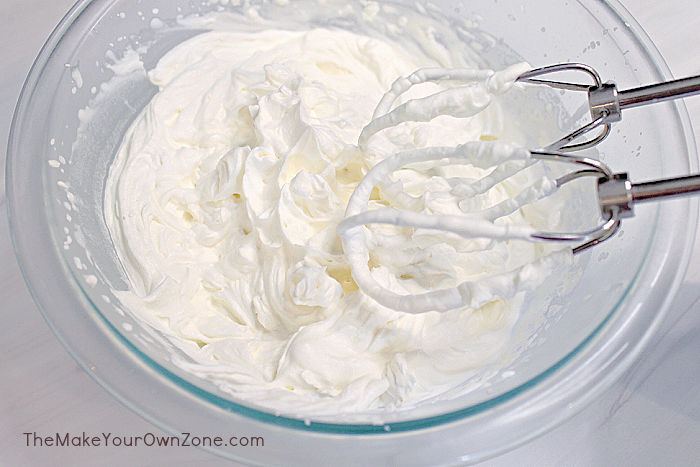
How to make Stabilized Whipped Cream
The method above will make a nice whipped cream but you’ll most likely find that after a few hours it can be going softer and not holding those peaks as well anymore. But there’s an easy homemade solution to that problem called Stabilized Whipped Cream and it’s simple to do. To make stabilized whipped cream you just need to add a little bit of unflavored gelatin dissolved in water to your finished whipped cream.
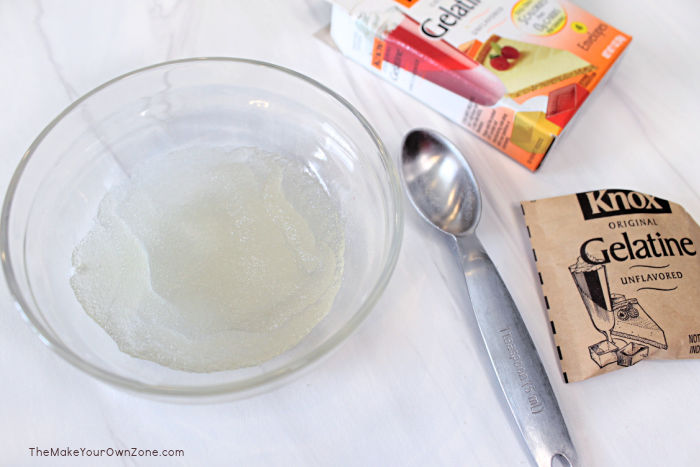
To start the process, you’ll place 2 tablespoons of cool water in a small bowl. Then sprinkle 1 teaspoon of unflavored gelatin over the water and let it set for 5 minutes to soften and “bloom”. Next, you’ll put the gelatin mixture in the microwave for just 10 seconds to make it a liquid.
So as you can see, it really is quite simple to make your own whipped cream! And whether I make the basic or the stabilized version, I always like knowing I have a simple homemade whipped cream where I control the sugar level and the amount of ingredients. It only takes a a couple minutes and it’s definitely worth it!
More homemade ideas to try:
Homemade Whipped Cream (Stabilized version too)
Equipment:
- Electric hand mixer or stand mixer
- Mixing Bowl
Ingredients:
- 1 cup heavy whipping cream (8 oz carton)
- 1 tablespoon white sugar
- splash of vanilla extract (about a 1/2 teaspoon)
To make stabilized whipped cream you will also need:
- 2 tablespoons cool water
- 1 teaspoon unflavored gelatin
Instructions:
- Pour the heavy whipping cream into a mixing bowl.
- Add in the sugar and the vanilla extract.
- Using your electric mixer, begin beating the cream. You might need to start with a lower speed to keep the cream from splashing.
- As you beat the cream it will start getting thicker and you can increase the speed of your mixer. Keep beating until peaks begin to form and hold their shape. This should only take 2 or 3 minutes.
To make stabilized whipped cream:
- Place the 2 tablespoons of cool water in a small bowl.
- Sprinkle the teaspoon of unflavored gelatin over the water and let it sit for 5 minutes to soften and "bloom".
- Then microwave the gelatin for 10 seconds to make it a liquid.
- The gelatin mixture is added at the very end of the process once the cream has already been whipped to the stage of having firm peaks. With your beaters going, gradually pour in the gelatin mixture, beating continuously until it is all added and mixed in.
- Keep your whipped cream in the refrigerator. The stabilized version should keep well for several days.
Notes:

How long will the cream remain stiff and stable for a product made ahead of time? For instance, If I topped a pie or cake ahead of time and had it in the fridge a day or two? Thanks!
Yes, I would say it should be fine for a couple days and probably longer. Just sitting in a bowl in my fridge it was fine for the week it took us to use it up so I would expect it would perform the same way if used as a topping on a dessert.