Christmas Craft Flashback – Mini Spool Tree
This post may contain affiliate links. Please read my disclosure policy for more information.
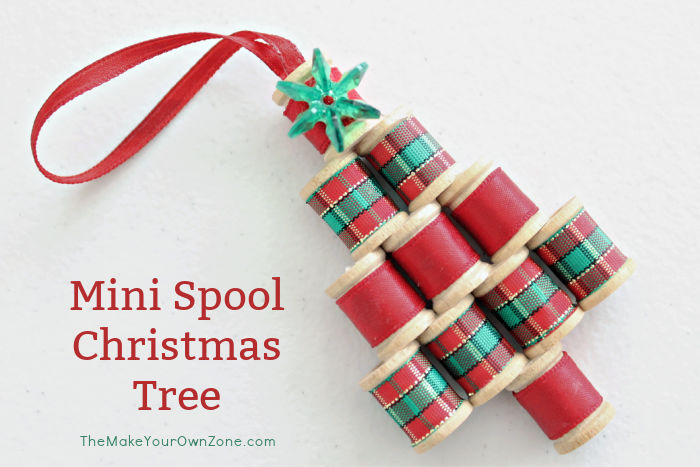
Many years ago I made this little mini spool Christmas tree ornament during craft time with a girls group at our church. It was easy enough for school aged girls to make, but was still fun for the grownups too! The supplies to make this ornament were just little wooden spools, ribbon, some sort of bead to create a star on top, and glue to put it all together.
Although the little wooden spools aren’t quite as popular of a crafting item as they used to be, I do still see them in the craft store and they can usually be ordered online too (such as these craft spools![]() ). You could also probably use this idea as inspiration with spools or ribbon that are slightly different sized based on what you can currently find in the craft stores.
). You could also probably use this idea as inspiration with spools or ribbon that are slightly different sized based on what you can currently find in the craft stores.
How to make a Mini Spool Christmas Tree Ornament
To make these little tree ornaments you will need:
11 mini wooden craft spools 5/8″ size
Small amount of 1/2″ wide ribbon in red (about 3″)
Small amount of 1/2″ wide ribbon in a red/green plaid (about 4″)
6″ piece of thinner ribbon for the hanger
Flower shaped or star shaped bead
Craft glue or glue gun
First, you’ll be wrapping and gluing ribbon onto the spools. Wrap 5 of the spools with the red ribbon, and 6 of the spools with the plaid ribbon. You will need about a 1/2″ long piece to wrap around each spool. Secure the ribbon with craft glue or use a glue gun. Be very careful with the glue gun, however, as the spools are tiny and you are bound to get some of the glue on your hands.
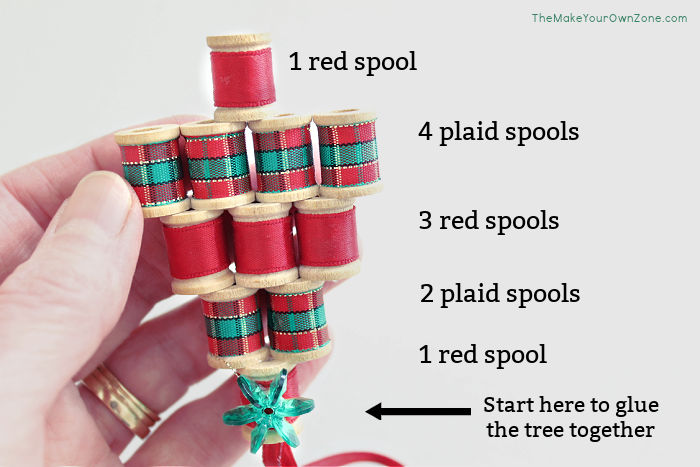
Next you’ll glue the ribbon covered spools together starting at the top of your tree. Start with one red spool and glue 2 plaid spools on top of it. The next row is 3 red spools, followed by a row of 4 plaid spools. Then glue one more red spool on the top. (refer to the picture). You now have your “upside down” tree that when you turn it over becomes your assembled ornament.
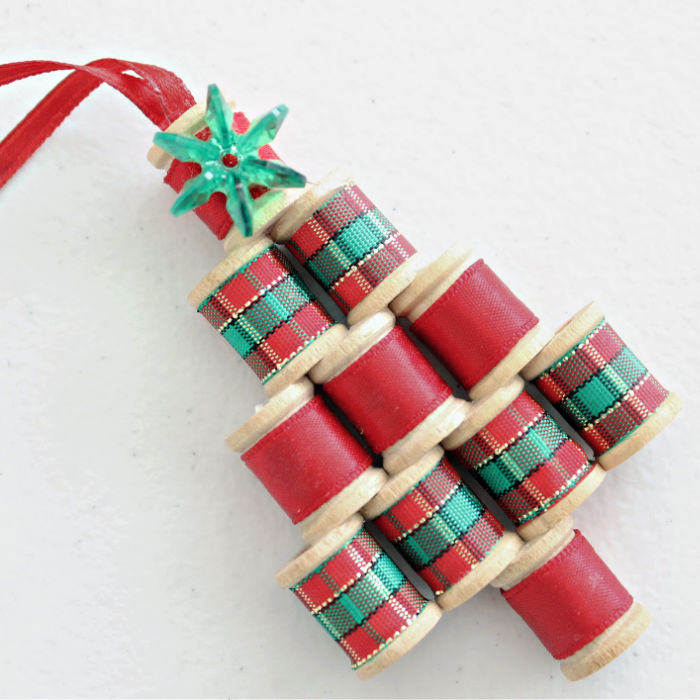
To make a hanger, cut a 6″ piece of thin ribbon and glue the ends inside the red spool at the top of the tree.
Finally, glue a bead to the front of the top spool for a “star”. Back when I made my ornament the little flower shaped beads were popular, but you might also be able to use a small wooden star shape, or cut a small star shape from felt.

I’m sure this tree would look cute in lots of different colors and prints of ribbons and could be a good way to use up those odds and ends of ribbon scraps. And even if some of the supplies are changed a bit or sized a bit differently as the years have gone by, I hope this idea from “back in the day” can still bring you some homemade crafting inspiration!
Mini Spool Christmas Tree Ornament
Equipment:
- Craft Glue or Glue Gun
Materials:
- 11 Mini wooden spools – 5/8" size (see notes)
- Red ribbon 1/2" wide (about 3")
- Plaid ribbon 1/2" wide (about 4")
- Thinner ribbon for hanging (6" length)
- Small flower bead or small star shape
Instructions:
- Begin by wrapping and gluing ribbon onto the spools. Wrap 5 of the spools with the red ribbon, and 6 of the spools with the plaid ribbon. You will need about a 1/2" long piece to wrap around each spool. Secure the ribbon with craft glue or use a glue gun. Be very careful with the glue gun, however, as the spools are tiny and you are bound to get some of the glue on your hands.
- Next you'll glue the ribbon covered spools together starting at the top of your tree. Start with one red spool and glue 2 plaid spools on top of it. The next row is 3 red spools, followed by a row of 4 plaid spools. Then glue one more red spool on the top. You now have your "upside down" tree that when you turn it over becomes your assembled ornament.
- Make a loop with the 6" piece of thinner ribbon and then glue the ends inside the red spool at the top of the tree to make a hanger for your ornament.
- Finishing by gluing a flower shaped bead, or a small star shape to the top red spool for a star at the top of the tree.
Notes:

Cute if you had brown ribbon you could make the bottom one like a trunk.