Christmas Craft Flashback – Paint Stirrer Snowman
It was that time of year again when I was sorting through the Christmas ornaments I’ve collected. I’m not talking about the color-coordinated-shiny-ball kind of ornaments, mind you. I’m talking about my shoebox full of the whimsical and kitschy kind of ornaments accumulated over the years of raising kids and exchanging gifts with co-workers, friends and family. I have santas and snowmen, Baby Jesus and angels, sleds and trees, with a few penguins and a cheerleader thrown in too!
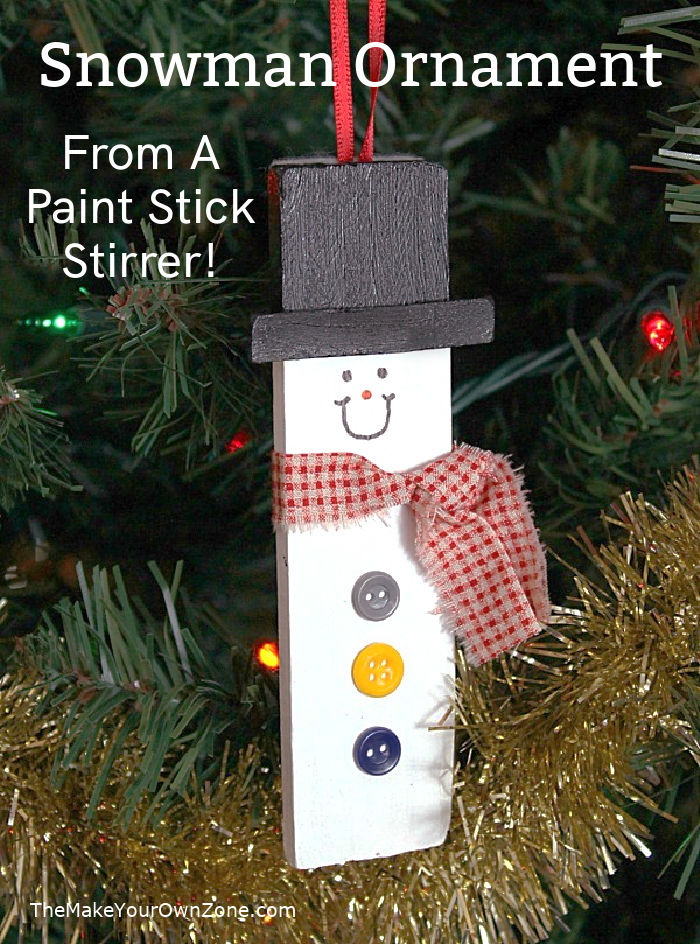
In looking through my box of ornaments this year I was reminded that I used to make an ornament every year for friends and family, and often I would make an extra one for myself. Many of these still get hung on my tree every year too and can still be fun little craft projects to make. So here’s a little trip back down memory lane for a fun homemade ornament – a paint stirrer snowman!
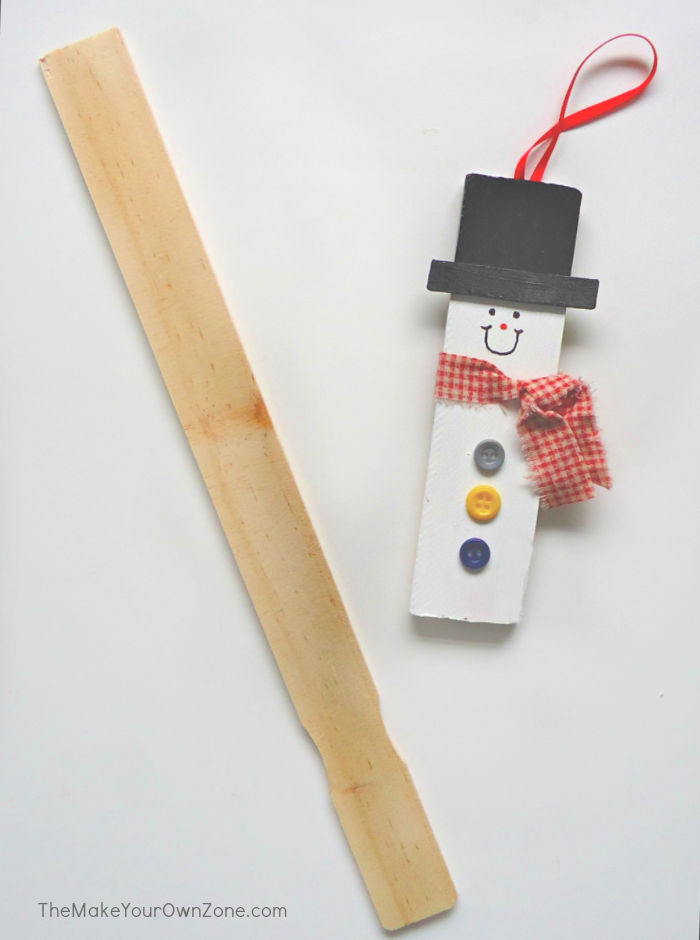
To make this ornament, you’ll begin by cutting a wood paint stirrer to a length of 5.5″ (the type you can get at a home improvement store). You can smooth out any rough edges with some sandpaper. Then you’ll paint a small part of the top black, and paint the rest white. A popsicle stick cut down to size and painted black is used to make the brim of the hat.
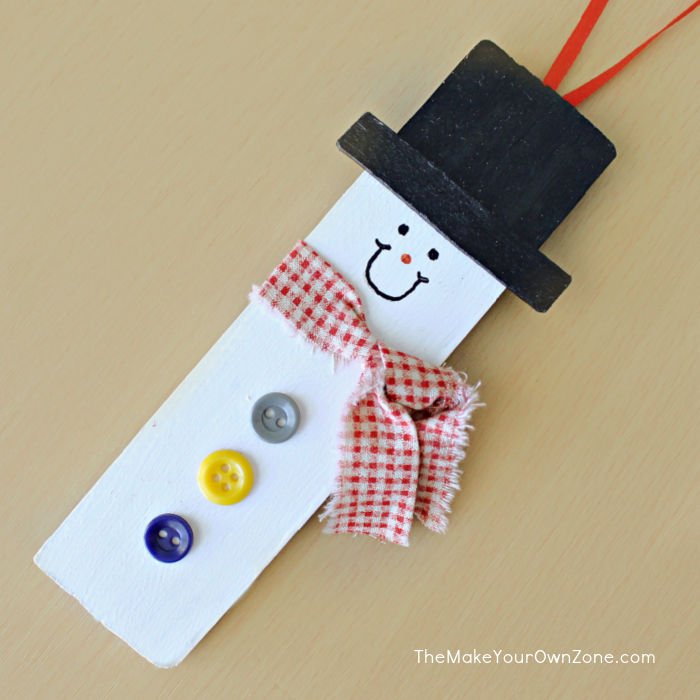
Then you can use markers to give your snowman a face, glue some buttons on the front, and use a small scrap of fabric for a happy little scarf.
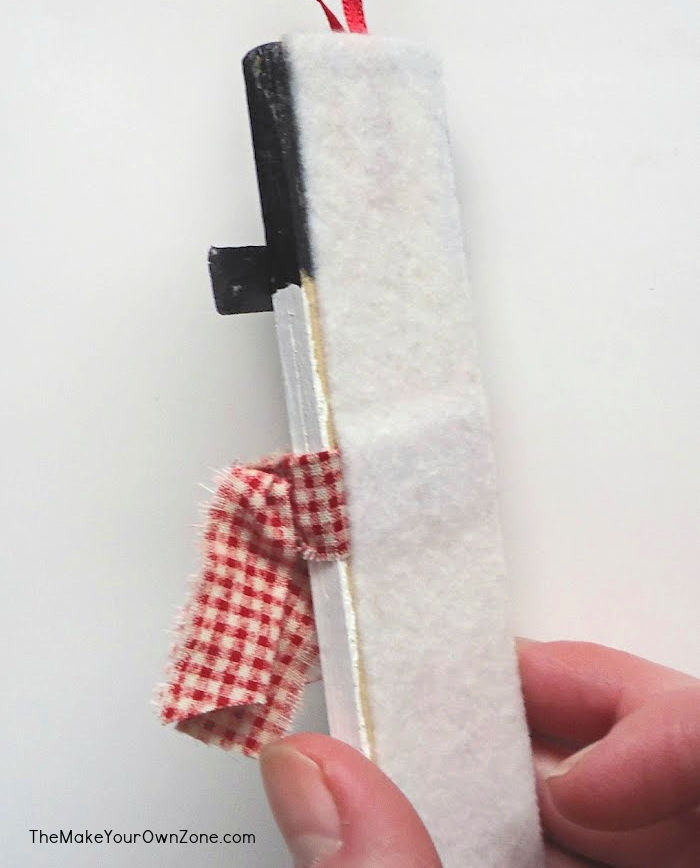
Finally, you can finish up by adding some ribbon for a hanger, and cutting a piece of felt to glue onto the backside of the ornament.
And then if you’re like me, you’ll be enjoying your homemade paint stirrer snowman ornament for years (and year!) to come.
Paint Stick Stirrer Snowman Ornmanet
Equipment:
- Hot Glue Gun
- Paintbrush
- Scissors
- Sandpaper
Materials:
- Wooden Paint Stirrer
- Wooden Craft (Popsicle) Stick
- Craft Paint (white and black)
- Fine Point Markers (black and red) Sharpies work well
- A few small buttons
- A scrap of fabric for the scarf
- Ribbon or string for hanging
- Small piece of white felt for backing
Instructions:
- Cut the paint stirrer to a length of 5-1/2". You will most likely need to saw it to this size. You may want to use sandpaper to smooth out the edges a little bit if they are rough.
- Paint the top 1-1/4"" of the stick with black paint and paint the bottom 4-1/4"" of the stick with white paint. Make sure you paint the edges too. Let dry.
- Cut the craft stick to a length of 2". Make sure you cut the rounded edges off so that you have a rectangular piece. I used a heavy duty scissors to do this. You may also have to use a little sandpaper to smooth the cut edges.
- Paint your cut craft stick piece black, coating both sides and the edges. Let dry.
- Hot glue the black craft stick piece over the line where the black and white paint meet on the paint stirrer. This will form the brim of the hat.
- Draw a happy face on your snowman. You may want to pencil it on first, and then use your sharpie markers once you are happy with the face. Fine point markers will give you a little more control.
- Hot glue the buttons on the front.
- Take your scrap of fabric and tie it around the stick to form a scarf. I frayed the edges of the fabric a little bit by pulling the loose threads at the edge of the fabric.
- Cut a piece of ribbon or string about 6" long. Make a loop with the ribbon and hot glue to the back of the paint stick at the top to form a hanger.
- Cut a piece of felt to size and glue it to the back of the stick to cover it and make it look neat. You can also use adhesive-backed felt to make this step quicker.

That little guy has the cutest smile!