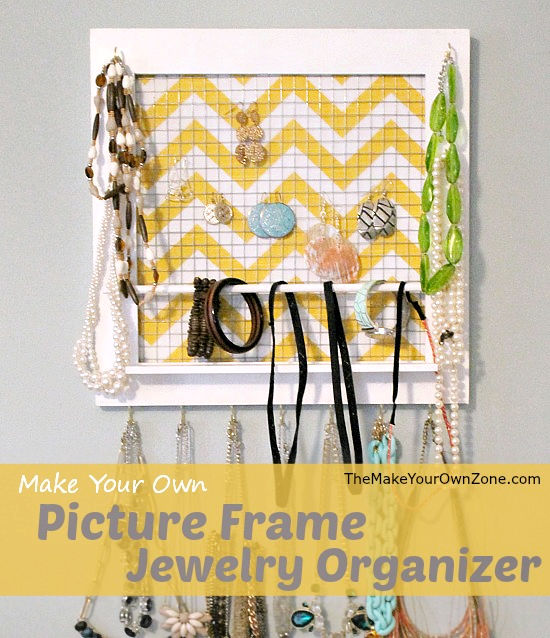
DIY Picture Frame Jewelry Organizer
One of the gifts my daughter had on her Christmas gift idea list for me last year was some kind of jewelry organizer she could hang on her bedroom wall. And because she knows me well she added, “I bet you could just make one.” And she was right! With a little bit of crafty resourcefulness, and a little bit of help from Hubby, I was able to make her a DIY jewelry organizer from a picture frame that was just what she had in mind.
If you’ve been looking for some way to organize all your necklaces, bracelets, earrings, and other assorted doo-dads, this DIY project might be just the thing to get everything together in one place. It’s a space saver too as you can hang your homemade picture frame jewelry organizer on the wall. It’s pretty easy on the budget as well and you may have some of the supplies in your craft stash already.
Here’s the method and some of the supplies I used, some of which I’m sharing in rather general terms. This is partly because I made this project in the midst of the pre-Christmas rush and took only sketchy notes, and partly because these types of projects are so often looked at first for inspiration and then adapted to each person’s style or needs.
My Supplies for a DIY Jewelry Organizer
Here’s a closer look at the supplies I used to make a DIY picture frame jewelry organizer:
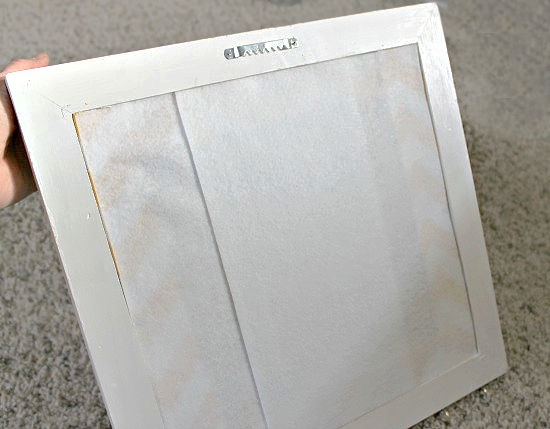
A Picture Frame: I used an unfinished square 12×12 frame and then painted it white. If you can find a frame already finished that suits what you’re looking for, that’s great. However, I wanted a flat frame in white which I couldn’t find in the finished frames in the size I wanted.

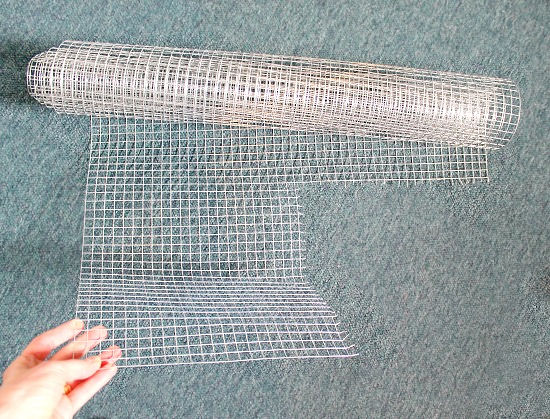
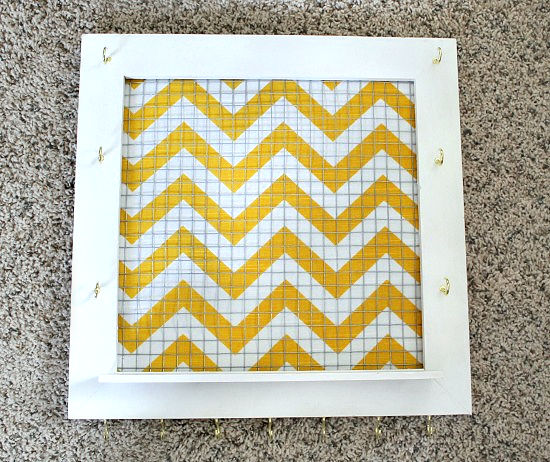
Chicken Wire: Chicken wire is used in this project, cut to the inner size of the frame, so that you can hang earrings on the organizer. I bought my chicken wire at Home Depot and learned that even though I only wanted a 12×12 piece, I could only buy it in rolls of several feet. It was still pretty inexpensive and I just cut out what I needed from the roll.
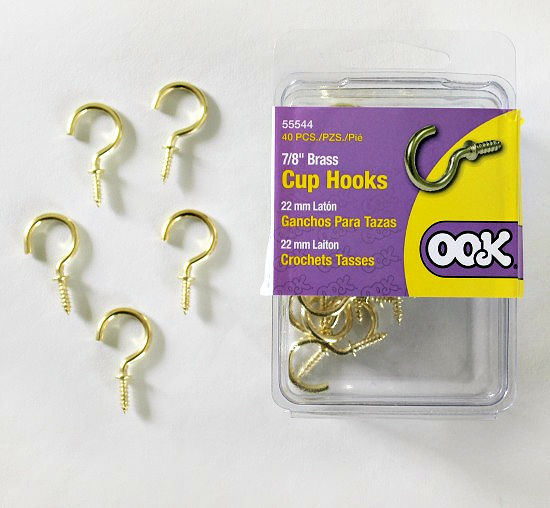
Cup Hooks: I screwed cup hooks into the side and bottom of the frame for holding the jewelry. These were also purchased at Home Depot and I bought the 7/8″ size. One thing to keep in mind is that your frame needs to be thick enough if you are going to be screwing in this type of hook so that the sharp ends of the hooks don’t poke out on the back side. For the hooks I bought, I needed at least a 1/2″ thick frame.
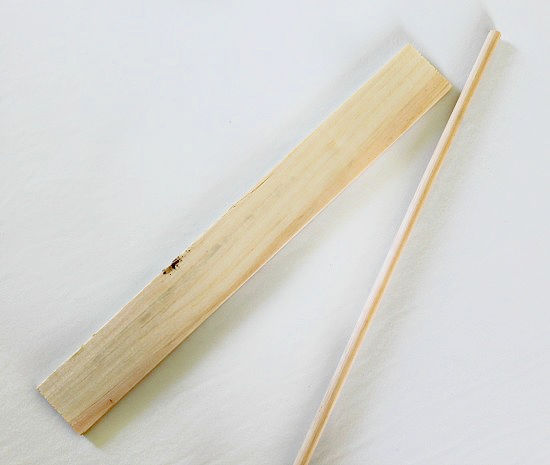
Additional Wood Pieces: I also decided to buy an unfinished piece of flat wood (12″ x 1-1/2″ x 1/4″) that I painted and then glued to the frame so it could be used as a small shelf. I also bought a 1/4″ dowel which we cut down to size and painted, which could then be placed in a couple of the hooks to hold bracelets, rings, or hairbands.
Fabric and Felt: I just used some leftover fabric I had on hand to make my organizer. You only need a piece slightly larger than your frame. I also used two pieces of white felt bought at Hobby Lobby which I pieced together to cover the back.
Tools: A few of the other supplies you may need are craft paint and brushes if you’re using an unfinished frame, wire snippers or heavy scissors for cutting the chicken wire, some way to saw or cut the dowel down to size if using, and glue for holding the fabric and the shelf in place.
Assembling Your Picture Frame Jewelry Organizer
Here’s the basic process I used to make a picture frame jewelry organizer, once I had all my supplies gathered together.
Step 1 – Paint: If you’re using an unfinished frame and/or any other unfinished wood pieces, begin by painting them in the color of your choice. I used white and it took a couple coats before I was satisfied.
Step 2 – Cut The Chicken Wire: This is the step that Hubby helpfully did for me. Cut the chicken wire using a wire snippers or heavy scissors so it fits in the opening of the frame. You may want to use the cardboard backing piece that came with the frame as a guide. It may also need to be bent a little bit to flatten it. { A few #@!~% words are allowed – chicken wire is not that cooperative to work with }
Step 3 – Fabric Backing: Now you will cover the cardboard backing that comes with your frame and fits in the opening. Lay the piece of cardboard on your fabric and cut a piece that is about 1/2″ larger all the way around. Fold and glue down the extra 1/2″ allowance all around the edges of the cardboard piece, trimming any excess on the corners as needed. Be sure the right side of your fabric is facing out.
Step 4 – Assembly and Final Backing: Lay the chicken wire piece in the frame, and then lay your fabric covered cardboard piece behind it. The right side of your fabric should be showing through the chicken wire. Glue or tack anything down in place as needed. I then did a final backing of felt, cutting and piecing it, and then gluing it down in place. Add a picture frame hanger too if needed.
Step 5 – Adding Cup Hooks. Next I screwed in the cup hooks, placing three along each side and seven on the bottom side of the frame. It’s helpful to take measurements first and make small pencil marks where you want the hooks to be to come up with an arrangement where they are evenly spaced.
Step 6 – Glue on Shelf. Finally, I glued on the small piece of wood that could be used as a shelf. I used wood glue for this step. The bottom cup hooks on each side are intended for holding the dowel once the organizer is hanging on the wall.

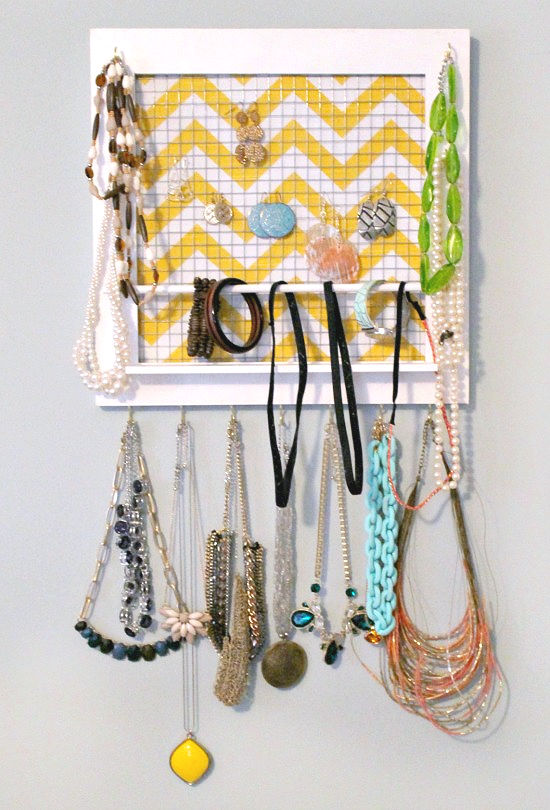
And now your jewelry organizer is complete – Add your jewelry and enjoy!
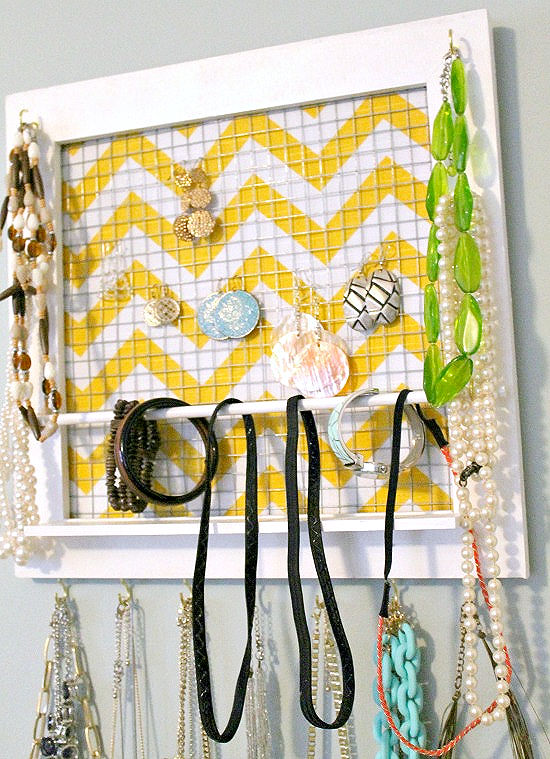
The hooks on the bottom and sides work great for necklaces, the chicken wire makes a good place to hang large earrings, the dowel is handy for bracelets, watches, or hairbands, and the shelf makes a quick place to set rings or other smaller jewelry pieces.
This project is pretty easy to do, even if you don’t think of yourself as crafty. And now that I have plenty of leftover cup hooks and plenty of leftover chicken wire – I should probably make a second jewelry organizer for myself too!
Picture Frame Jewelry Organizer
Equipment:
- Craft paint & brushes for unfinished wood pieces
- Wire snippers or heavy scissors to cut chicken wire
- Saw – if cutting the dowel
- Wood glue
Materials:
- Picture Frame (I used 12"x12" size)
- Piece of chicken wire to fit inside frame
- Cup hooks – 7/8" size (I used 13 cup hooks)
- Piece of flat wood (12" x 1-1/2" x 1/4")
- Wood dowel (1/4" size)
- Fabric to fit inside the frame
- Felt pieces for back of frame
Instructions:
- If you're using an unfinished frame and/or any other unfinished wood pieces, begin by painting them in the color of your choice. I used white and used two coats of paint.
- Cut the chicken wire using a wire snippers or heavy scissors so it fits in the opening of the frame. You may want to use the cardboard backing piece that came with the frame as a guide. It may also need to be bent a little bit to flatten it.
- Use the fabric to cover the cardboard backing that comes with your frame and fits in the opening. Lay the piece of cardboard on your fabric and cut a piece that is about 1/2" larger all the way around. Fold and glue down the extra 1/2" allowance all around the edges of the cardboard piece, trimming any excess on the corners as needed. Be sure the right side of your fabric is facing out.
- Lay the chicken wire piece in the frame, and then lay your fabric covered cardboard piece behind it. The right side of your fabric should be showing through the chicken wire. Glue or tack anything down in place as needed.
- Add felt to cover the back, cutting and piecing it as needed, and then gluing it down in place.
- Screw the cup hooks into the frame. I placed three along each side and seven on the bottom side of the frame. It's helpful to take measurements first and make small pencil marks where you want the hooks to be to come up with an arrangement where they are evenly spaced.
- Glue on the small piece of wood near the bottom of the frame to use as a shelf. I used wood glue for this step.
- Saw or cut the dowel down to size if needed to fit the width of the frame you are using. The bottom cup hooks on each side are intended for holding the dowel once the organizer is hanging on the wall.
- Using the jewelry organizer: Once the organizer is hanging on the wall, the hooks on the bottom and sides work great for necklaces, the chicken wire makes a good place to hang large earrings, the dowel is handy for bracelets, watches, or hairbands, and the shelf makes a quick place to set rings or other smaller jewelry pieces.

I liked the idea about the frame for hanging the jewellery I am a beginner with the jewellery making so the tutorial was really helpful for me I am going to attempt to make a bracelet without snapping the elastic thank you for the information
Love it ~~~ I think I’ll give this jewelry organizer a try and the bracelets too !!
I’d love some ideas for making necklaces too !!
Thanks !!
I like the idea, but the wire product you used is “hardware cloth,” not chicken wire. It usually comes with 1/4-inch or 1/2-inch square holes. Chicken wire has larger hexagonal holes.
I did not know that – I thought it was all chicken wire!