

Homemade Chocolate Covered Cherries
My first attempt to make my own homemade chocolate covered cherries did not turn out as I had hoped. In fact it was a pretty big failure. But if at first we don’t succeed, we need to try, try again, right? Especially if we are craving chocolate covered cherries. After using a few hints from helpful readers, I now have had success making my own chocolate covered cherries. Yay!

The whole process reminded me of a cookbook I have called The Homemade Pantry Many of the recipes in that book include what to do about the “Tense Moments” in a recipe. Isn’t that often true? At certain points in a recipe things have to be coming along at the right temperature, or the right consistency, and if it’s NOT, well then you’ve got a tense moment that might call for a little helpful hint.
There’s only a couple of steps in this chocolate covered cherry recipe, but they were both tense! And the two things to keep in mind for those tense moments is that the sugar fondant mixture around the cherries does the best if it’s somewhat cold, and the melted chocolate needs to stay warm.
And one more thing – it is SO helpful to use the maraschino cherries that have stems. That was such an improvement over the previous recipe I tried because it gives you something to hold on to as you’re working with the cherries.
How To Make Chocolate Covered Cherries
This chocolate covered cherry recipes uses a 10 oz jar of maraschino cherries with stems. The first step is to drain the cherries and dry them on paper towels. A 10 oz jar should have about 24 cherries.
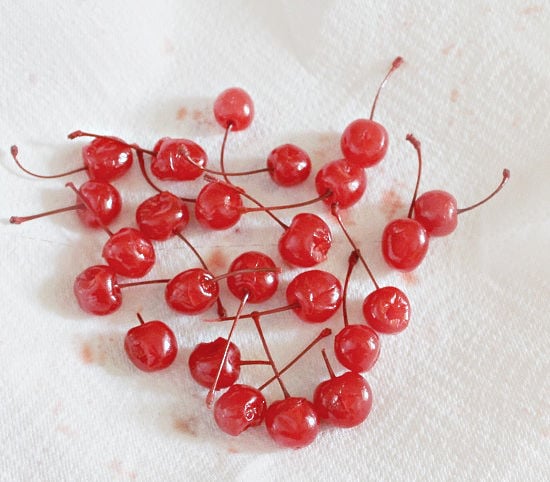
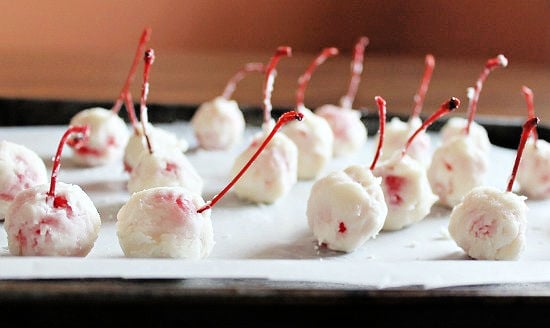
The next step is to mix together some butter, powdered sugar, milk, vanilla, and almond extract to make a fondant. You take a small amount of this sugar mixture and flatten it out a bit, and then wrap around each cherry. Each cherry then is placed on a cookie sheet lined with waxed paper. Once all the cherries are wrapped they are chilled for 2 hours.
TENSE MOMENT: The fondant sugar mixture might want to stick to your hands instead of to the cherries. I put the sugar mixture in the freezer for 10 minutes and that helped. I also had to rinse and wipe my hands often during the process. I also went back after they had been in the refrigerator for about an hour and smoothed things out and fixed things up a bit more. Because they were now cold they didn’t stick to my fingers nearly as much.
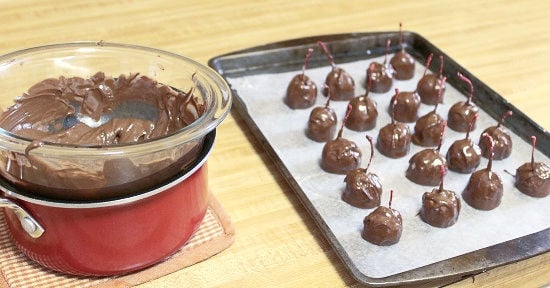
The next step is to make the chocolate coating. You’ll melt together chocolate chips and shortening (or coconut oil). I used the homemade double boiler method of setting a glass bowl over a pan of shallow water and heating it on the stove because of the tense moment below. Then you dip each cherry by the stem until covered with chocolate. You may need to use a knife or spoon to get some of the chocolate on the tops of the cherries too. Then the cherries are placed on a cookie sheet lined with wax paper to cool.
TENSE MOMENT: Your melted chocolate needs to stay warm and melty during this step. If it starts to cool, it will also start to harden and then you can’t successfully dip your cherries. If you use the homemade double boiler method, you can just keep the bowl of melted chocolate over the pan of hot water as you dip the cherries. This keeps the melted chocolate warm during this step and you are able to get all your cherries dipped with no problem.
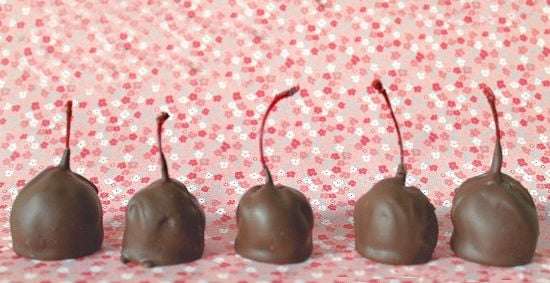
And if all has gone well up to this point, then you have successfully figured out how to make your own chocolate covered cherries! (Even if you had a few tense moments)
Chocolate Covered Cherries
Ingredients:
- 1 jar maraschino cherries with stems (10 oz size)
- 2 tablespoons butter – softened
- 1¼ cups powdered sugar
- 2 teaspoons milk
- ¼ teaspoon vanilla extract
- ⅛ teaspoon almond extract
- 2 teaspoons shortening or coconut oil
- 1 cup chocolate chips (see notes)
Instructions:
- Drain the cherries and dry them on paper towels. A 10 oz jar should have about 24 cherries.
- Cream the butter and then gradually add the sugar, beating well. Blend in the milk and the extracts.
- Take a small amount of the sugar mixture and flatten it out a bit, and then wrap around each cherry. Place on a cookie sheet lined with waxed paper.
- Chill the wrapped cherries for 2 hours.
- For the chocolate coating, melt the chocolate chips and the shortening (or coconut oil) in a double boiler or in the microwave.
- Dip each cherry by the stem until covered with chocolate. You may need to use a knife or spoon to get some of the chocolate on the tops of the cherries too. Place the chocolate covered cherries on a cookie sheet lined with wax paper.
- Let the chocolate covered cherries cool until the chocolate has hardened.
Notes:

I was so glad to see you had success with the recipe. I don’t know if I told you originally, but the recipe came from my oldest daughter’s home economics class back in the 1980’s. I was glad to see you didn’t have to use the chocolate bar. I’m going to do it your way next Christmas. Thanks again for trying her recipe!
Jackie
Yes, I finally had a chance to try your recipe Jackie and as you can see they turned out great! Thanks so much for passing it along to me 🙂