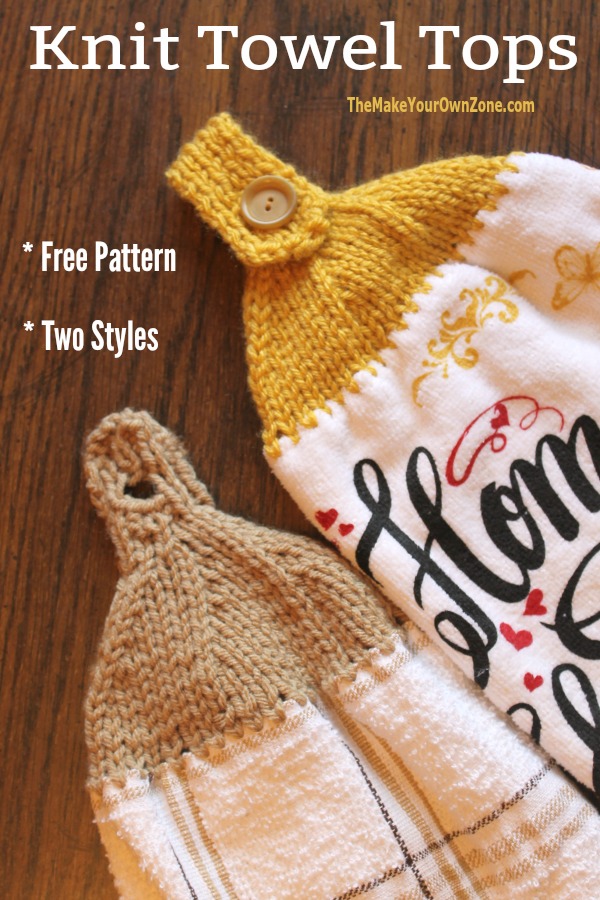
Knit Towel Topper Pattern
Use your leftover yarns to create these quick and handy knit tops for your kitchen towels. This pattern includes two options - one for hanging over handles and bars, and another option for hanging over drawer knobs.Gauge is not too critical but I usually get about 3½ sts per inchKnitting Abbreviations:K = KnitP = PurlK2 Tog = Knit two stitches together
Materials:
- US Size 7 Knitting Needles
- Medium Weight (4) Yarn - only a small amount is needed
- Crochet Hook (for picking up stitches - I use an F hook)
- Button (if making version to hang over a bar or handle)
Instructions:
- Beginning and Picking Up Stitches At Top:To begin, fold your dish towel in half. Along the top folded edge you will pick up 42 stitches through both layers of the towel. (You do not have to try to pick up stitches at the very edges of the towel in the edge binding as it is usually too hard to poke through that part of the material.)To pick up stitches, begin at the right edge of the towel and poke your crochet hook through both layers of the material from front to back. Pull the yarn through to the front, making a loop. Then pull the yarn through that loop one more time, as if to single crochet. Transfer that loop to your knitting needle. Proceed this way across the towel, from right to left, until you have 42 stitches on your needle.(You may also find it helpful to poke holes through the fabric with another sharp pointed tool such as a bead reamer).
- Begin Knitting:Row 1: P (All odd numbered {wrong side} rows will be Purl rows until ribbing begins)Row 2: KRow 4: KRow 6: *K 5, K2 tog, Repeat from * across row (36 sts)Row 8: *K 4, K2 tog, Repeat from * across row (30 sts)Row 10: *K3, K2 tog, Repeat from * across row (24 sts)Row 12: *K2, K2 tog, Repeat from * across row (18 sts)Row 14: *K1, K2 tog, Repeat from * across row (12 sts)Row 16: K2 tog, K 3, K2 tog, K 3, K2 tog (9 sts)
- Begin Ribbing:Row 18: K 1, P 1 across rowRow 19: P 1, K 1 across rowRepeat these two rows until ribbing measure 3 inches. End on a wrong side row.Next Row: K 1, P1, K1, Bind off 3 sts, Finish last stitches in row in ribbingNext Row: P1, K1, P1, cast on 3 sts, P1, K1, P1 (buttonhole made)Work 2 more rows in ribbing pattern, ending wrong sideNext Row: K2 tog, rib 5, K2 tog (7sts)Next Row: K2 tog, rib 3, K2 tog (5 sts)Next Row: K2 tog, K, K2 tog (3 sts)Bind off remaining 3 sts. Weave in any yarn ends. Sew a large button to front of topper to line up with where the buttonhole on the topper will be when folded over a handle.
- Optional Ending for Shorter Version To Hang Over Drawer Knobs:After Row 19, do not knit the ribbing for 3 inches. Instead, just proceed with the pattern instructions to work the buttonhole and continue on to finish the pattern. There is no need to sew on a button using this option.