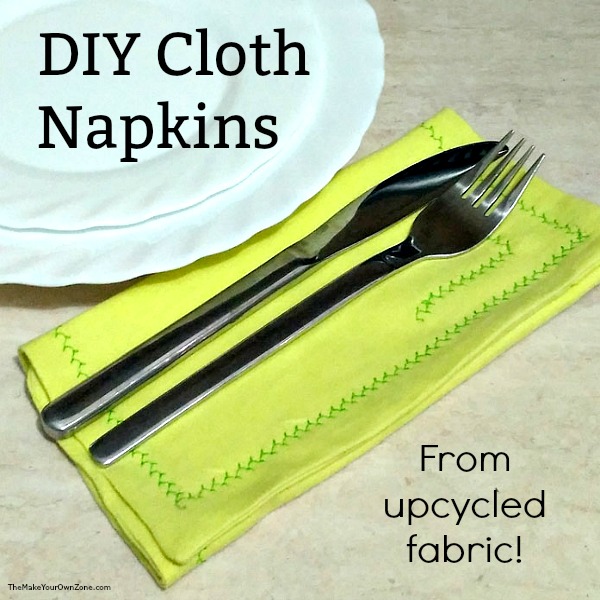
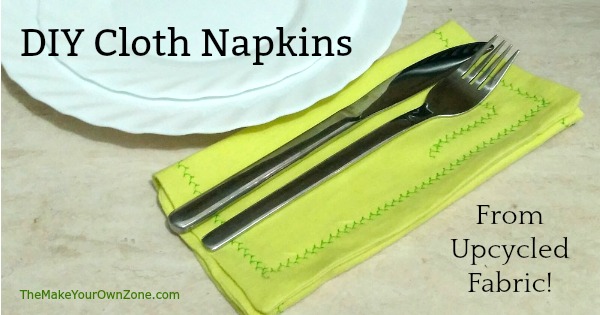
DIY Cloth Napkins from Upcycled Fabric
Note from Bev: This is a guest post from Helen at HelloSewing.com She’s sharing her tutorial for 10-minute cloth napkins from upcycled fabric which is a frugal and simple way you can make your own napkins and reduce waste too. Enjoy!
Isn’t it great when you can repurpose something you don’t need anymore and turn it into something completely new and practical? It’s like breathing fresh life into old rags that were right about done for.
One of the easiest but quite creative and unique projects that allows you to achieve this is making cloth napkins. These little things are extremely useful since you can utilize them in a couple of different ways, from turning them into your regular dinner table occupant to using them to spice up your husband’s dress jacket by putting one in the chest pocket. The best part about them though is how easily and quickly you can finish them. All you need is just an hour of free time and this tutorial to make a full set of colorful cloth napkins. It’s that simple!
#1 – Decide what size you want your napkins to be
Before you start doing any real work, you should first choose how big you want your napkins to be and which shape you prefer. You can make them square or rectangular. Standard sizes are 12 inches for informal lunch napkins to 18 inches for those classy dinner ones. Once you decide, make them about one inch larger on all sizes. Don’t be surprised by their size, cloth napkins are considerably larger than their paper counterparts. You can make them either using new fabric or by upcycling some fabrics you already have.
Since we’re talking about upcycling here, you should know that one standard t-shirt can be turned into two small or one big cloth napkins. If you can pick the type of fabric you’ll be using, pick a fabric that absorbs well and washes clean. Linen and heavyweight, woven cotton stand out as the two best fabrics for cloth napkins.
Related Reading: How to make Decorative Plates using Fabric and Mod Podge
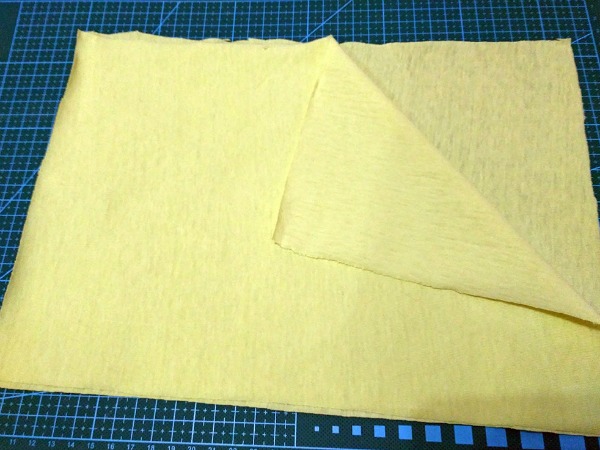
#2 – Cut out the fabric
Using a rotary cutter and a cutting mat, cut out the shape you want. Make sure that the napkin is about half an inch larger than you want it to be on all sides. You will need two identical pieces like this.
#3 – Pin the pieces together
Put the two pieces together so that the right sides lay on each other. Don’t forget to align the edges perfectly. Mark one smaller opening to turn out the napkin, about two or three inches should be wide enough. Pin the fabric.
#4 – Start sewing
Using a 1/4″ seam allowance, start stitching the edges all around. Make sure to leave the marked opening unsewn. You can do this by starting from about the middle of the rectangle and then going all the way around, stopping near the place you at which you began.
#5 – Tidy up the edges
Cut the edges to give them that finished look. Avoid cutting the seams though, just clip as near as possible to them. If you skip this step, it’s quite possible that the edges of your new napkins will start fraying.
#6 – Flip the napkin inside and out finish
Pull out the insides through the small opening you left precisely for this purpose. Use something like chopsticks to push out the corners and straighten them. Press the napkin well to reduce bulk. Sew the opening shut by hand – here is a handy guide how to do it. The most appropriate stitch for this would be a ladder stitch or a whip stitch

#7 – Add some decorations
At this point, the only thing left for you to do is to finalize the appearance of your new napkin. Use a 1/2″ allowance and stitch all around the edges. You can pretty much let your imagination run wild here and decorate the napkin in any way you want. Keep things monochromatic by using the same color thread or choose a different color to give the napkin a bit of contrast.
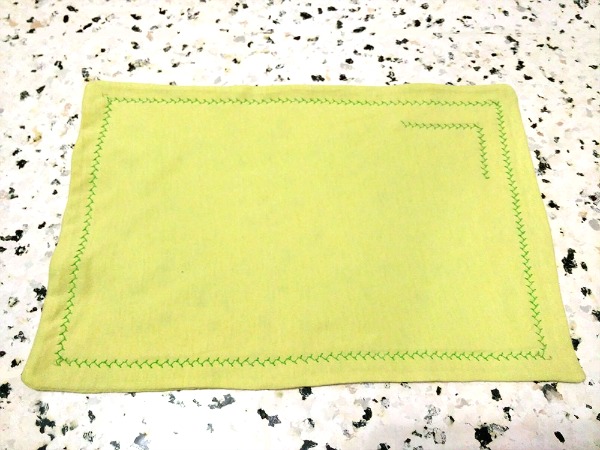
And then your napkin is complete!
Bonus Idea: Now that you have beautiful napkins, you can make some matching placemats as well. Don’t worry, they’re as easy to make as these napkins. All you have to do is repeat the process but with batting inside the napkins. The batting will provide more stability for the decorative stitching later on. Then at the end, quilt with a meandering stitch or simple straight lines on top of the placemat.
More frugal ideas to reuse and reduce waste:
- How to sew your own cleaning cloths
- How to sew a reusable grocery bag
- Recycle old newspapers to make your own bags

I think the material should be right sides together, not the wrong sides when you are seeing the two squares together. Otherwise, when you see and turn the wrong sides would be showing
I fixed that typo . . . thanks Lynn.
It’s probably not realistic to expect someone who does not sew to be able to join the pieces with only a 1/4″ seam, let alone trim them afterward. To be on the safe side, I suggest a 5/8″ seam. The final product will probably come out neater. Thanks for posting this; it serves as encouragement to many would-be crafters.
Thank you!
I hope you have fun making the napkins if you give them a try Rose!